26 Jan Pohono Trail, Yosemite National Park


guides // backpacking // northern california
Pohono Trail, Yosemite National Park, California
Truthfully, we didn’t initially intend to hike this trail at all. We were in Yosemite to backpack the unplowed and snowy road between Yosemite Ski Area to Glacier Point (it was winter). Sadly, once we got there, we discovered that the gate at Yosemite Ski Area was closed and there was no good way of calling the park rangers to get it opened. Instead of moping about it (okay, I moped a bit), we rallied and did a quick pivot to this trail.
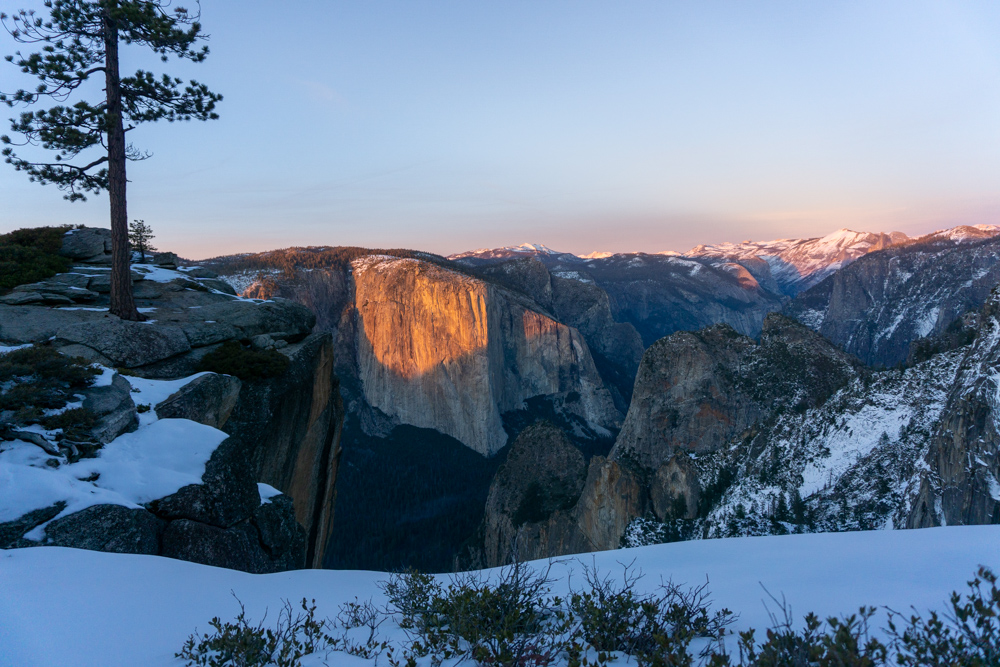
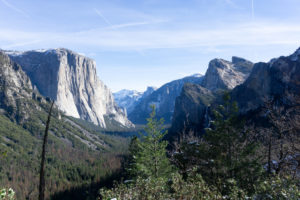
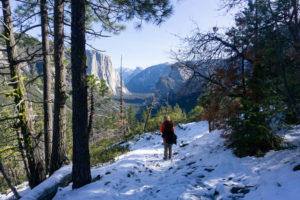
Considering we had to make this quick change of plans, this trip went incredibly well. The hike in was steep and kept us warm enough to not really mind the intense chill in the air. Plus, we ended up camping 15 feet from the valley rim, right across from El Capitan and the whole rest of the Yosemite Valley. Be warned though, if you’re looking for Half Dome views at your campsite, you won’t be finding them here.
Quick Notes
Pictures taken January 2018
Total Distance: 9.2 miles
Elevation Gain: 3,560 feet
Difficulty: Easy/Medium
Days: 1 Night
Hike Type: Out-and-back
Trailhead: Artist Point Trailhead
Seasons: All
Permit Requirement: Yes, Year-Round
Camping: Dispersed Camping
Map: National Geographic Yosemite National Park
Water: Filter along the way


When to Go
Judging by the pictures, we obviously went on this trip right in the middle of winter, but I think this would make a great beginner backpacking trip in all the other seasons. It would actually probably make a great beginner winter trip too because it’s a pretty short hike and the steepness of the route keeps deep snow off the trail.
The only drawback of visiting in the spring through fall months is that crowds in this area can be horrendous. Artist Point (trailhead for this trip) by itself is one of the most crowded viewpoints and photography spots in the park. You know that picture of Yosemite with Half Dome in the distance and all the other valley features framing the dome? That’s taken at Artist Point.
Dewey Point is also a popular day-hiking destination so you may have to initially make camp far off the trail in the trees and then move your tent to the valley rim once the crowds subside.
Or you could completely avoid the crowds and go during the winter. We only saw about 20 people at Artists Point and absolutely no people on the trail. I know winter backpacking can be daunting, so I’ve written a three part winter backpacking series about how to ease the pain of cold toes and actually like winter backpacking.
For a weather update, the best way to check current conditions is to either call the Yosemite Wilderness Center or check the current conditions report published by Yosemite Park Rangers every couple weeks. If you’re visiting in winter though, the Wilderness Center closes for the season on October 21, so that one won’t be an option for you. The Yosemite Conservancy also operates four webcams across the park where you can check out current conditions in real time. Just remember to check the cams during the day when it’s light out – it may seem obvious, but I’ve definitely made that mistake… multiple times.
Checking Current Conditions
Yosemite Wilderness Center (209) 372-0200

Trip Cost
Park Entrance Fee*
Wilderness Permit Fee
Wilderness Permit Reservation
$35
Free
$5 per person + $5 per reservation
*If you know that you’re going to be going to a national park more than three times in a year, it’s worth it to buy a National Parks Pass. They’re $80 and sold online, at all REI locations, and National Park Visitor Centers.

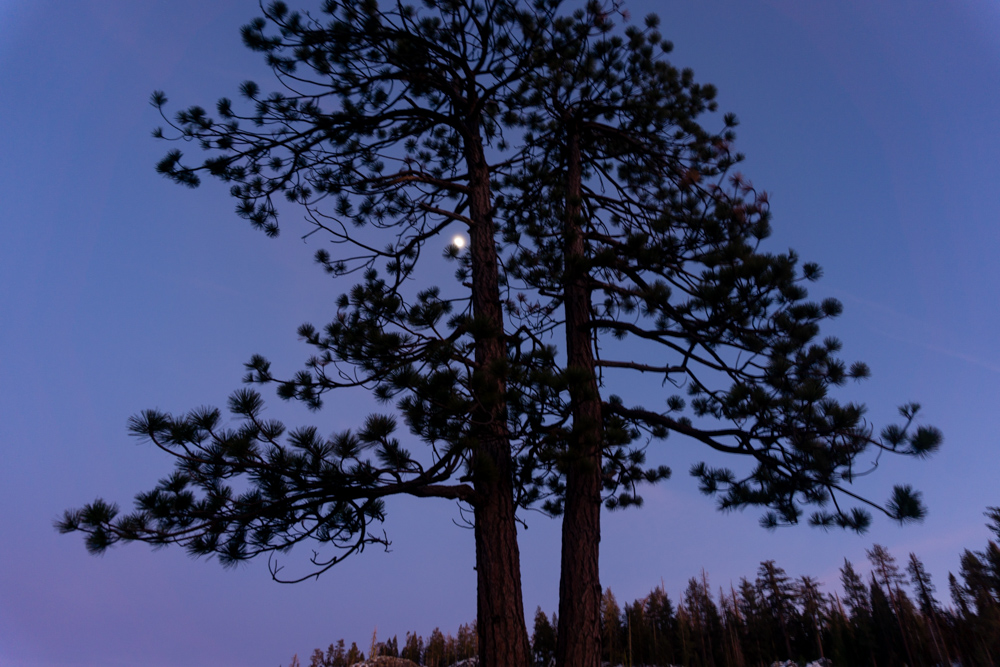
Our campsite tree friend.
")
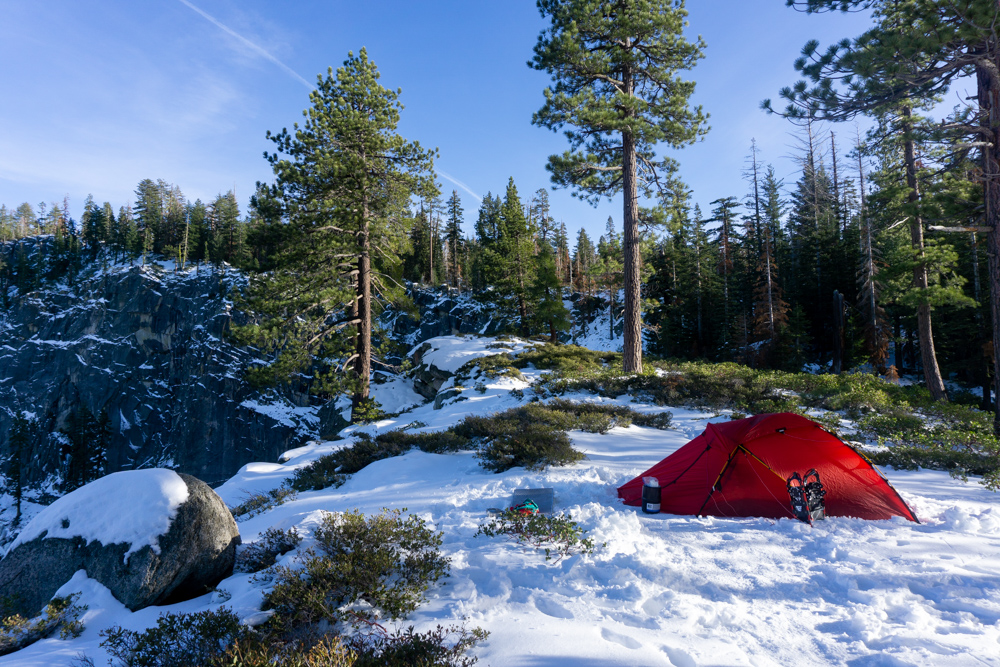
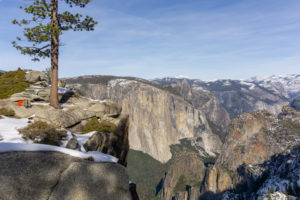
Intense cliff face right next to our campsite.

Before You Go
The first step in planning this trip is deciding on your route. There’s two ways to do this trip: out-and-back or a thru-hike with some hitchhiking. The most straightforward way to hike the Pohono Trail is to park at Artist Point, hike in, and then hike back out the way you came in. We chose this option because it was easy and we couldn’t handle the mileage of option 2 in the deep snow.
The alternative to doing an out-and-back trip is to park your car at Artist Point, hike all the way along the valley rim to Glacier Point, and then hitchhike back to your car. Glacier Point is an extremely popular viewpoint that’s pretty much always packed, so you definitely won’t have trouble finding people. Convincing them to give you a ride back though, might be a different story. Lots of people also have cars full of traveling supplies, so you’ll probably have the best luck with people driving large trucks. Best case – you’ll find someone who lets you jump in the back of their truck and you won’t even have to be embarrassed about how horrible you smell.
In the summer, there’s also a bus that goes from Glacier Point to Yosemite Valley and passes through Artist Point on the way back. The bus isn’t supposed to stop at Artist Point, but I’ve always wondered if you can just ask the bus driver to drop you off.
Once you have your route picked out, the next step is to get a wilderness permit. Wilderness permits are required for all overnight trips in the Yosemite backcountry. While you can get first-come-first-serve permits at the Yosemite Wilderness Center, this trail only has 10 total permit spots so it’s probably a good to make a reservation. Also, if you make a reservation, you can pretty much skip the long line at the Wilderness Center when you pick up your permit. Permits in Yosemite can be reserved up to 24 weeks in advance of your trip. Click here to learn how to make online backcountry permit reservations in Yosemite.
If you didn’t end up making a reservation, there’s still hope. The park saves 4 out of 10 permits as first-come-first-serve. This trail is a bit popular though, so you’ll have to arrive at the Wilderness Center very early (before 7:00 AM) to snag one of these last-minute permits. If you happen to be in the park a day early, you can also pick up your permit after 11:00AM the day before you start your hike. Unfortunately, if you’re not in the park a day early, this can become one of the many devastating reasons why you may not get your permit – all the first-come-first-serve permits may have been snatched up by people the day before!
On the other hand, if you’re taking this trip in the winter (November to April), you’ll just stroll up to the Valley Visitor Center and pick up a permit there.
If you get to the front of the permit line and all the permits for this trail are gone, the Yosemite Falls-Snow Creek loop is a great back-up with 20 first-come-first serve spots in either direction.

Getting There
Traffic in the Yosemite Valley is notoriously bad. On busy summer weekends they sometimes have to use park rangers to direct traffic because the roads were not built for 400,000 people a day. In the summer, I think the only way to get parking at the trailhead is to arrive the day before and pick up your permit at the Wilderness Center before closing time at 5PM. Then, you’ll have to car camp nearby and get to the trailhead around 6AM or 7AM. Otherwise, you’ll have to pick up your permit in the morning and then race over to Artist Point to jostle for a parking spot with a million other people. The good news is that Artist Point is just a viewpoint, so people don’t stay here for too long.
On the other hand, in the winter we were able to “self-issue” permits from a kiosk at the trailhead and start our hike right away. From what I remember, we got to the parking lot around 9AM and there were still plenty of parking spots.
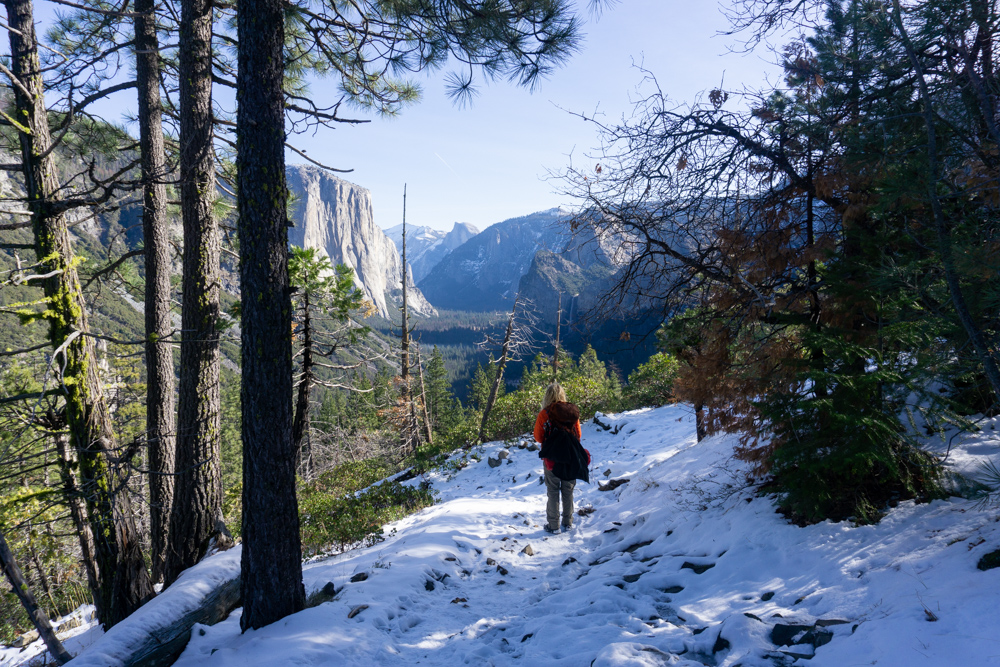
View on the way back to the car.
-2")
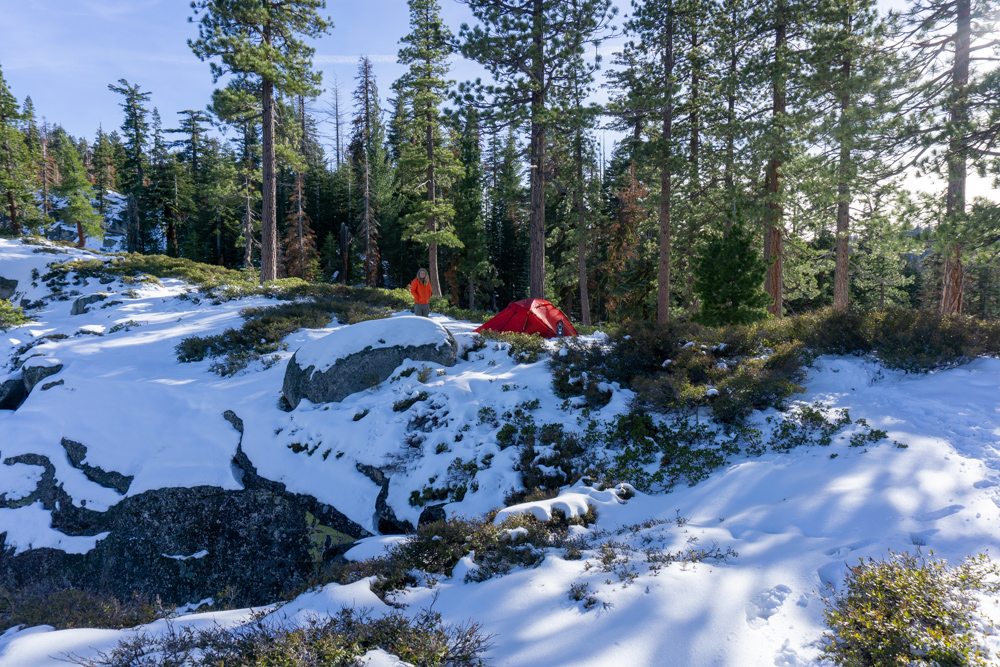
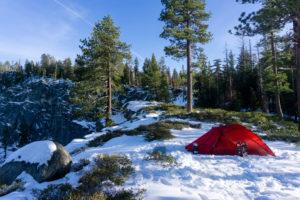
The tent found a nice hiding spot… if only it wasn’t bright red.
Dispersed Camping
Yosemite National Park has some of my favorite rules for backcountry camping of the entire National Park System. They allow “dispersed camping,” which means that you can camp anywhere in the park as long as you hike at least four miles away from the trailhead and pitch your tent at least 100 feet away from the trail and from water. We try to pick campsites that are on durable surfaces like rock or snow, near-ish water (for easy filtering), and in a location where it would be hard to see us from the trail. Never camp on any type of vegetation; the growing season for the plants in the Yosemite High Country is so short that it’s best not to squish them.
If you are camping below 10,000 feet in elevation (all of this trail is below 10,000 feet), you are allowed to have a fire in the backcountry (if there’s no fire ban in effect). If you want a fire, you have to find a previously established fire ring. The park rangers make these, so take care of them and don’t make your own. We almost never have a fire though, because no matter how careful you are, back country fires are still very risky and we really don’t want to put Yosemite in danger.

On the Trail
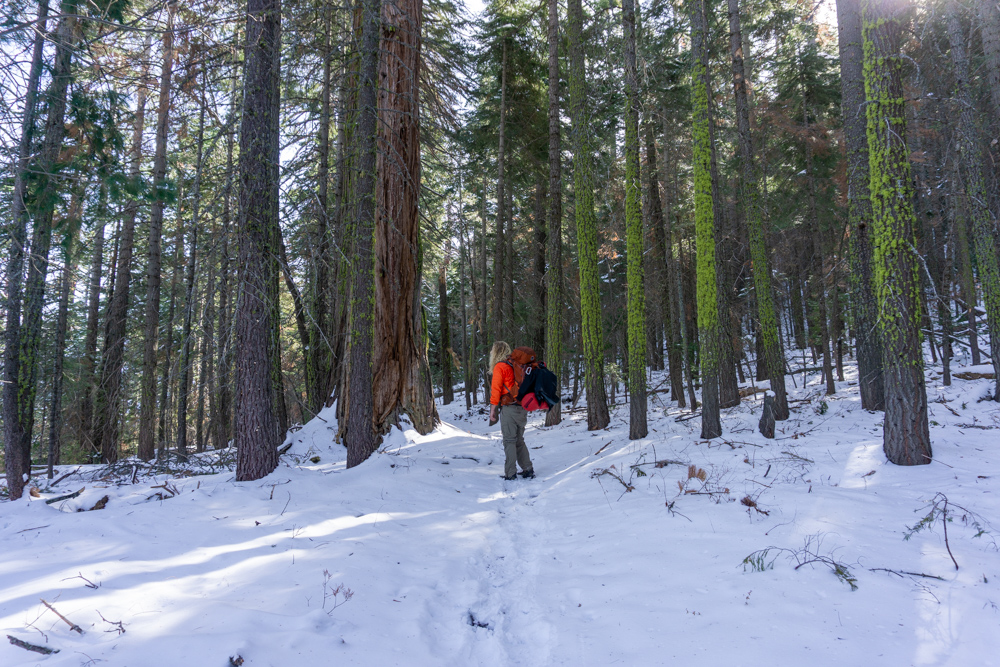
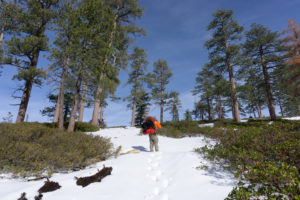
Starting from Artist’s Point, you’ll leave all the tourists and photographers behind, as you climb 2,600 feet up the Pohono Trail. The trail is steep and rocky as it rises out of the valley, but the views from the top are more than worth it.
In the summer, you’ll have plenty of good shade in the morning while you make your ascent up the steepest part of the trail. In the winter though, all that shade means that snow can’t melt off the trail. You’ll probably find some pockets of snow and layers of ice between and on top of the large boulders that make up the trail. We didn’t have crampons here, but I can totally see them being useful for this part of the trip.
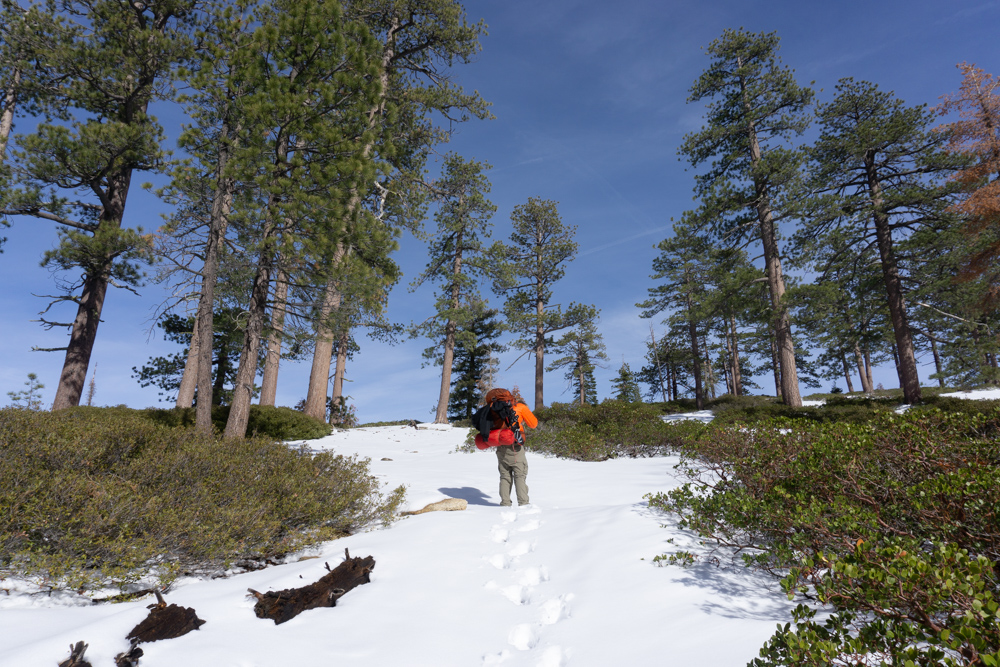
After about 2.8 miles of hard work, the trail flattens out and the viewpoints start. Old Inspiration Point is the first named viewpoint on the list, but there’s a ton of other viewpoints along the way that are worthy of official names. The trail also meanders in and around the trees as it makes its way to Dewey Point.
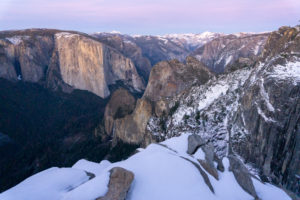
At Dewey Point, we set our tent up about fifteen feet from the cliff edge, surrounded by some short bushes for a little wind protection. We weren’t too enthusiastic about post-holing through deep snow, so we mostly chilled around camp. I found a couple exposed rocks near our campsite where I could safely get closer to the edge to take some intense valley photos. As the sun set, we got to watch Yosemite’s granite cliffs change into a million pinks and oranges.
In the morning, we retraced our steps all the way back to the car.

After the Hike
There’s a couple okay places in the valley to shovel food into your mouth at break-neck pace after the hike, but if you can wait two hours (or maybe survive on snacks during the drive) and are heading west to the Bay Area, there’s a very good sandwich shop in Oakdale called The Cottonwood Café. We go here every single time we visit Yosemite. Their portions are big and somehow they’ve been able to source the freshest pineapple and cantaloupe in the state – and they give you a slice of fruit with every order. We were even able to convince our very hungry friends to wait it out for the food and they said it was worth it!
Supply List
The Usual List
Backpack
Tent
Sleeping Bag
Sleeping Pad
Sleeping Bag Liner
Camp Stove
Lighter or Matches
Cooking Pot
Food
Water Vessel
Water Filter
Headlamp
Clothing
Trip Specific Things
{Summer Stuff}
Bear Canister
The park doesn’t make you carry one, but it’s convenient for keeping bears and other forest friends from getting into your food and other smelly things. We use the BearVault BV450 Food Container and we love it. It’s durable, light and fits all of our food for two to three day trips.
Rain Jacket
You’ll be very prepared for the daily 2pm Sierra Nevada thunderstorm.
{Winter Stuff}
Assembling a backpacking kit during the winter is a bit more involved than during the warmer months. Click here, for a full lesson on how to upgrade your regular kit to a winter kit. Here’s a cliff-notes version:
Winter Hiking Trails Map and Strava App or Hiking Project App
Without this map and a back-up app, we’d probably still be wandering around the park. Seriously, winter navigation is hard and you’ll need some good tools to help you figure it out.
Sleeping Pad
We bring our sleeping pads on almost every trip, but it’s extra important to bring a sleeping pad on trips where you’ll be sleeping on snow. The sleeping pad elevates you off the ground and most sleeping pads are made of a material that reflect your body heat back at you. On our first snow trip ever, I had this idea that snow is “soft” and I didn’t need my sleeping pad – don’t be like me. I froze, slept no hours, and it was not fun.
Sleeping Bag Liner
After having a good sleeping pad, the next piece of gear to upgrade for winter travel is your sleeping bag, but good sleeping bags can get expensive. I recommend adding a sleeping bag liner into the mix before upgrading your sleeping bag. Sleeping bag liners can improve the rating on your sleeping bag by 20°F and cost way less than a new sleeping bag.
Four-Season Tent
These are expensive and not 100% necessary, but having a four-season tent does significantly increase comfort on snow trips. We have the Hilleberg Jannu, and this thing insulates and blocks wind almost as good as our actual house. At 7 pounds, it’s also surprisingly light for a four-season tent. It costs a whopping $975, so this is the very last thing we upgraded in our winter backpacking kit.
Hand-Warmers
They’re just so cozy in the morning. We keep a pair of these hand-warmers in our packs year-round just in case the weather gets colder than expected or we need a little extra warmth. We also stick them in our boots on extra cold mornings when our boots freeze overnight.
Thinking about doing this trip? Have any questions? Comment down below!
More Happy Packers
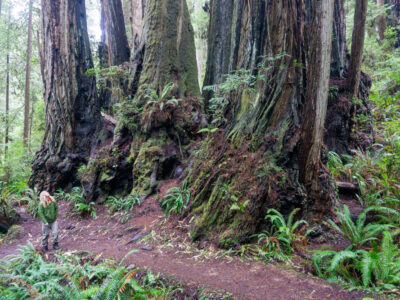
This loop is a tour through the many wonders of Redwood National including the famous big trees, a moody beach, and the mystical Fern Canyon.

This is the perfect any-season beginner trip for anyone wanting to dip their toes in backpacking.
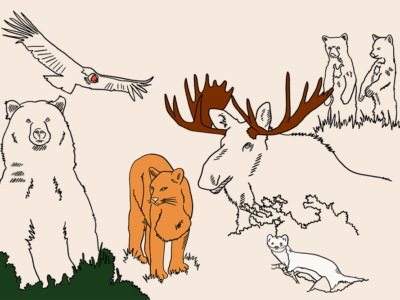
Animals in the wilderness can be scary, but they don’t have to be. Here’s how to feel perfectly at home with the bears and mountain lions.