23 Sep Yosemite Falls – Snow Creek Loop, Yosemite National Park


guides // backpacking // northern california
Yosemite Falls – Snow Creek, Yosemite National Park, California
When we lived in the Bay Area, this is the trip we took our friends on when they came to visit and wanted to try out backpacking. We really wanted to show our first-time backpacking friends the best of Yosemite, so we chose a route that would take us through all the major landmarks and have epic campsites right on the valley rim. We even scored a campsite with Half Dome-views one of the nights. Additionally, this route has a short detour to North Dome along the way, which is probably the best kept secret of the park.
Quick Notes
Pictures taken July 2017 and October 2017
Total Distance: 17.7 miles
Elevation Gain: 5,055 feet
Difficulty: Hard
Days: 1 – 2 Nights
Hike Type: Loop
Trailhead: Yosemite Falls / Mirror Lake
Seasons: All Seasons
Permit Requirement: Yes, Year-Round
Camping: Dispersed Camping
Map: National Geographic Yosemite National Park
Water: Filter along the way

When to Go
The park claims that this trail can be done year round, but I can only imagine how treacherously icy the steepest parts get in the winter. You’ll be gaining 4000-ft in about 1 mile so you’re basically on a vertical wall for 2 hours – I’m not sure I’d want to add ice to that. If you do end up trying it out in the winter, definitely bring crampons or micro-spikes in case things get slippery.
Beyond winter, you can pretty much take this trip in any other season. The Yosemite Falls Trail gets a lot of sun so the snow will likely be melted early in the season. Further north, the Snow Creek Trail is a lot shadier, so you may see some snow on the trail as late as May, but it shouldn’t be too bad. When we went in early July, we only saw a couple of patches of snow at the very top.
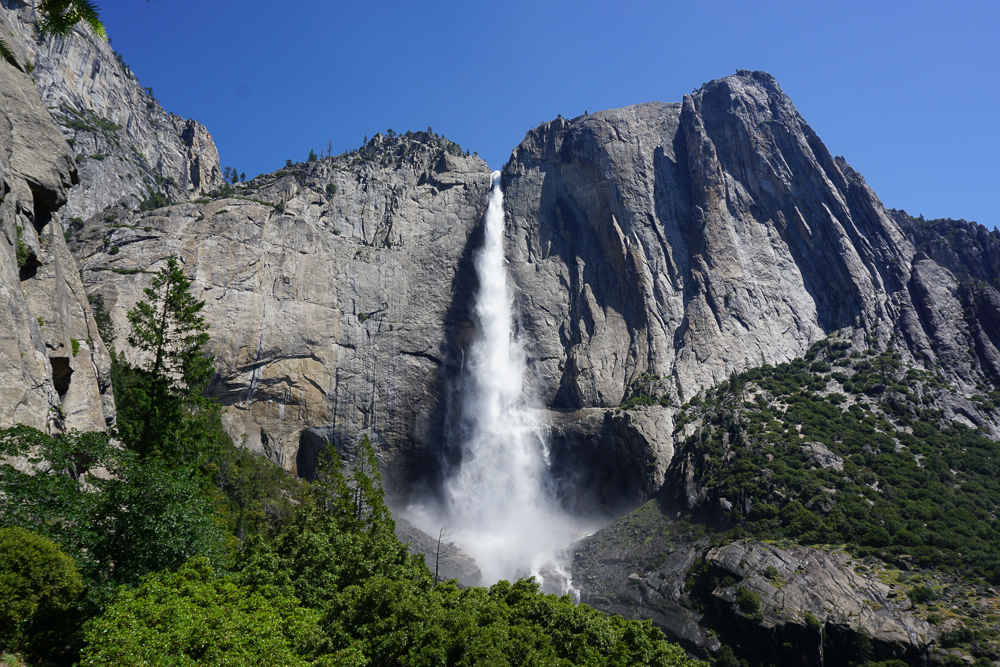
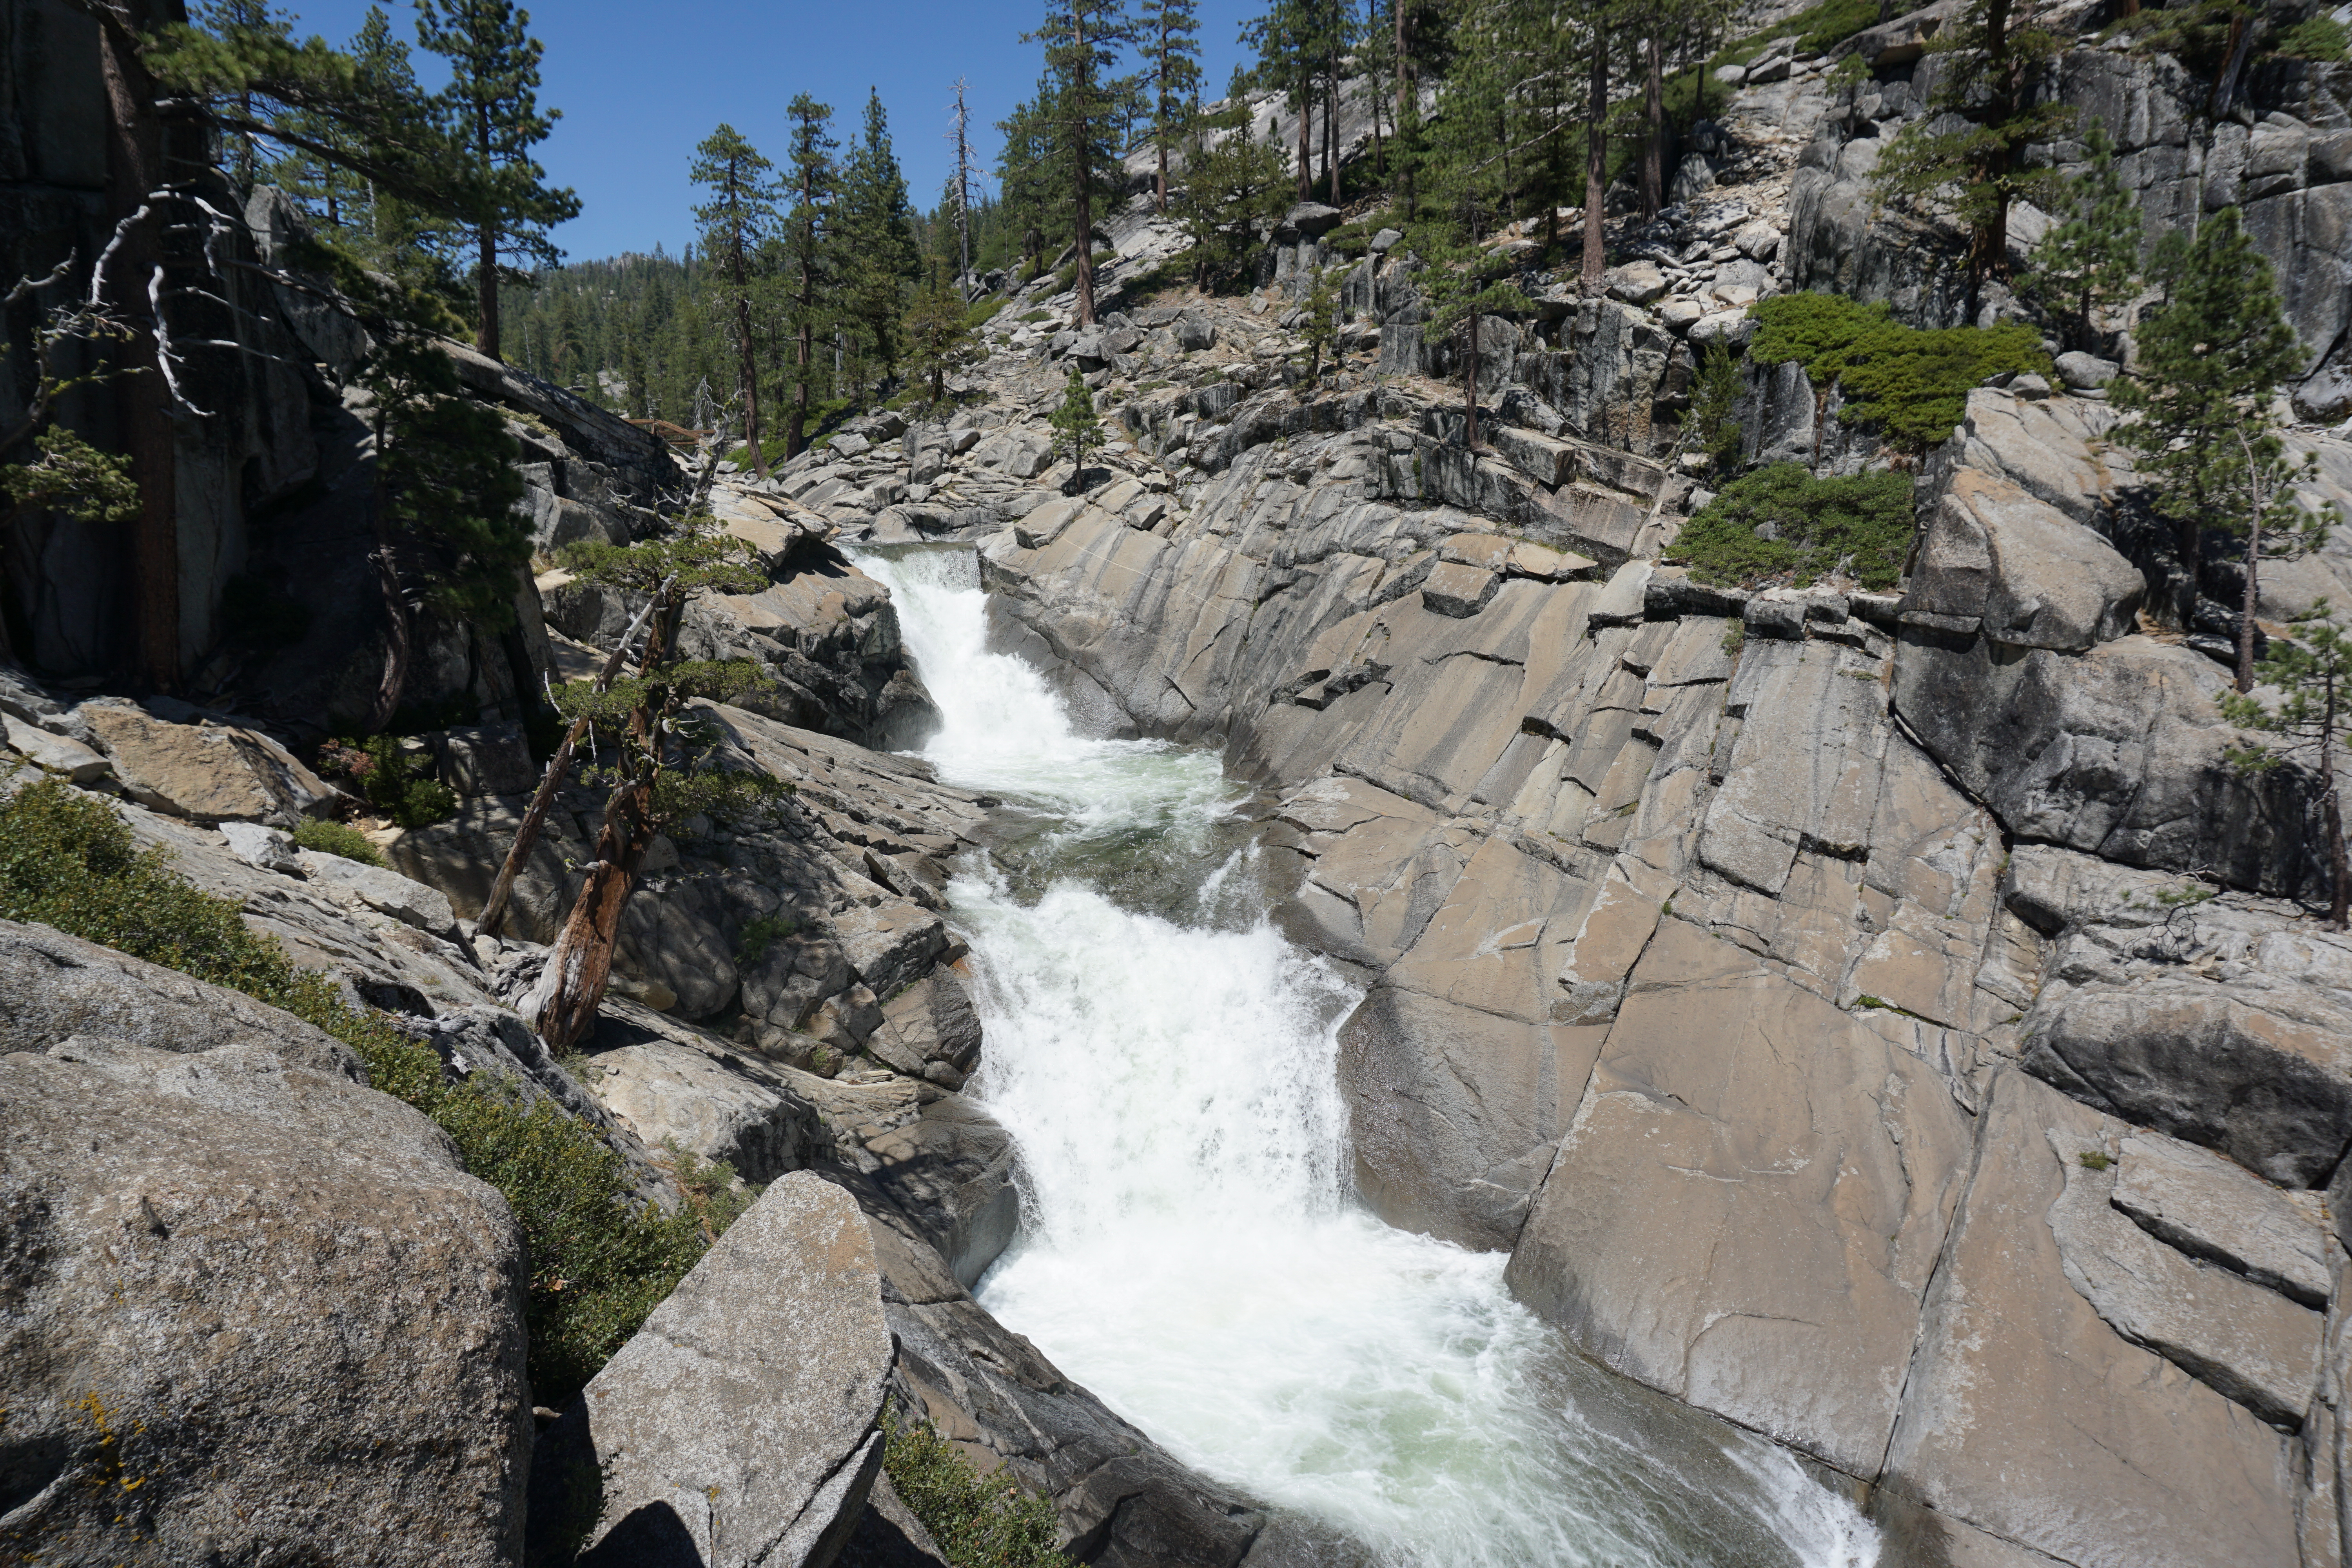
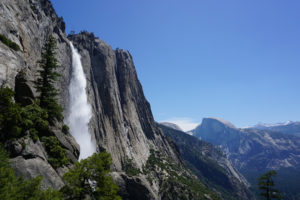
One more thing to think about when choosing when to go is how much of a waterfall you want to see. Yosemite Falls is a roaring water monster in July, but by October, the snow melt has come and gone, and the waterfall has lost a lot of its juice. If you want to see the waterfall in full power, you should go sometime in June or early July.
The best way to check current conditions is to either call the Yosemite Wilderness Center or check the current conditions report published by Yosemite Park Rangers every couple weeks. If you’re visiting in winter though, the Wilderness Center closes for the season on October 21, so that one won’t be an option for you. The Yosemite Conservancy also operates four webcams across the park where you can check out current conditions in real time. Just remember to check the cams during the day when it’s light out – it may seem obvious, but I’ve definitely made that mistake… multiple times.
Checking Current Conditions
Yosemite Wilderness Center (209) 372-0200
Trip Cost
Park Entrance Fee*
Wilderness Permit Fee
Wilderness Permit Reservation
$35
Free
$5 per reservation + $5 per person
*If you know that you’re going to be going to a national park more than three times in a year, it’s worth it to buy a National Parks Pass. They’re $80 and sold online, at all REI locations, and National Park Visitor Centers.
Before You Go
The first step in planning this trip is deciding where you want to start and end the hike. We decided to start at the Yosemite Falls Trailhead because it was closest to the Yosemite Wilderness Center where we picked up our mandatory backpacking permits and I figured that impressive views of Yosemite Falls would be necessary to motivate our friends to push through the tough hike. Additionally, the Snow Creek portion of the trail is a bit steeper than the Yosemite Falls portion, so it was best to save that for downhill.
The next step is to get a wilderness permit. Wilderness permits are required for all overnight trips in the Yosemite backcountry. While you can get first-come-first-serve permits at the Yosemite Wilderness Center, this trail is so popular, that you should definitely 1000% make a reservation. Also, if you make a reservation, you can pretty much skip the long line at the Wilderness Center when you pick up your permit. Permits in Yosemite can be reserved up to 24 weeks in advance of your trip. Click here to learn how to make online backcountry permit reservations in Yosemite.
If you didn’t end up making a reservation, don’t give up. The park saves 10 out of 25 permits as first-come-first-serve for more spontaneous travelers. This is an extremely popular trail though, so you’ll have to arrive at the Wilderness Center very early (before 6:00 AM) to snag one of these last-minute permits. If you’re in the park a day early, you can also pick up your permit after 11:00AM the day before you start your hike. Unfortunately, if you’re not in the park a day early, this can become one of the many crushing reasons why you may not get your permit – all the first-come-first-serve permits may have been snatched up by people the day before!
On the other hand, if you’re taking this trip in the winter (after October 21), you’ll just stroll up to the Valley Visitor Center and pick up a permit there.
If you get to the front of the line and find out that all your nightmares have come true – no more permits for Yosemite Falls or Snow Creek – you can try out this slightly lesser known trip that also starts near Yosemite Valley.


Getting There
Traffic in the Yosemite Valley is incredibly bad. On busy summer weekends they sometimes have to use park rangers to direct traffic because the roads were not built for 400,000 people a day. That said, we’ve successfully stayed out of traffic with this Dylan-approved method:
We take off from Oakland the night before the hike and plan to arrive at the Yosemite Valley Trailhead Parking around 8:00 PM. There’s a bunch of parking lots in the area and it gets confusing, but if you type in “Yosemite Valley Trailhead Parking” into your map app, you should get to the right place. When you find parking at this lot, do not – under any circumstances – move your car. Don’t do it. Throw your keys in the trash.
After we (hopefully!) find parking, we gather up our sleeping gear and stumble around in the dark trying to find the Backpacker’s Campground. Good luck with this one. The Backpacker’s Campground might be the Atlantis of Yosemite, the elusive snow leopard in the mountains – looking for this campground is the actual equivalent of frantically searching for your car keys when you’re late for something important. Anyways, you walk northward towards North Pines campground and hope for the best. The Yosemite website claims that it’s just behind the North Pines campground on the other side of the footbridge.
When you find the Backpacker’s Campground, you’ll quickly realize that it sucks. Just plop you’re tent down anywhere and fall asleep as fast as possible. Remember to pay $6 per person at the centrally-located message board on the way out the next morning.
We usually wake up bright and early, scurry back to the car, and quickly pack our bags before heading to the Wilderness Center to pick up permits. Once again, do not move your car. Leave your car exactly where it is and once you’re packed, take the free Yosemite Valley Shuttle to the Wilderness Center. The shuttle picks up at Curry Village every 20 to 30 minutes from 7 AM to 10 PM. The shuttle timing works out perfectly, because if you take the first shuttle out of the Curry Village stop, you’ll get to the Wilderness Center just before opening time at 8 AM.
Once we pick up our permits, we hop back on the shuttle or walk the 20 minutes to the Yosemite Falls Trailhead. Also, if you need any last minute supplies or souvenirs after your trip, there’s a pretty nicely stocked market and gift shop next to the Wilderness Center.
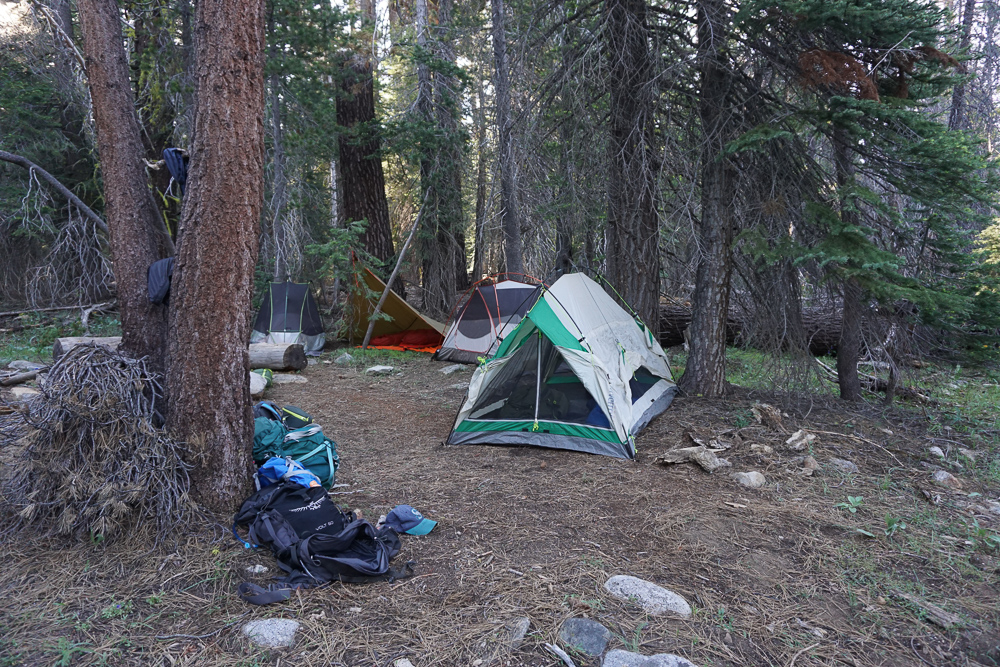
Dispersed Camping
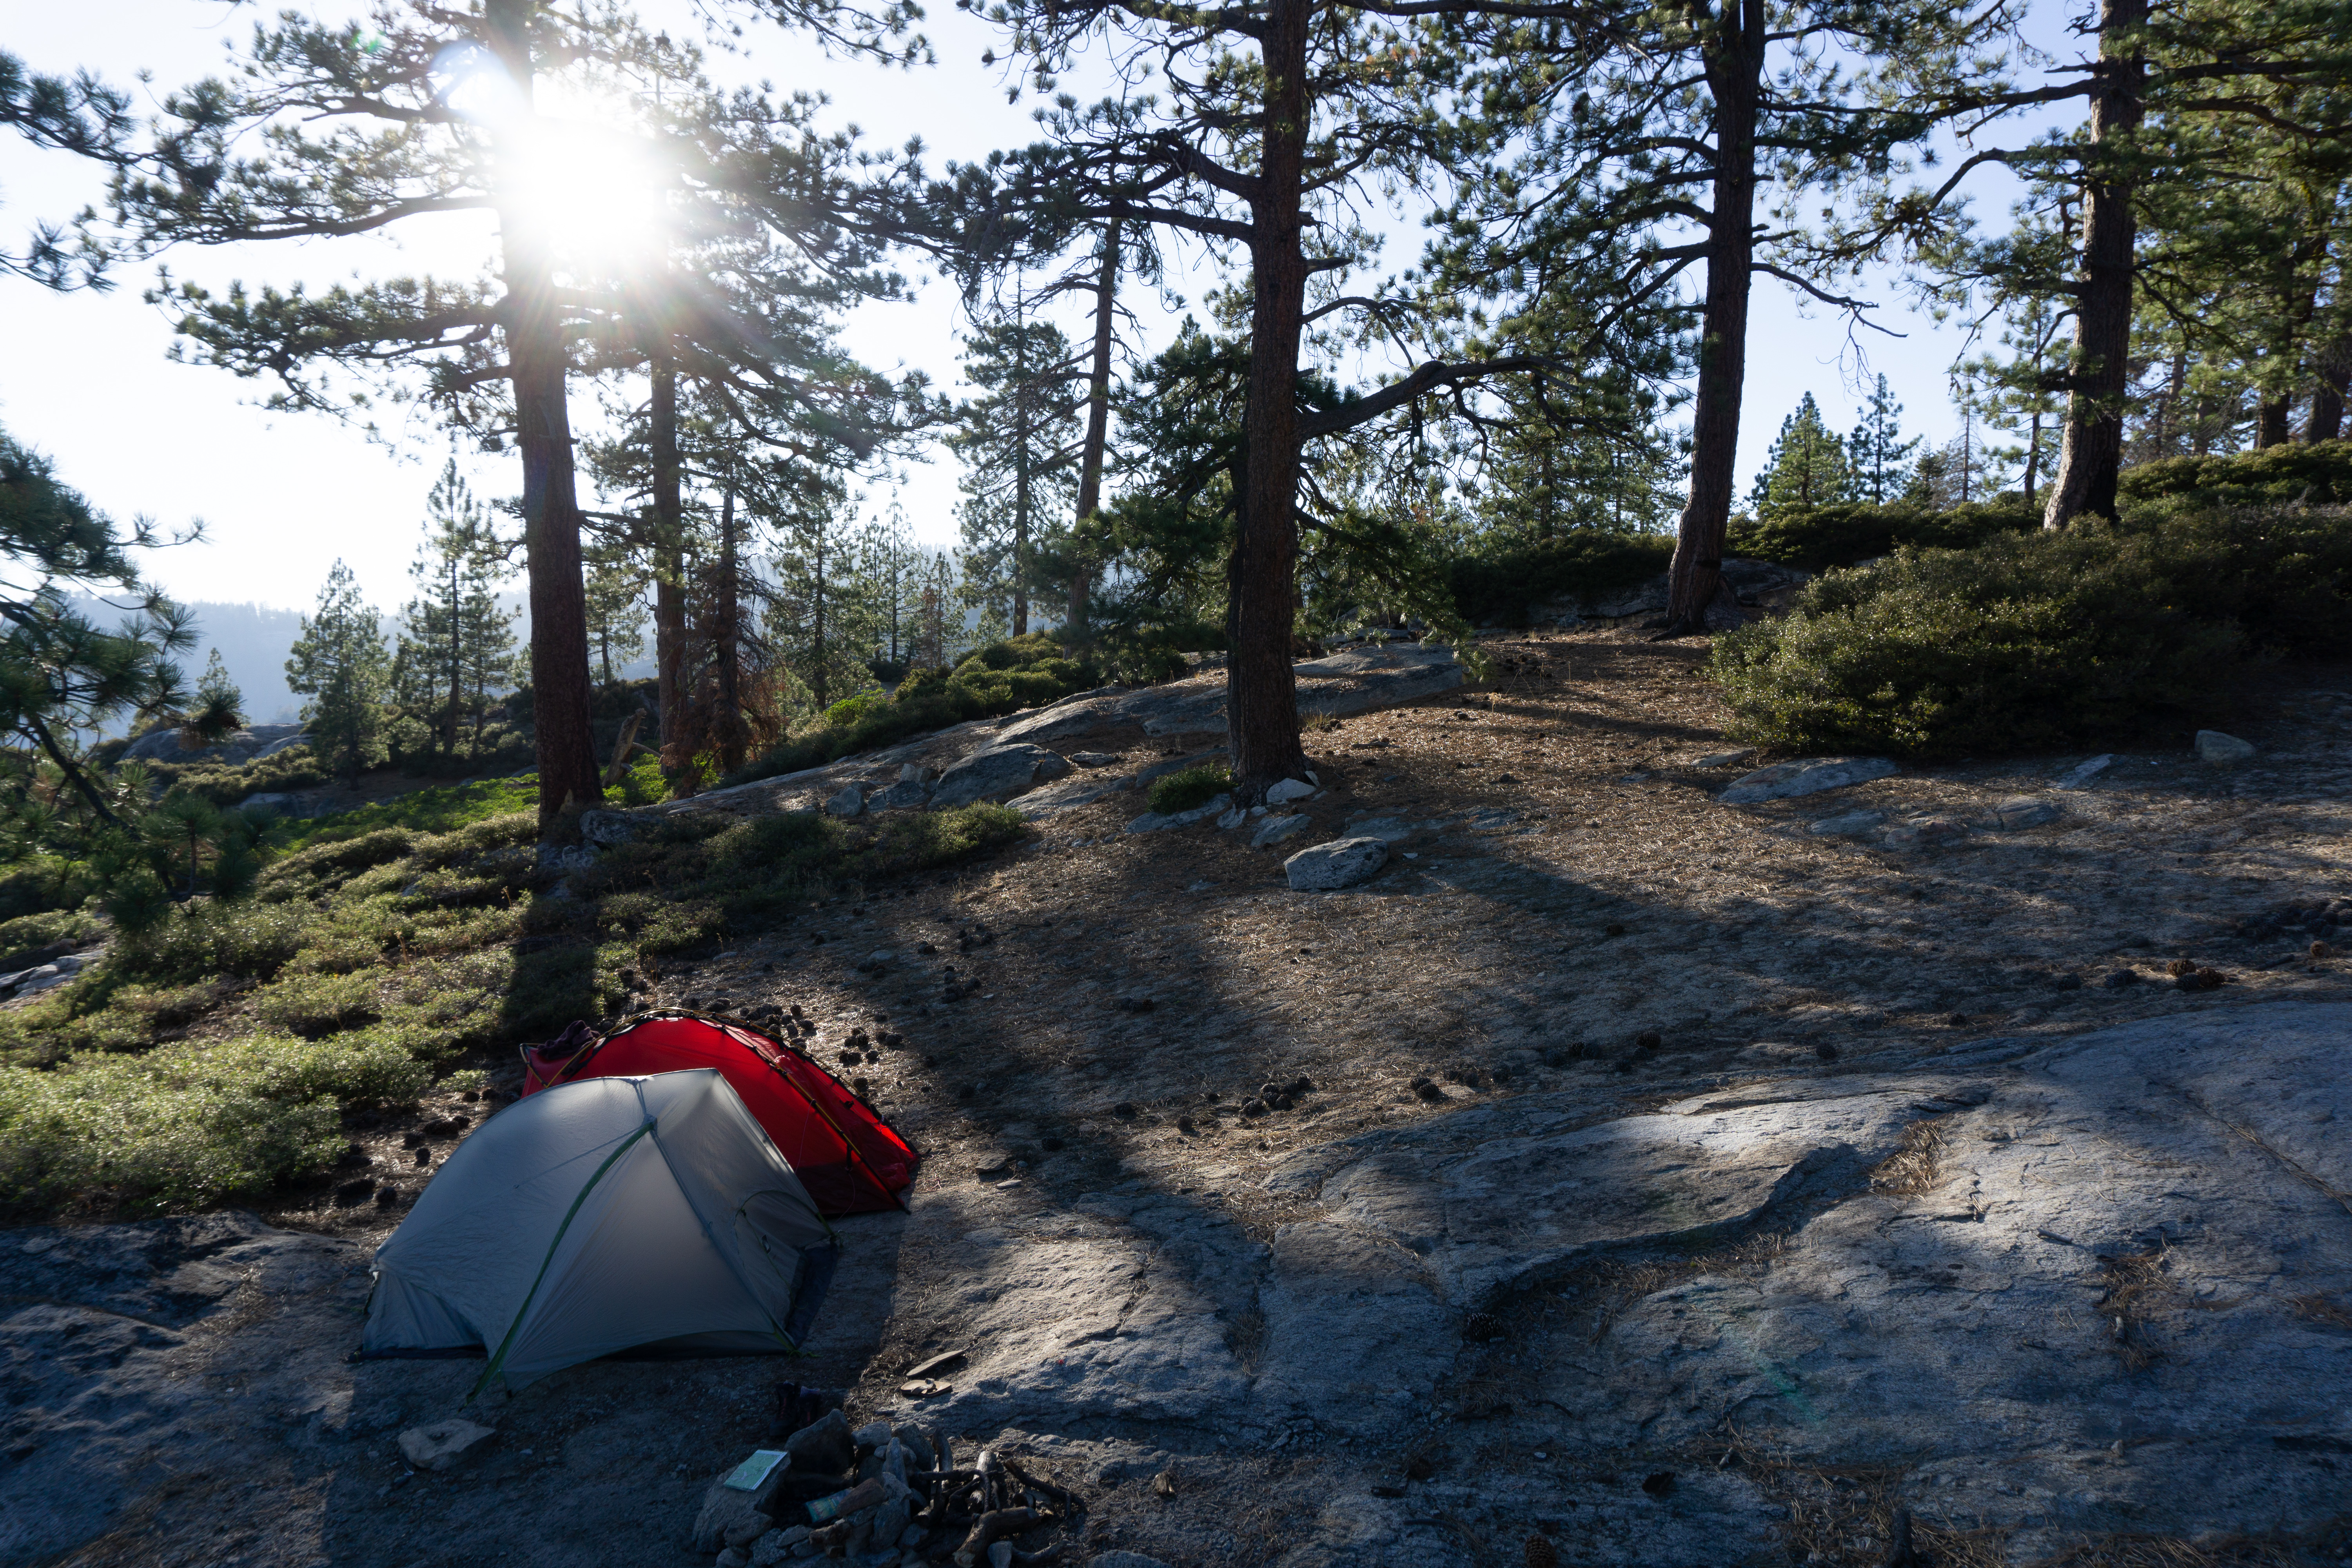
Yosemite National Park has some of my favorite rules for backcountry camping of the entire National Park System. They allow “dispersed camping,” which means that you can camp anywhere in the park as long as you hike at least four miles away from the trailhead and pitch your tent at least 100 feet away from the trail and from water. We try to pick campsites that are on durable surfaces like dirt or rock, near-ish water (for easy filtering), and in a location where it would be hard to see us from the trail. Never camp on any type of vegetation; the growing season for the plants in the Yosemite High Country is so short that it’s best not to squish them.
If you are camping below 10,000 feet in elevation (all of this trail is below 10,000 feet), you are allowed to have a fire in the backcountry (if there’s no fire ban in effect). If you want a fire, you have to find a previously established fire ring. The park rangers make these, so take care of them and don’t make your own. We almost never have a fire though, because no matter how careful you are, back country fires are still very risky and we really don’t want to put Yosemite in danger.

On the Trail
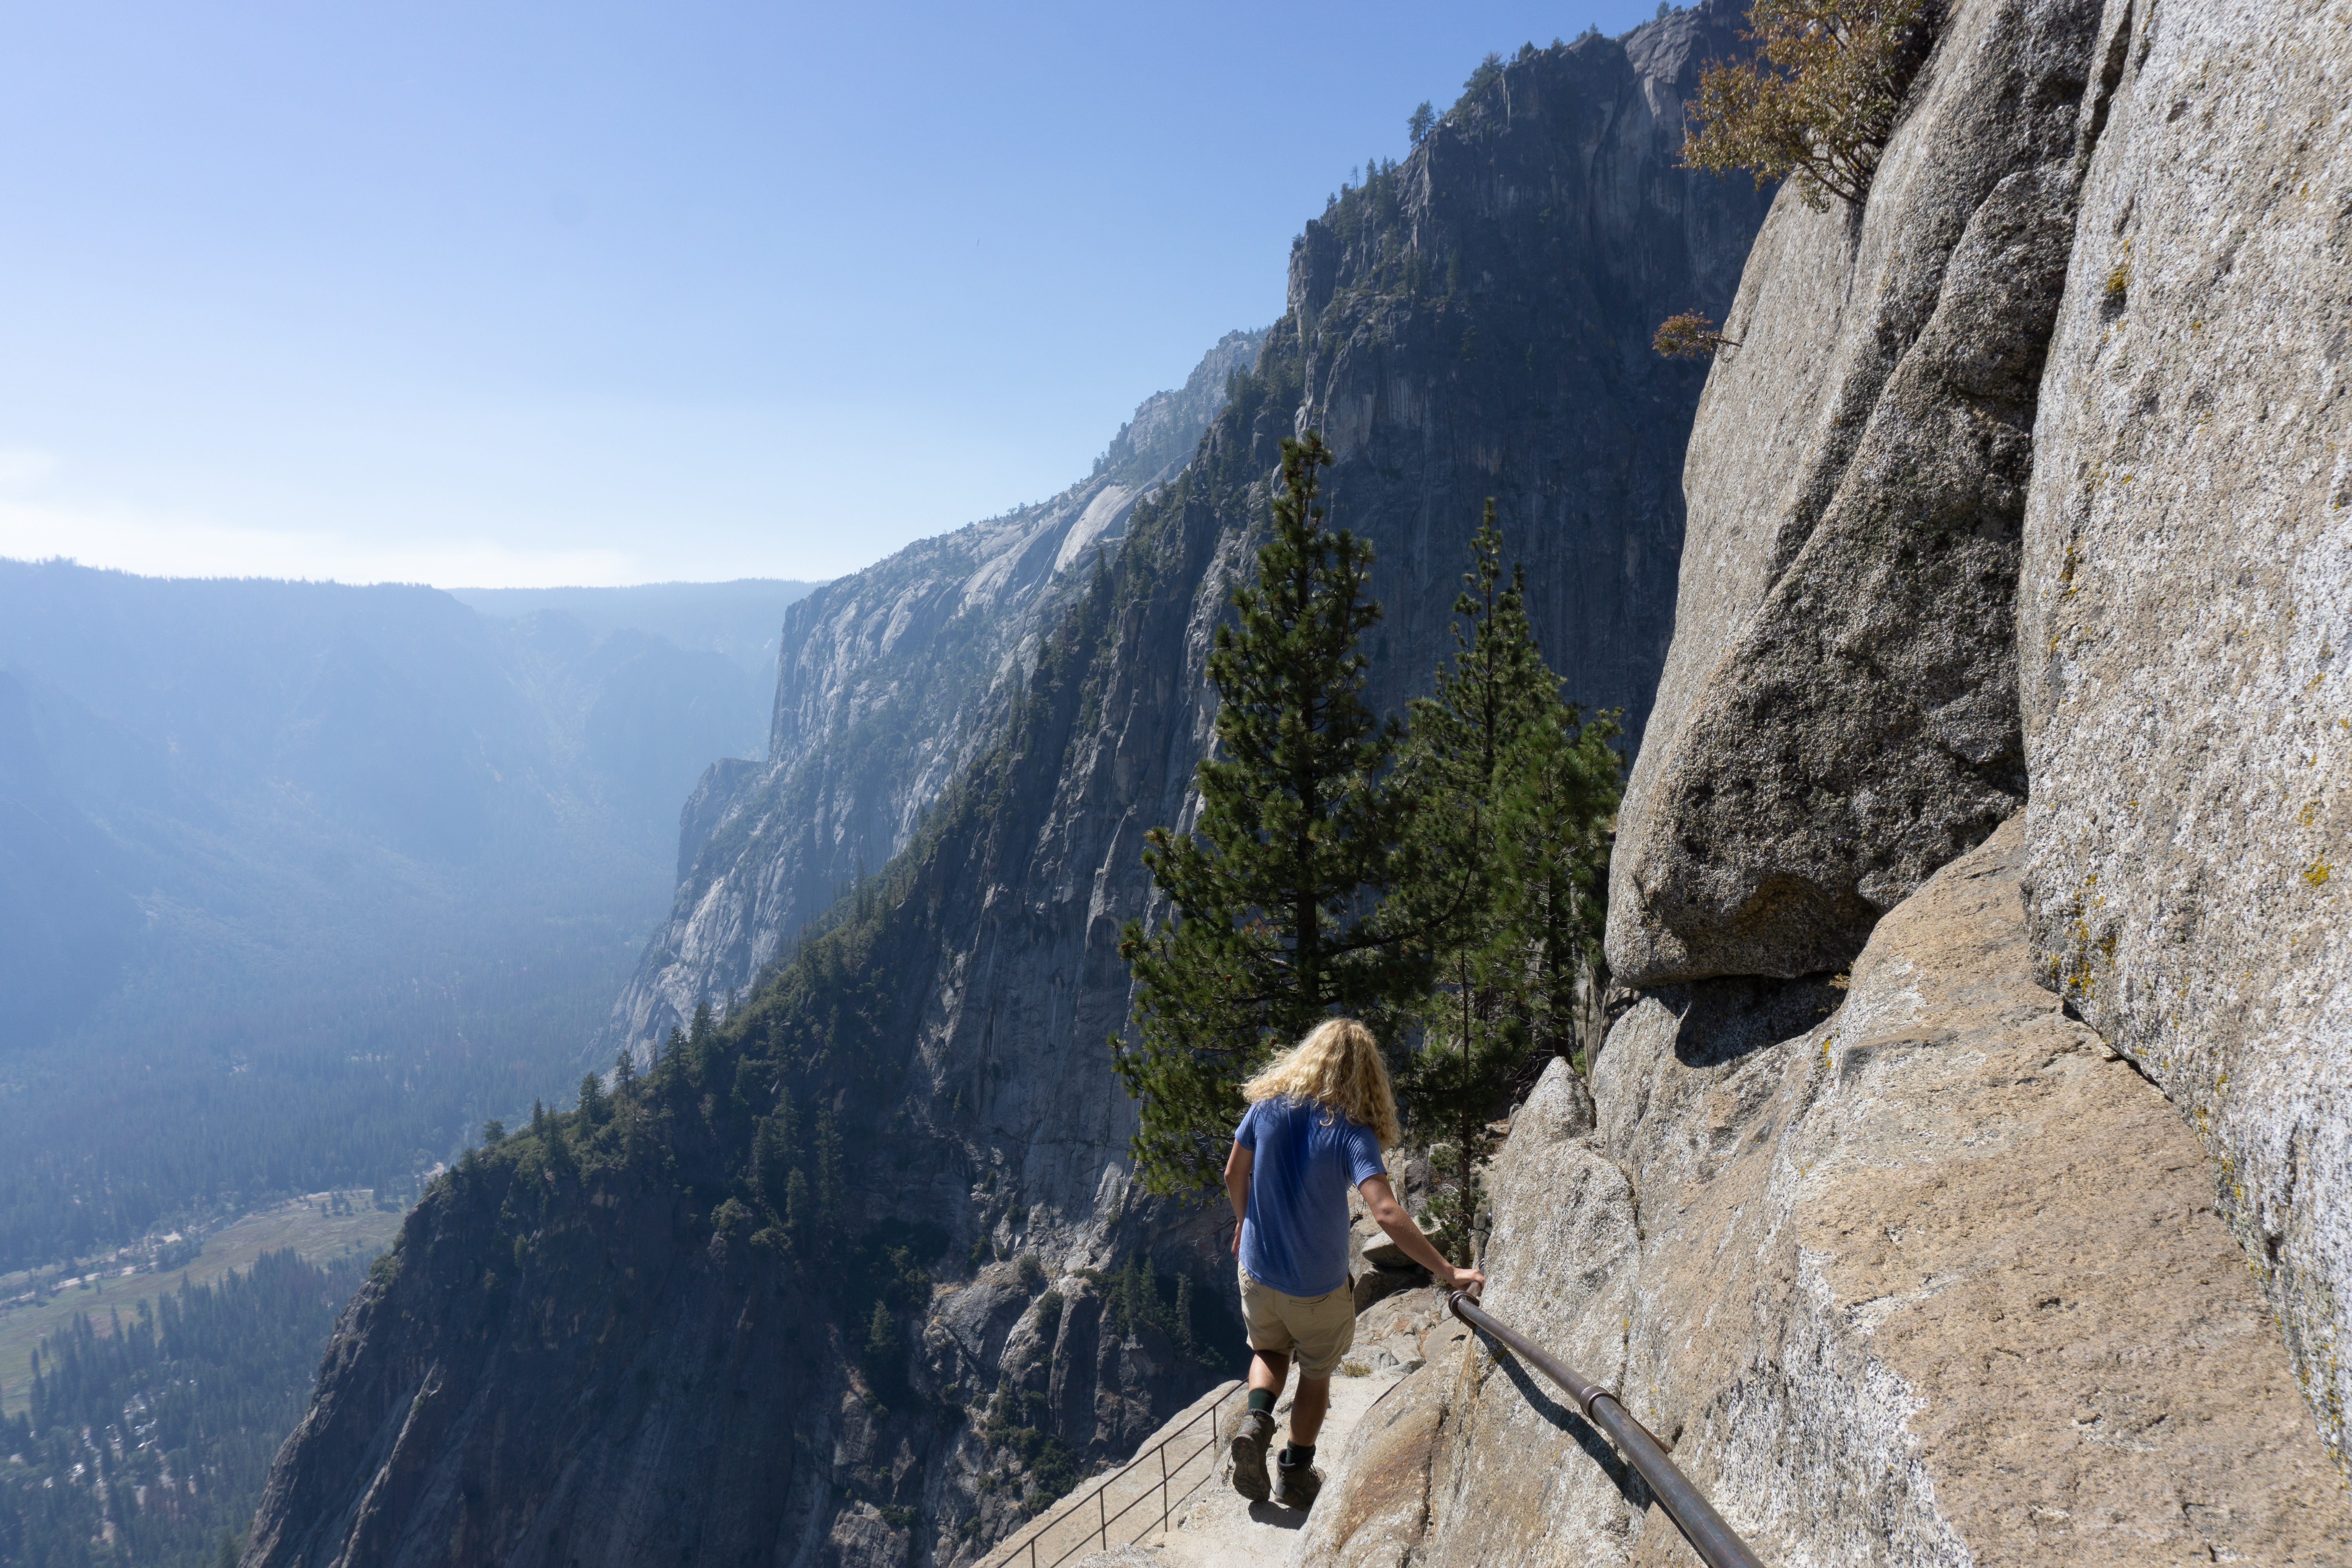
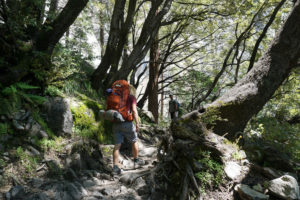
The first 4 miles of the hike are a steep and brutal series of switchbacks that seem to just get steeper the higher you go. The only glimmers of hope are the small, hiker-made rest areas along the way, where people often stop to catch their breath. This is one of those trails where you’re constantly playing leapfrog with hikers around you, as people take turns passing each other and then stopping for rest. Also, beware that this trail is a lot more crowded than your typical backcountry trail in Yosemite, so you might get a few questions about why you’re carrying such a large backpack.
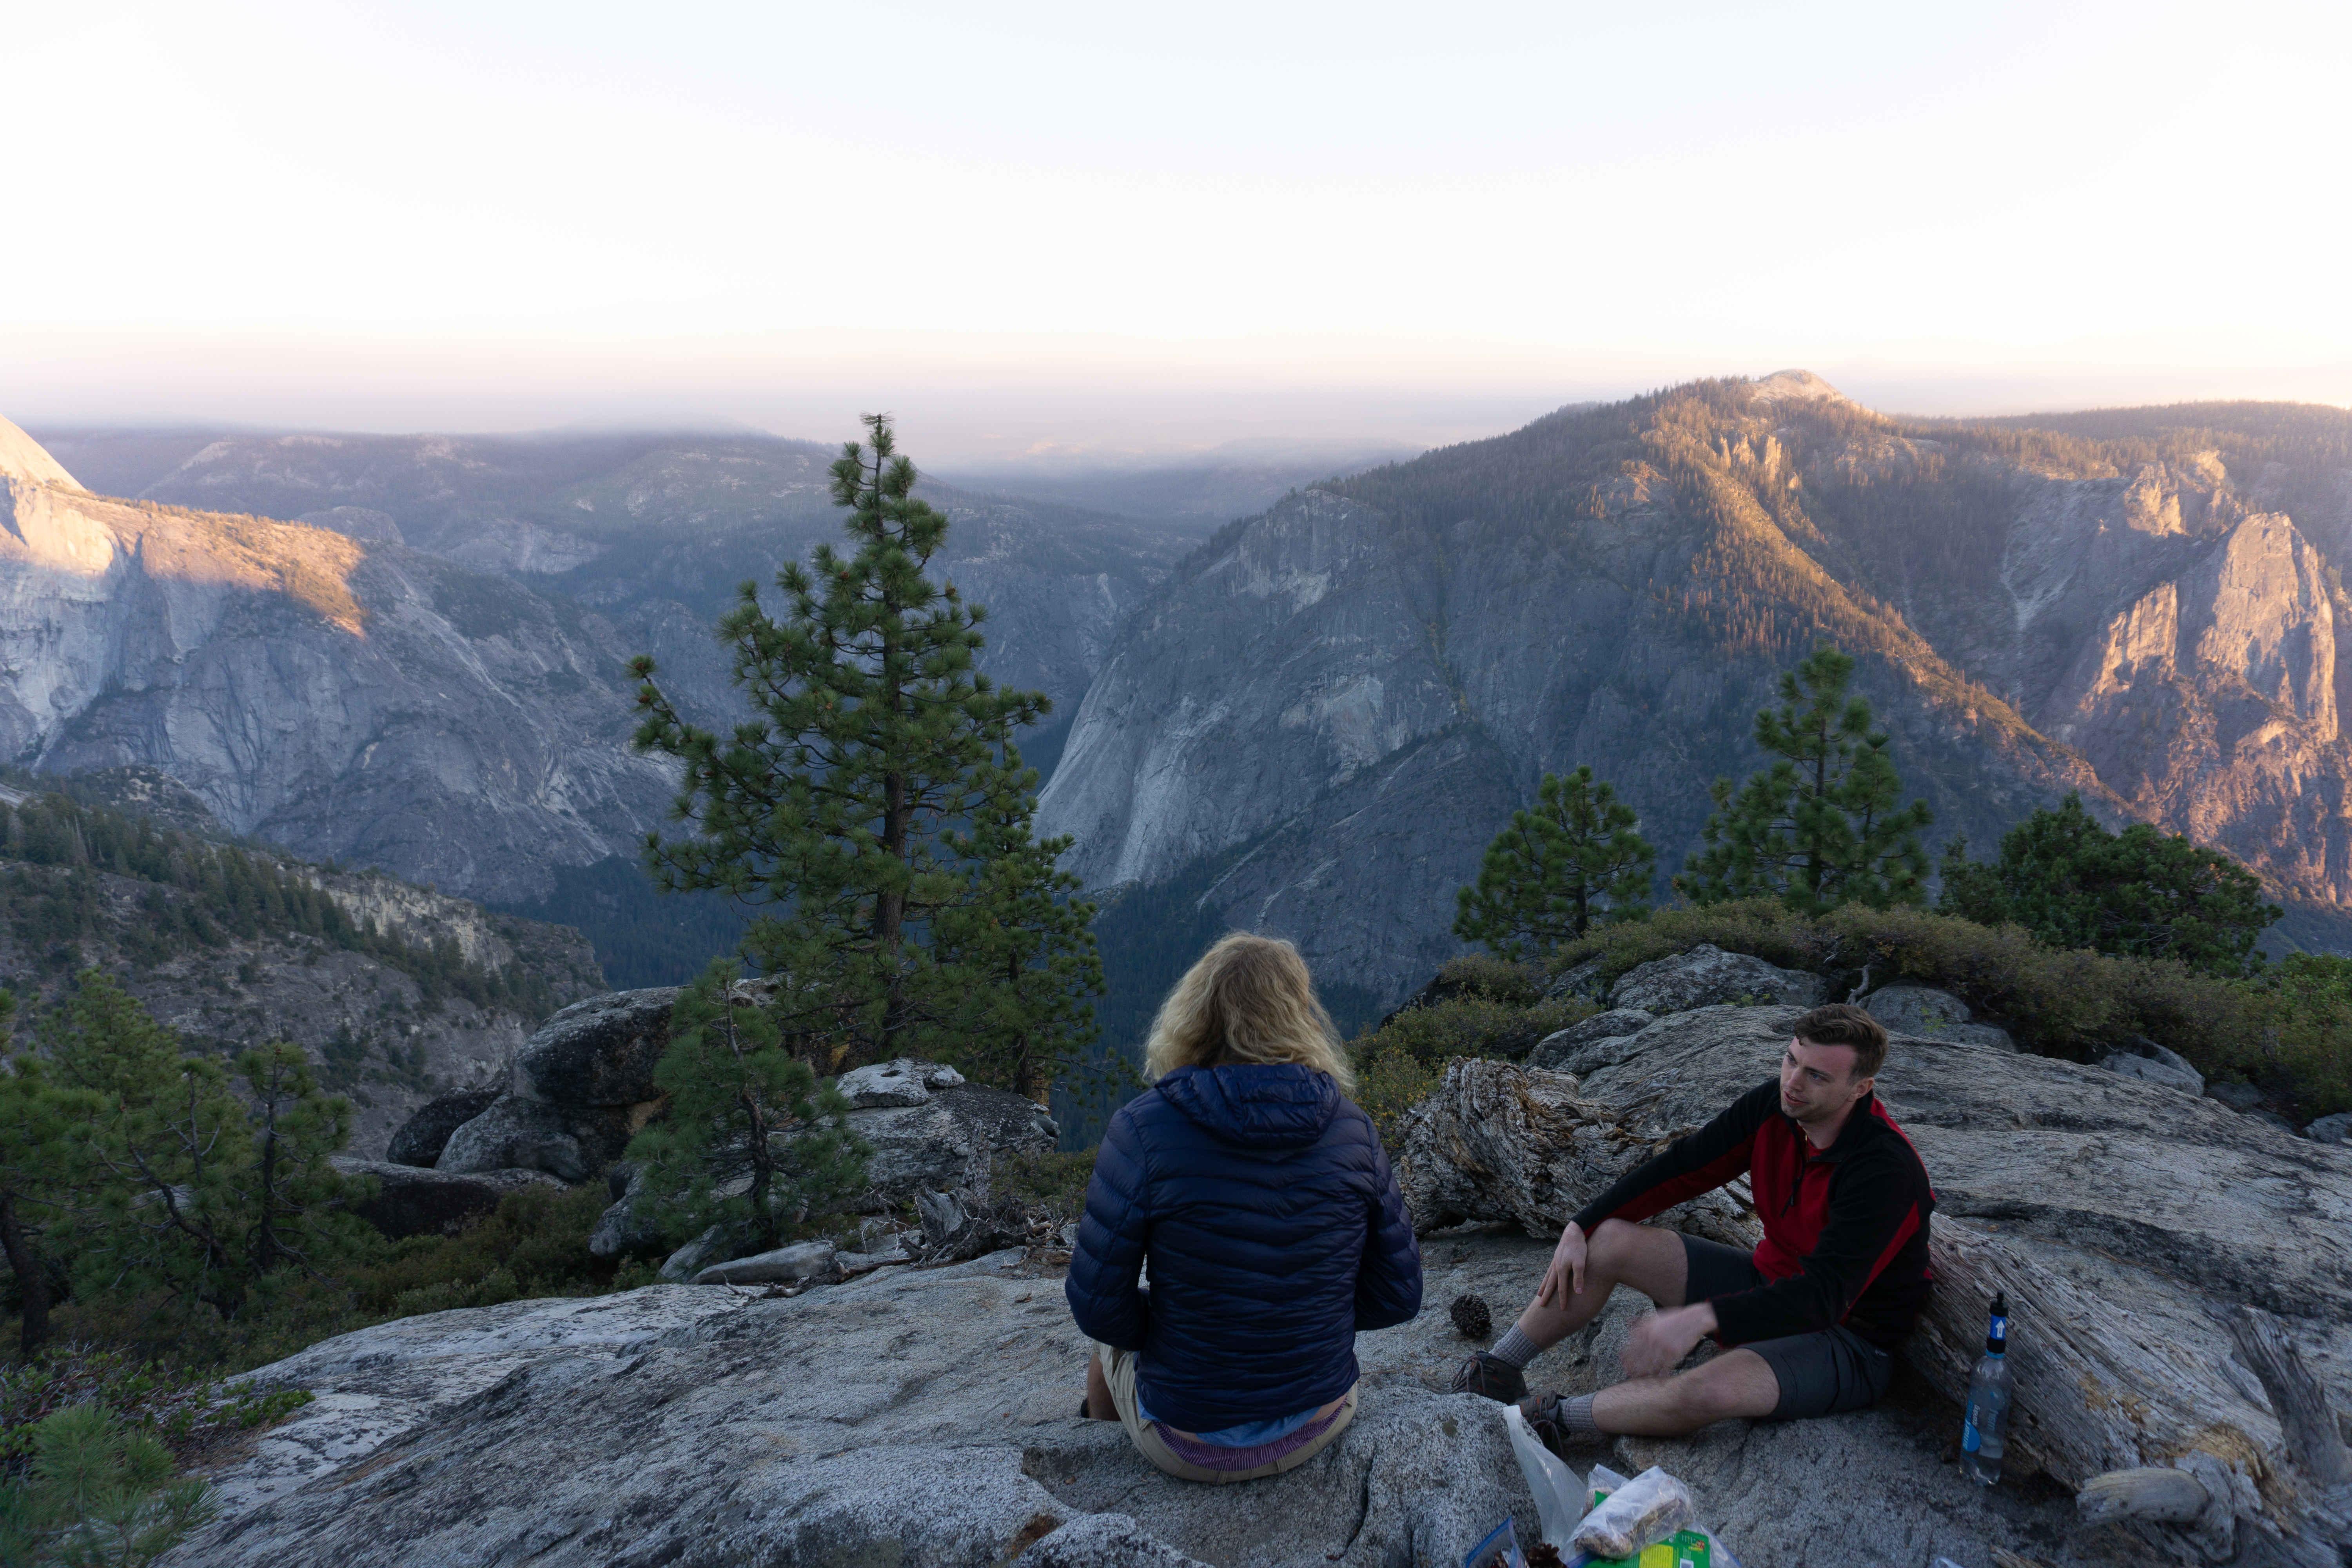
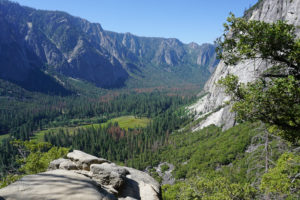
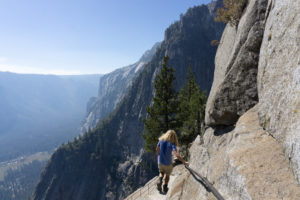
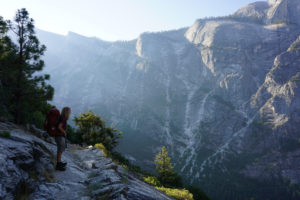
The trail emerges from the mega-switchbacks into a woody area with tons of comfortable resting spots. We ended up sitting around and having snacks while we waited for all our friends to catch up. From this area, there’s a spur trail that takes you down to the Yosemite Falls overlook. There’s two levels to the overlook — a large slab-y area with panoramic valley views and plenty of space to lounge around, and then below that, a ten-foot wide shelf carved into the cliffs where you can get an even closer look at the waterfall.
After spending some time at the overlook, we returned to the junction and followed the original trail northward to Yosemite Creek, which (predictably) feeds into Yosemite Falls. The creek was so calm that some people were actually wading in the water about 50 feet from where the waterfall starts. That was insane to me — I would never trust my swimming ability enough to casually wade in a pool at the edge of the Earth like that.
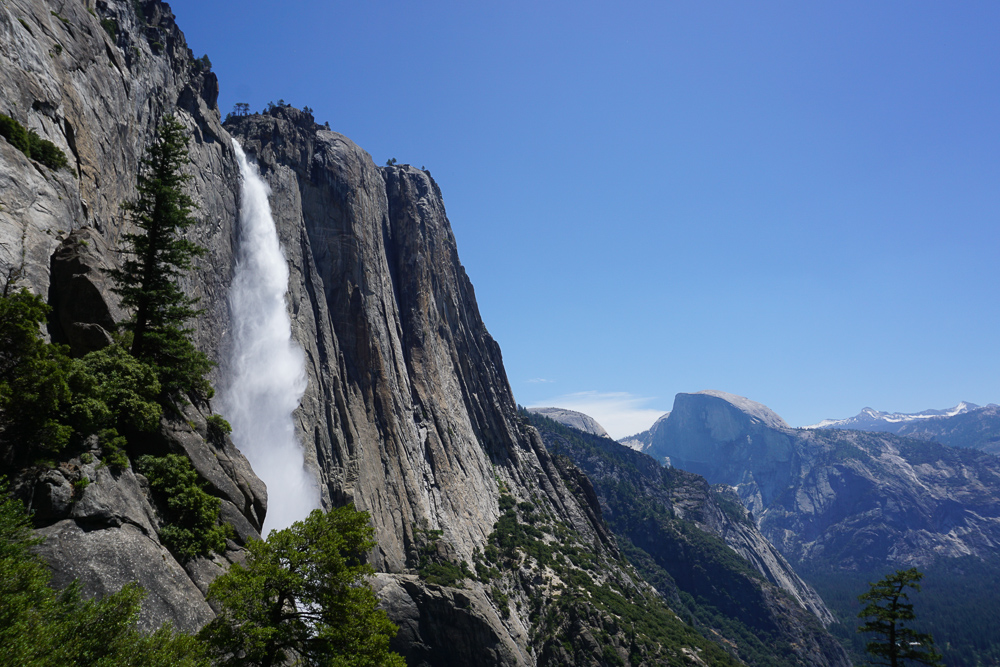
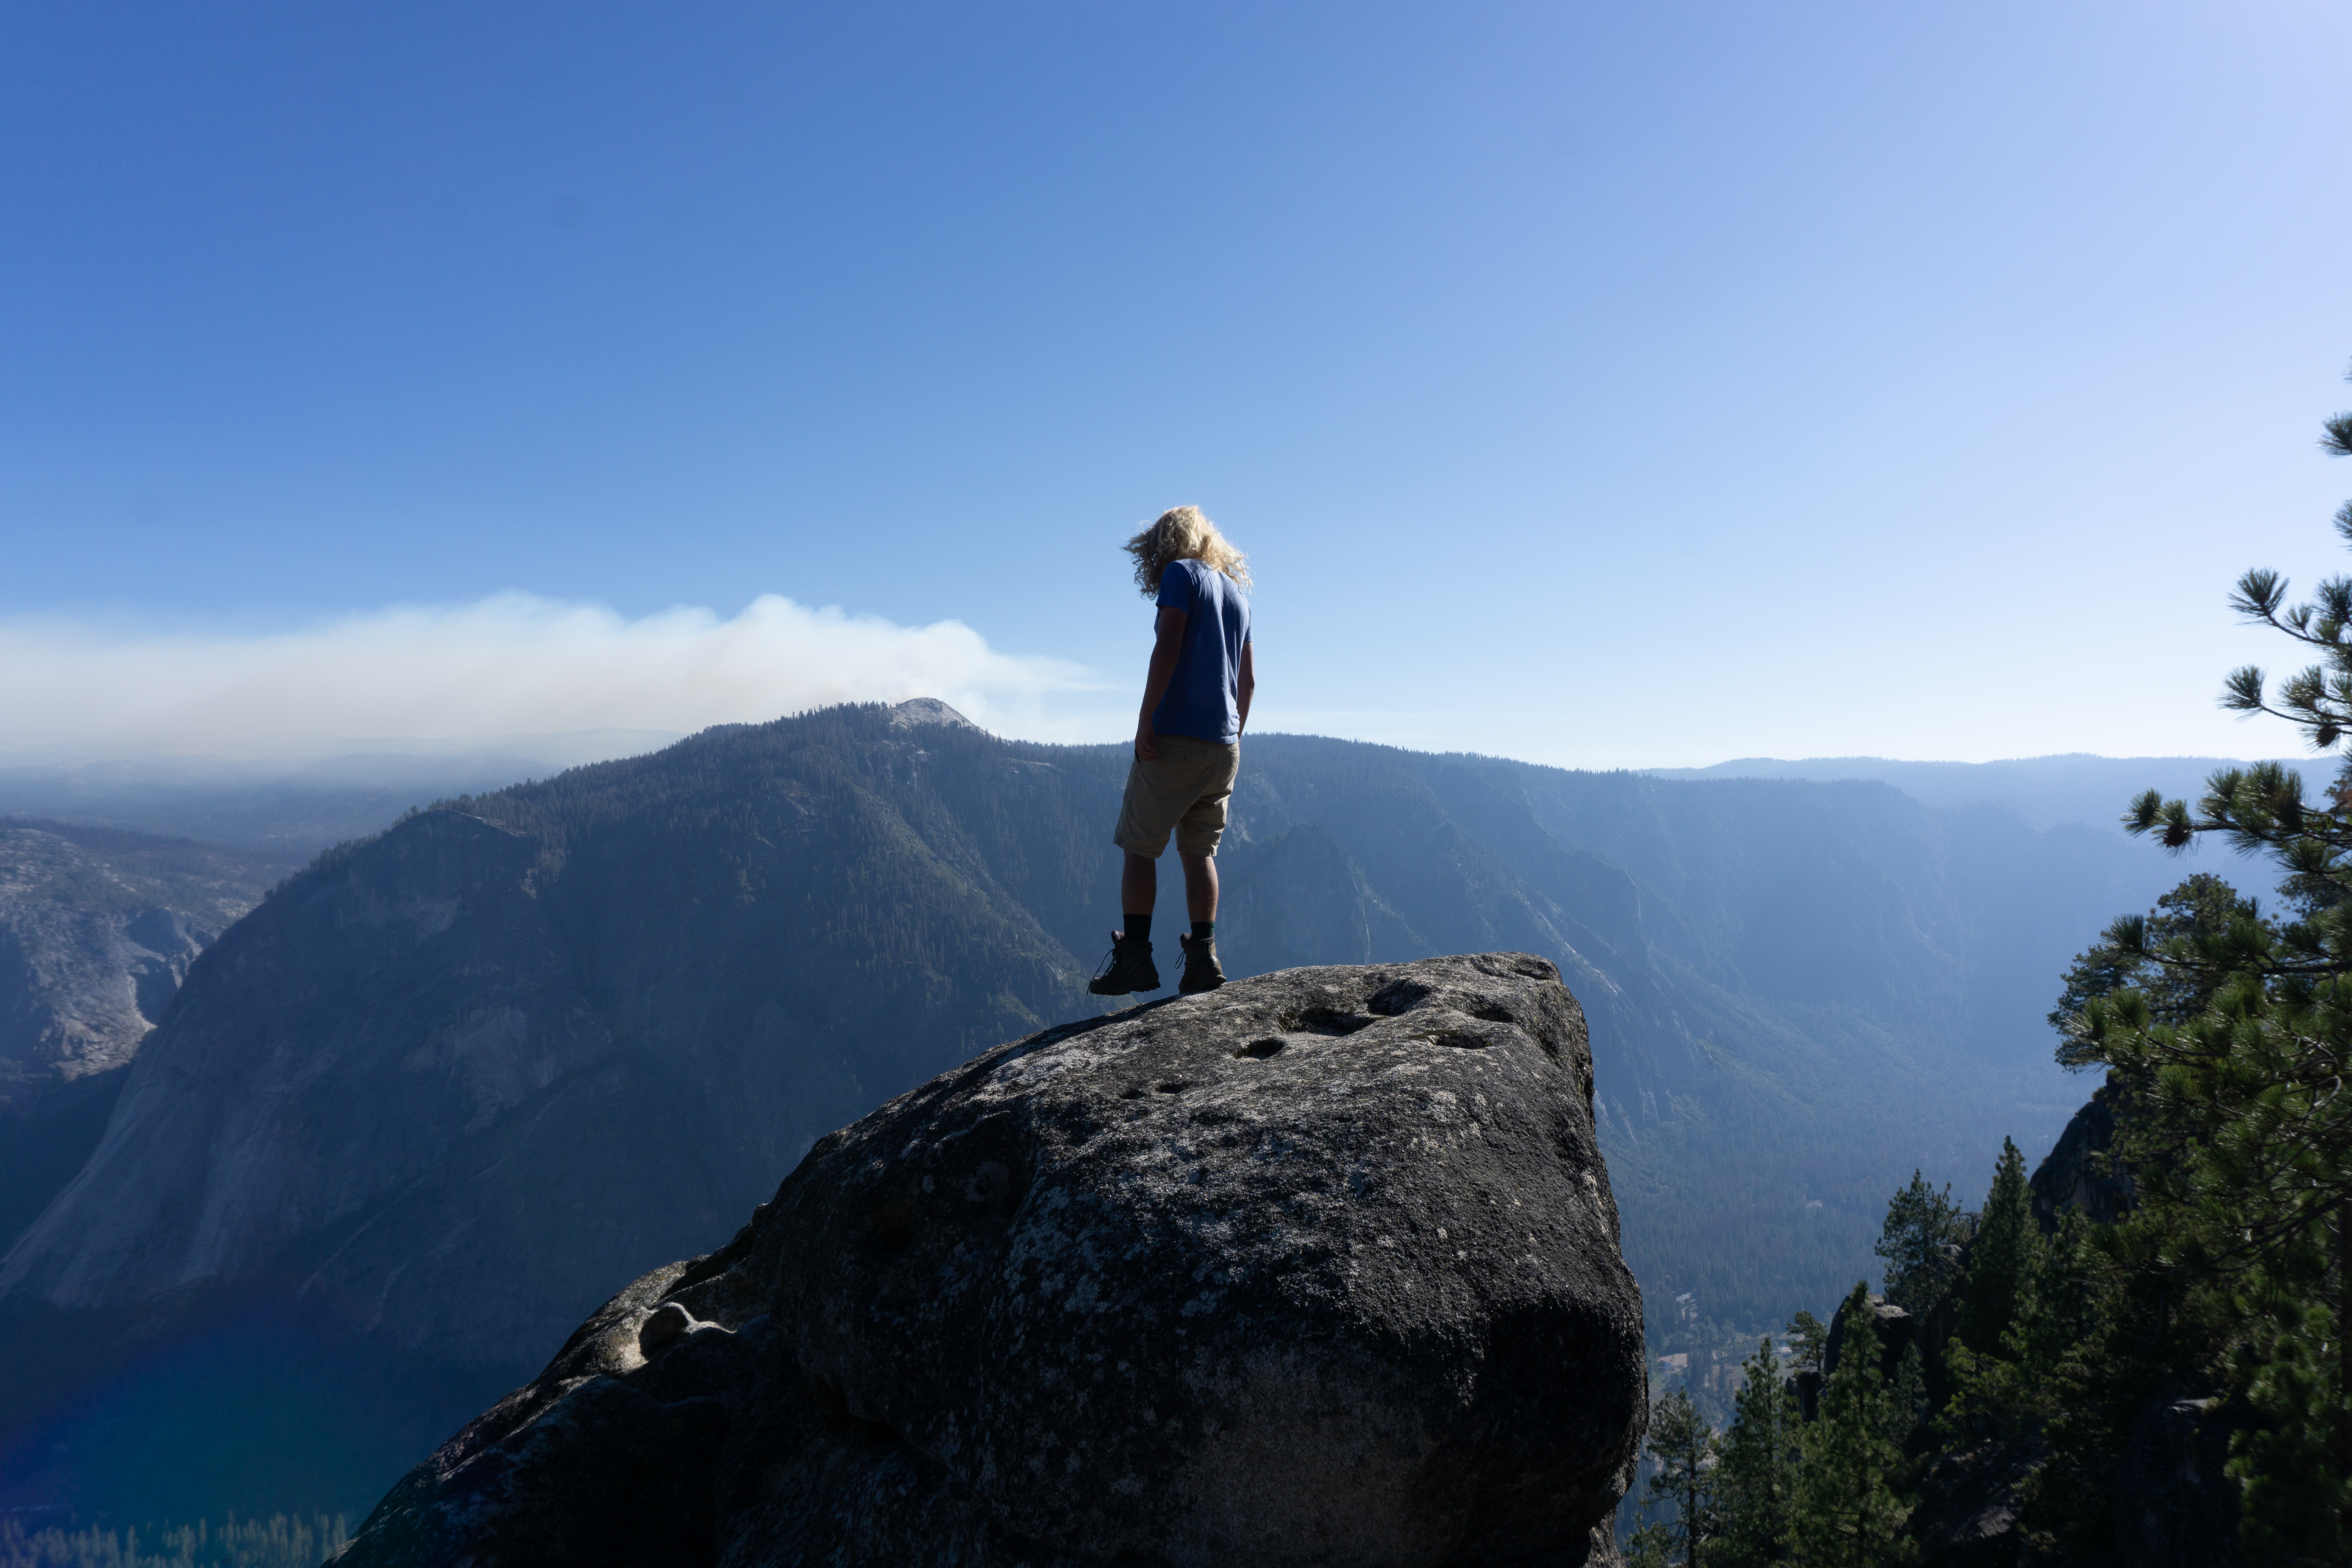
About half a mile after the creek, there’s another viewpoint called Yosemite Point. We stopped at this one for a bit but everyone was more in the mood to find a campsite and finally sit down for good. We started scouting for a camping, but surprisingly, finding a spot with views and nearby water was a lot harder than expected.
As we found out , if you want a campsite with a view of the valley (and maybe Half Dome), you’ll have to do a bit more planning when it comes to your water supply. There’s a couple tiny streams along the trail, but the most reliable water sources are Yosemite Creek and Lehamite Creek. The creeks are separated by about 2 miles. There are a couple really nice campsites about halfway between the two creeks, so you’ll either have to fill water super early at Yosemite Creek or backtrack from Lehamite.
We didn’t know this, so we ended up filling water at Lehamite Creek and then looking for campsites just north of the creek. It was near impossible to find a campsite with a valley view in this area. I went on a couple search missions off the trail towards the valley rim, but found absolutely nothing. Our friends were also exhausted and didn’t want to move anymore so we settled on a campsite with a distant view of the valley through a bunch of trees.
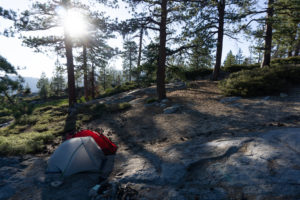
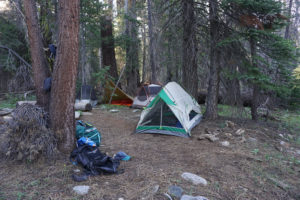
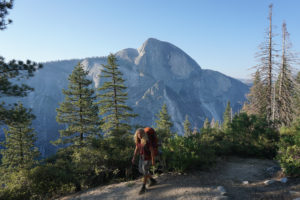
On our second trip here, we hiked farther north away from Lehamite Creek and found another cluster of amazing valley rim spots. The easiest way to find a good spot is to explore rocky areas of the valley rim where the trees clear out. I like to leave my pack with Dylan and just run around the entire area until I find something good. This time I found a couple spots, each with different views of Half Dome. We decided to stay at the flattest campsite with the largest amount of room for two tents.
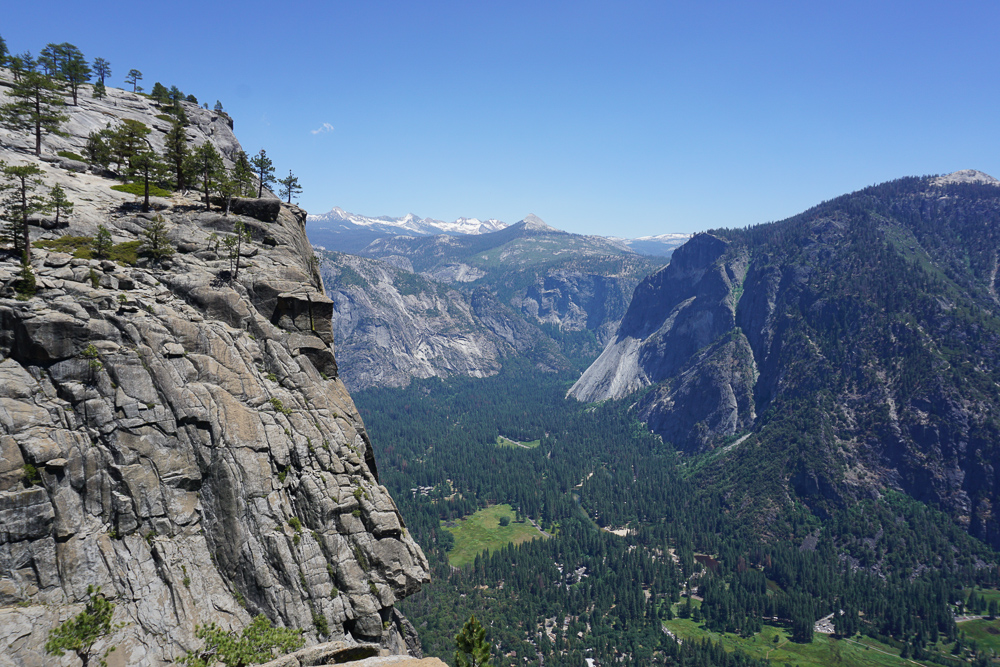
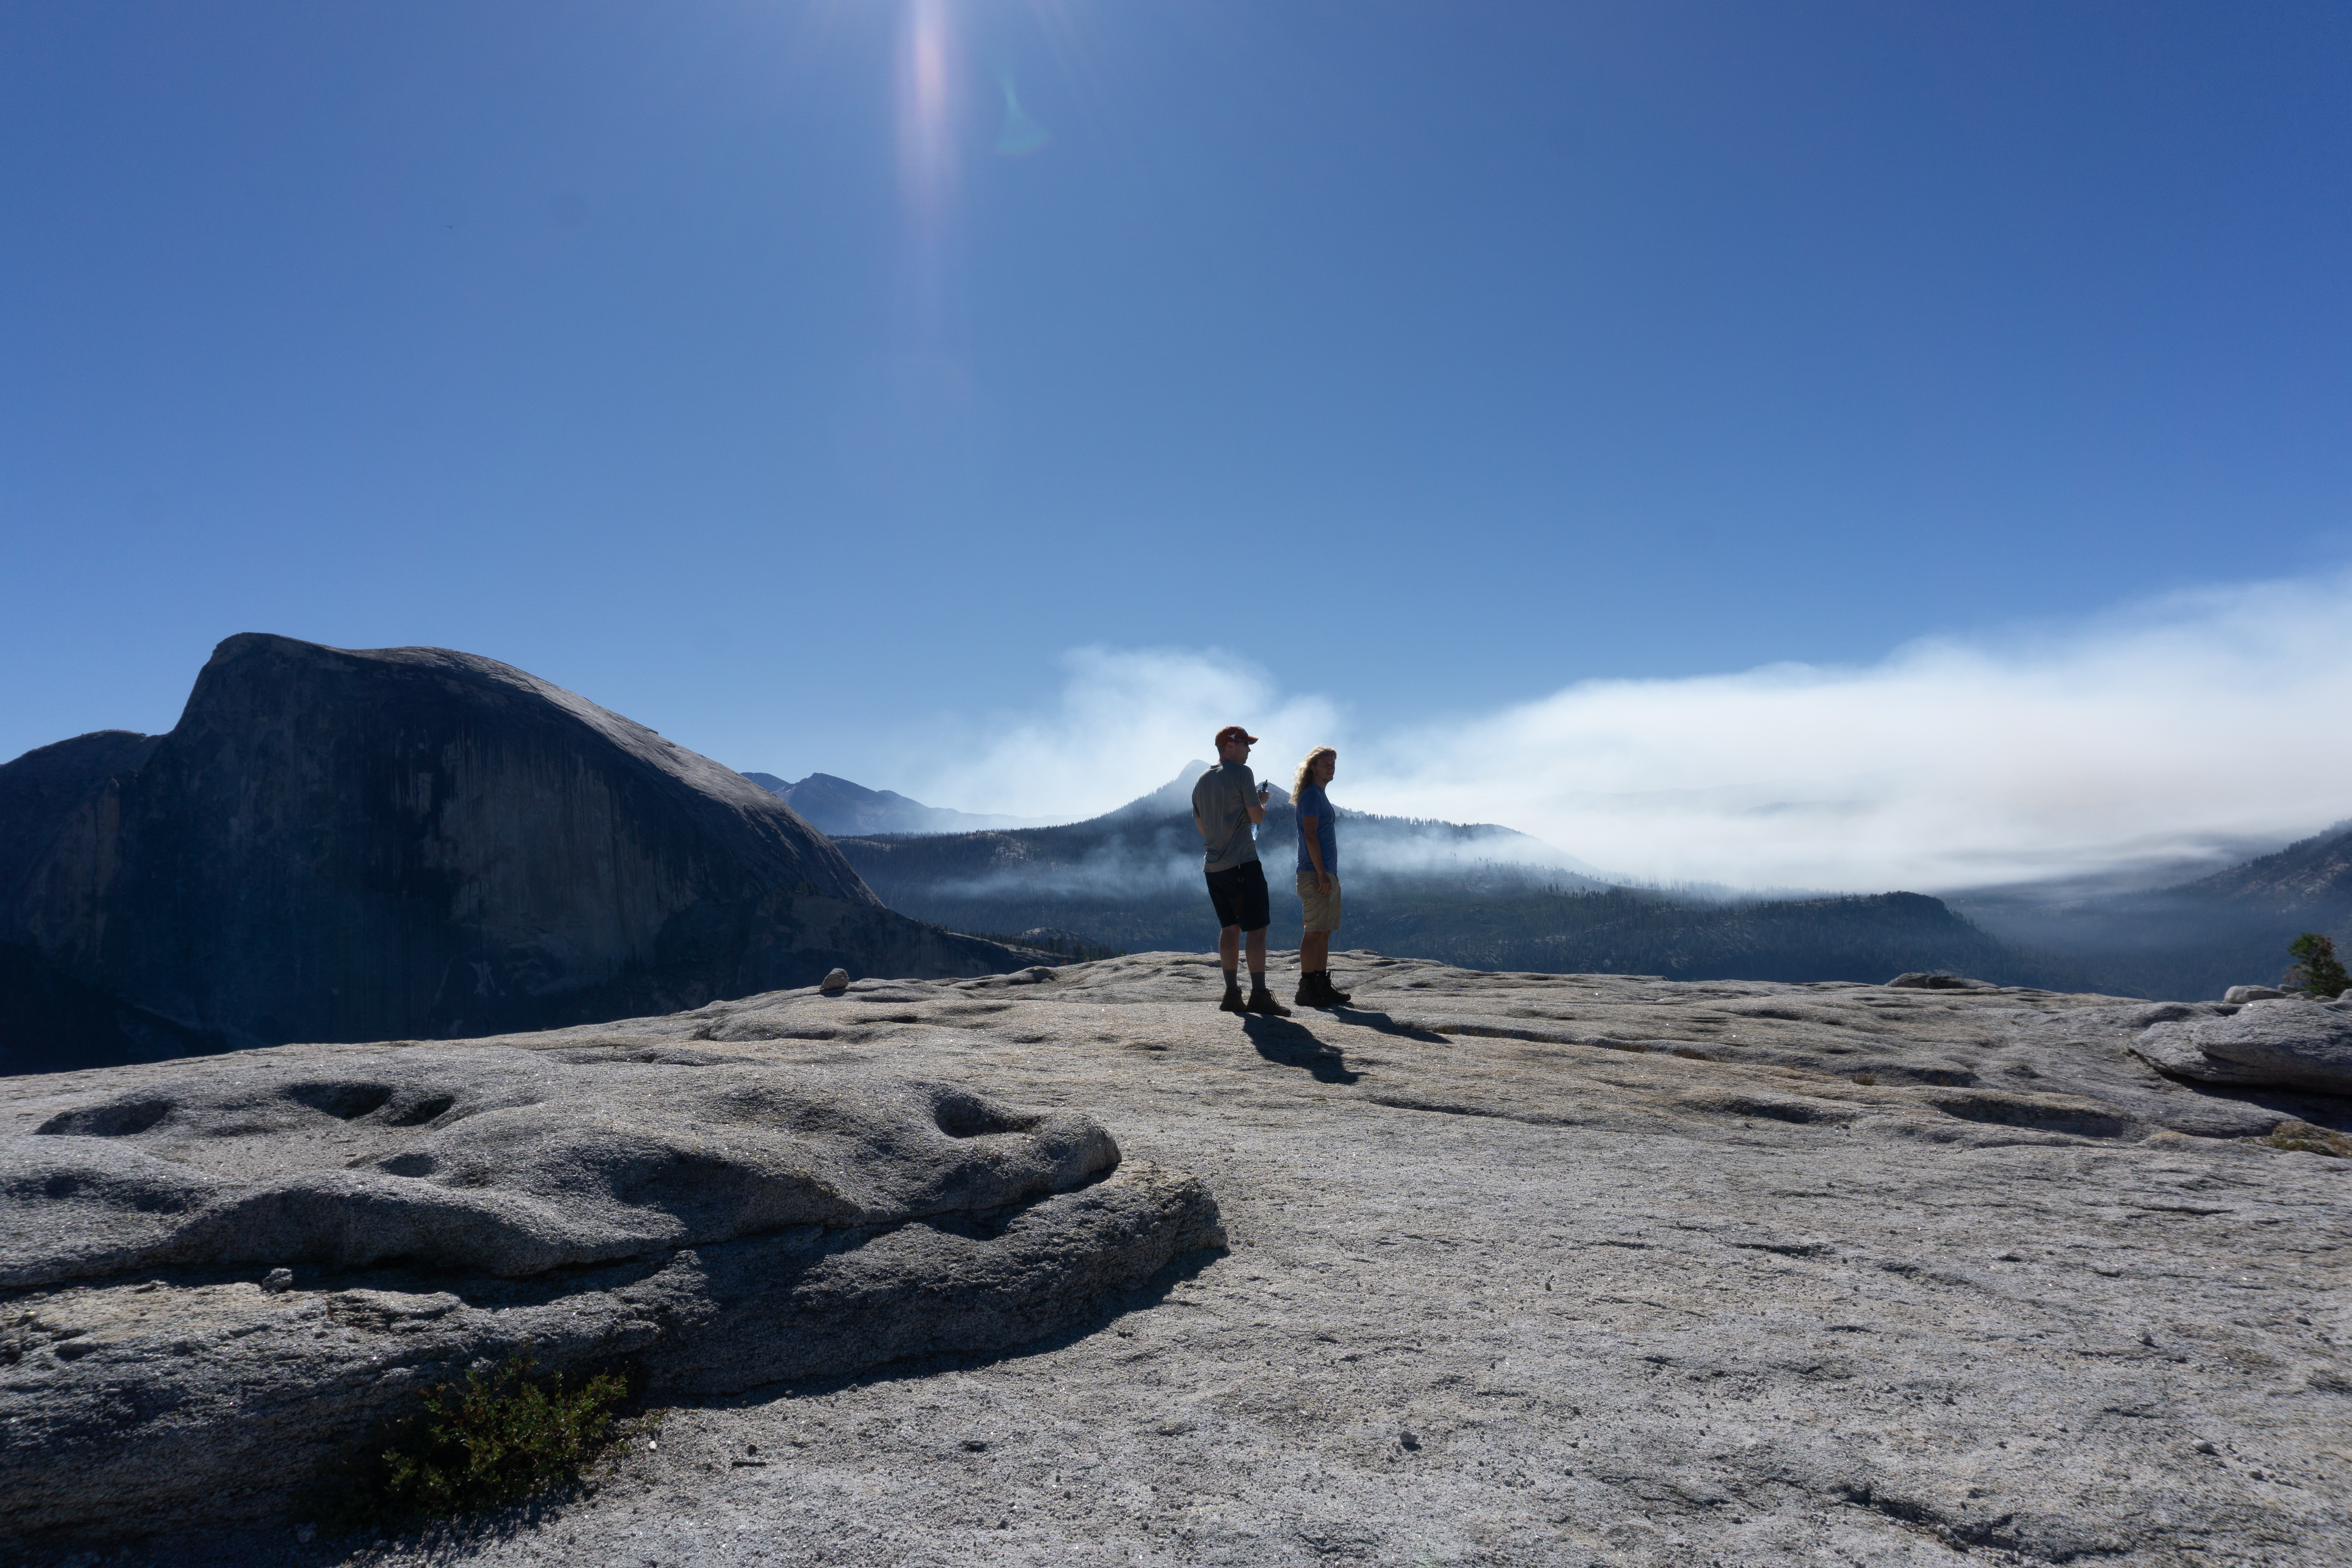
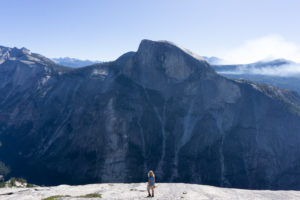
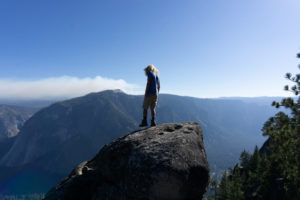
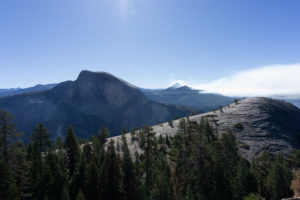
The next morning, we headed for North Dome. This part of the hike is always the highlight of the trip for me. Standing on the top of North Dome really gives you perspective on how ginormous all the features of the valley are. From North Dome, the north face of Half Dome feels so close you can almost touch it.
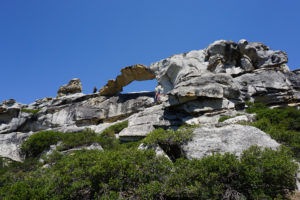
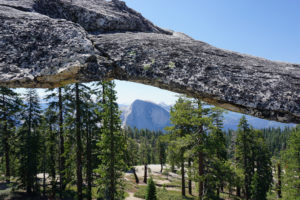
The next stop after North Dome is Indian Rock. Indian Rock is a giant pile of boulders with an arch at the top (kind of like the ones in Utah). You can boulder hop all the way to the top of the rock pile and then maneuver onto the narrow arch. If you sit behind the arch and lean back, you’ll get a picture-perfect framed view of Half Dome.
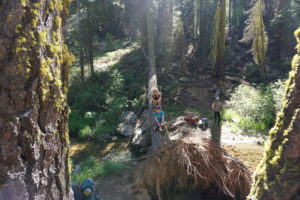
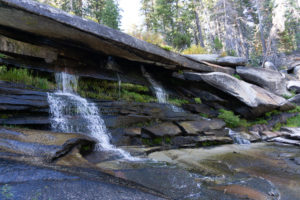
After Indian Rock, the trail is an easy downhill stroll through the trees. We started looking for campsites about 2 miles from Indian Rock and ended up with cozy creek-side spots both times we took this trip. There’s a lot of tree fall in this area though, so it can be a bit of a mission finding a campsite. Normally, we would be able to camp at the large grove of campsites along Snow Creek, just before the downward switchbacks, but that area was closed because there was a super active bear terrorizing the camping area. The park rangers told us that the bear had learned how to crack bear boxes by throwing them off of cliffs and hiking down to snack on all the human food down below. I’ve never had more respect for a fellow snacker in my entire life. I still think about this genius bear every time we use our bear box.
The next day, we started down the three miles of knee-crushing switchbacks that is the Snow Creek Trail. It’s basically one of those fun, zig-zag slides at playgrounds, but it goes on forever and you don’t get to sit. One of our friends actually had more trouble with the downhill switchbacks than the uphill switchbacks, so Dylan had to carry his pack for a while. It was no joke — Backpacker Magazine even has a guide for how to prep your muscles for long and steep downhill hikes and I kind of wish I had sent this to my friends before the trip.
The good news is that you get amazing views of Half Dome and the valley all the way down. The better news is that the trail does eventually flatten out and the rest of the hike is an easy walk to the parking lot. On our first trip, our friends were so exhausted that we found the nearest Yosemite Valley bus stop and got a ride all the way back to the parking lot. On our second trip, we just walked the extra quarter-mile to the car.
After the Hike
There’s a couple okay places in the valley to shovel food into your mouth at break-neck pace after the hike, but if you can wait two hours (or maybe survive on snacks during the drive) and are heading west to the Bay Area, there’s a very good sandwich shop in Oakdale called The Cottonwood Café. We go here every single time we visit Yosemite. Their portions are big and somehow they’ve been able to source the freshest pineapple and cantaloupe in the state – and they give you a slice of fruit with every order. We were even able to convince our very hungry friends to wait it out for the food and they said it was worth it!
Supply List
The Usual List
Backpack
Tent
Sleeping Bag
Sleeping Pad
Sleeping Bag Liner
Camp Stove
Lighter or Matches
Cooking Pot
Food
Water Vessel
Water Filter
Headlamp
Clothing
Trip Specific Things
Bear Canister
The park requires you carry one. It keeps bears and other forest friends from getting into your food and other smelly things. We use the BearVault BV450 Food Container and we love it. It’s durable, light and fits all of our food for two to three day trips. To learn how we fit three days of food (for 2 to 3 people) into a decently small bear canister, click here. If you don’t own a bear canister, you can rent one for $5 at the Yosemite Wilderness Center.
Gravity Water Filter
For trips like these where the best campsites are far away from a good water source, we like to bring this 4-liter gravity filter to fill up on water and schlep it back to camp. I usually limp-jog to our nearest water source, fill up, and then walk back to camp with the water bag hanging around my neck like a piece of fine jewelry.
Thinking about doing this trip? Have any questions? Comment down below!
More Happy Packers
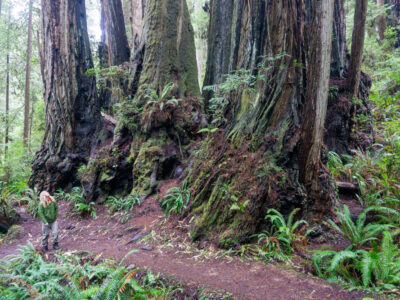
This loop is a tour through the many wonders of Redwood National including the famous big trees, a moody beach, and the mystical Fern Canyon.

This is the perfect any-season beginner trip for anyone wanting to dip their toes in backpacking.
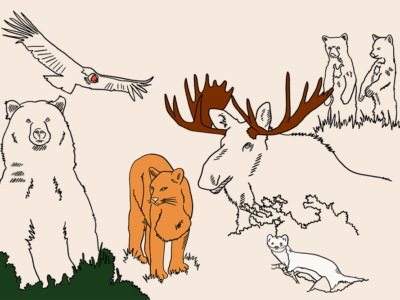
Animals in the wilderness can be scary, but they don’t have to be. Here’s how to feel perfectly at home with the bears and mountain lions.