29 Sep Rafferty Creek – Lyell Canyon Loop, Yosemite National Park


guides // backpacking // northern california
Rafferty Creek – Lyell Canyon Loop, Yosemite National Park, California
This trip always ranks in the “top 10 backpacking trips we’ve ever taken” when I bug Dylan to list his favorites. It’s the first trip we took in Yosemite and it’s still one of my favorites. It has exposed mountain faces, sweeping, high-elevation plains, and an alpine lake with a SAND beach (how??). The trail also joins up with the famed John Muir Trail for a couple miles of glorious forest and creek hiking. About half of this trip is above the tree line, which makes for scenic hiking and an easy time finding camping spots with a view.
Quick Notes
Pictures taken August 2016
Total Distance: 20 miles
Elevation Gain: 1,840 feet
Difficulty: Medium
Days: 1 – 2 Nights
Hike Type: Loop
Trailhead: Lyell Canyon Trailhead/ Tuolumne Meadows Wilderness Center
Seasons: Summer & Fall
Permit Requirement: Yes, Year-Round
Camping: Dispersed Camping
Map: National Geographic Yosemite National Park
Water: Filter along the way

When to Go
The best months to go on this trip are June through October because Tioga Road, which gets you to the trailhead, closes for the winter. Tioga Road opens around late May and then closes back up in October. The national park has been keeping track of opening and closing dates of Tioga Road since 1980.
Keep in mind that even if Tioga Road is open early in the season, the trail may still be snowy enough for snowshoes and winter gear. We’ve seen snow on the ground in the Yosemite High Country as late as July, so check current conditions before you go. The best way to check current conditions is to either call the Tuolumne Meadows Wilderness Center or check the current conditions report published by Yosemite Park Rangers every couple weeks. The Yosemite Conservancy also operates four webcams across the park where you can check current conditions in real time. Just remember to check the cams during the day when it’s light out – it may seem obvious, but I’ve definitely made that mistake (: P).
Checking Current Conditions
Tuolumne Meadows Wilderness Center (209) 372-0309
Trip Cost
Park Entrance Fee*
Wilderness Permit Fee
Wilderness Permit Reservation
$35
Free
$5 per person + $5 per reservation
*If you know that you’re going to be going to a national park more than three times in a year, it’s worth it to buy a National Parks Pass. They’re $80 and sold online, at all REI locations, and National Park Visitor Centers.
Before You Go
The first step in planning this trip is deciding whether to go clockwise or counter-clockwise. We chose the counter-clockwise direction because the counter-clockwise route gradually ascends to peak elevation and then has a much steeper downhill portion getting into Lyell Canyon. Taking the route in the other direction would have meant dealing very steep switchbacks around mile 7, which would’ve sucked at the end of our first day. In addition, the counter-clockwise route has amazing views almost immediately which is great for first day hiking.
The next step is to get a wilderness permit. Wilderness permits are required for all overnight trips in the Yosemite backcountry. While you can get first-come-first-serve permits at the Tuolumne Meadows Wilderness Center, the best way to make sure you’ll have a permit for your trip is to make an online reservation. Also, if you make a reservation, you can pretty much skip the long line at the Wilderness Center when you pick up your permit. Permits in Yosemite can be reserved up to 24 weeks in advance of your trip. Click here to learn how to make online backcountry permit reservations in Yosemite.
If you didn’t end up making a reservation, there’s still hope. The park saves 22 out of 33 first-come-first-serve permits at this trailhead for more spontaneous travelers. We didn’t have a reservation for this trip and were easily able to get last minute permits. This is a pretty popular trail though, so you’ll have to arrive at the Wilderness Center early (think before 7:00 AM) to snag one of these permits.
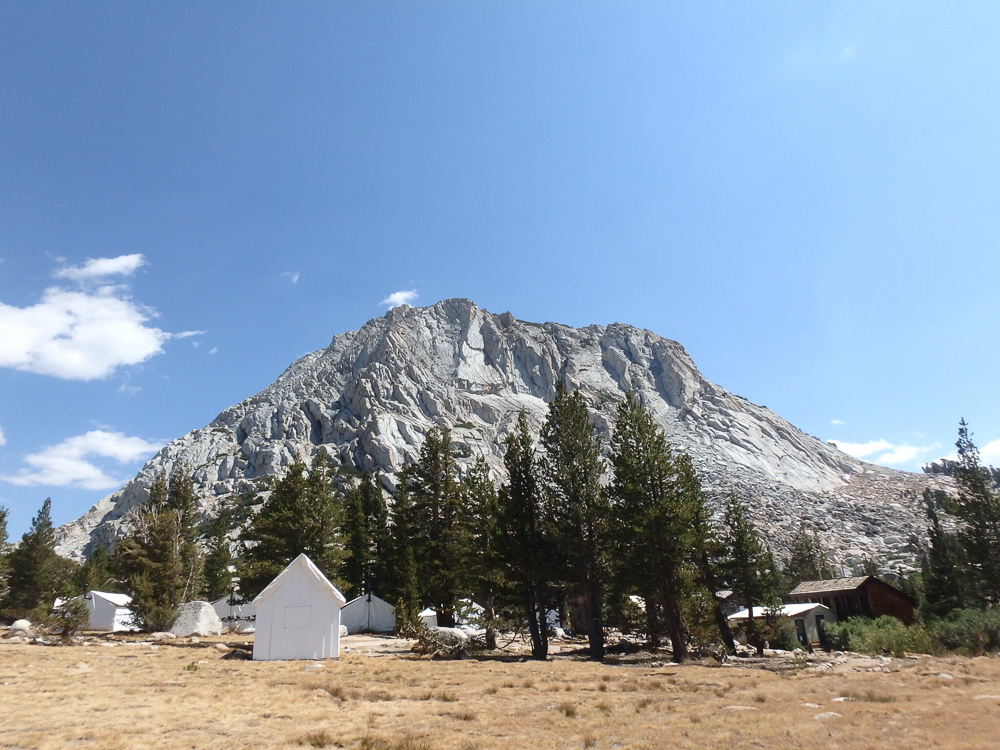
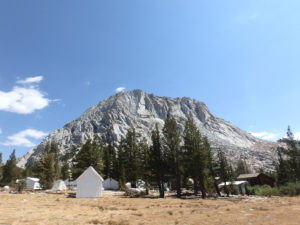
Cozy tents at Vogelsang High Sierra camp.
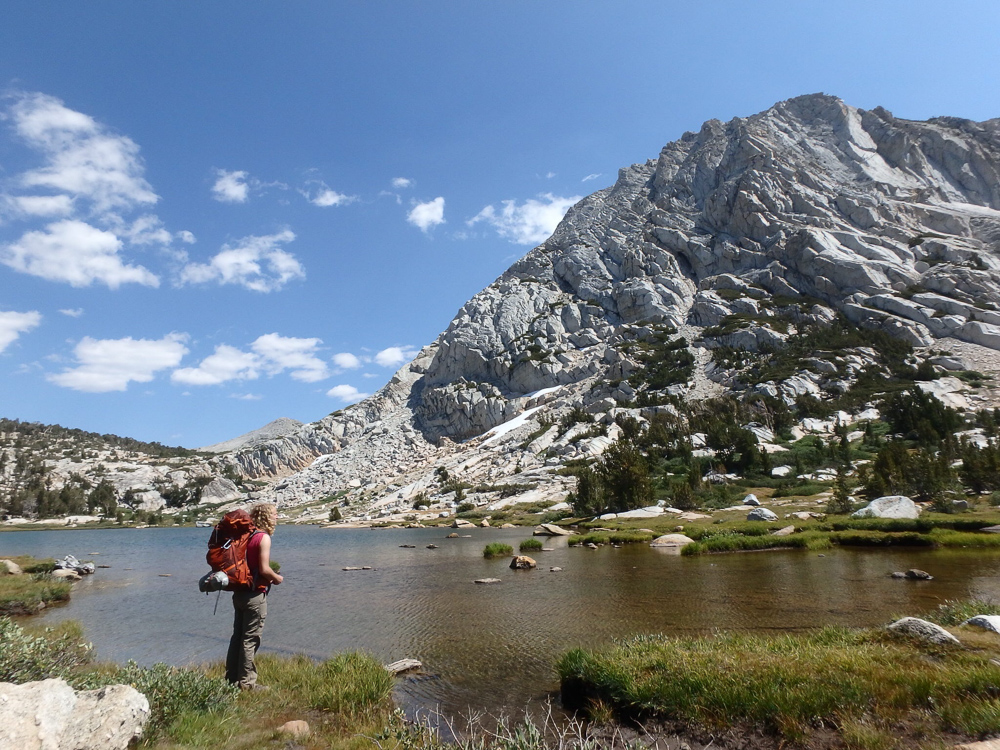
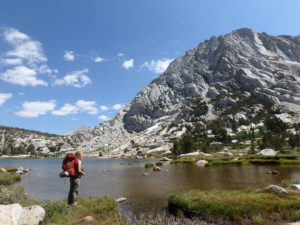
Fletcher Lake with views of Vogelsang.
Getting There
The trail starts at the Tuolumne Meadows Wilderness Center on Tioga Road at the far eastern side of the park. If you’re entering Yosemite from the west entrances, budget about two extra hours to get across the park. Yosemite traffic can be brutal in the summer, so it’s best to plan on being in the park very early. On a typical summer weekend, we usually shoot for arriving at the Tuolumne Wilderness Center at or before 7:30 AM – and we’re usually the last people in the parking lot.
Once at the wilderness center, pick up your permit and review the park rules with a ranger. On a typical summer morning, there will be a very long line of people waiting to get permits. The best way to skip this line is to make a permit reservation ahead of time. At 8:00AM when the ranger station opens, a ranger will process all the people with reservations first, then get all the people without a reservation, and then finally process the people waiting for John Muir Trail permits (seems like this is always the biggest group).
In case you get to the front of the line and all the permits for this trail are gone, check out this other great adventure that also starts at the Tuolumne Meadows Wilderness Center.
One thing to keep in mind is that there is no convenience store at the ranger station. The closest place to stock up on last minute supplies is about 1 mile west on Tioga Road at the Tuolumne Meadows Store. The store is pretty small but has all the essentials like water, ice cream (yes, ice cream is an essential) and Cliff Bars. They even have microwavable breakfast burritos that you can microwave in the store.
Dispersed Camping
Yosemite National Park has some of my favorite rules for backcountry camping of the entire National Park System. They allow “dispersed camping,” which means that you can camp anywhere in the park as long as you hike at least four miles away from the trailhead and pitch your tent at least 100 feet away from the trail and from water. We try to pick campsites that are on durable surfaces like dirt or rock, near-ish water (for easy filtering), and in a location where it would be hard to see us from the trail. Never camp on any type of vegetation; the growing season for the plants in the Yosemite High Country is so short that it’s best not to squish them.
If you are camping below 10,000 feet in elevation (most of this trail is below 10,000 feet), you are allowed to have a fire in the backcountry (if there’s no fire ban in effect). If you want a fire, you have to find a previously established fire ring. The park rangers make these, so take care of them and don’t make your own. We almost never have a fire though, because no matter how careful you are, back country fires are still very risky and we really don’t want to put Yosemite in danger.
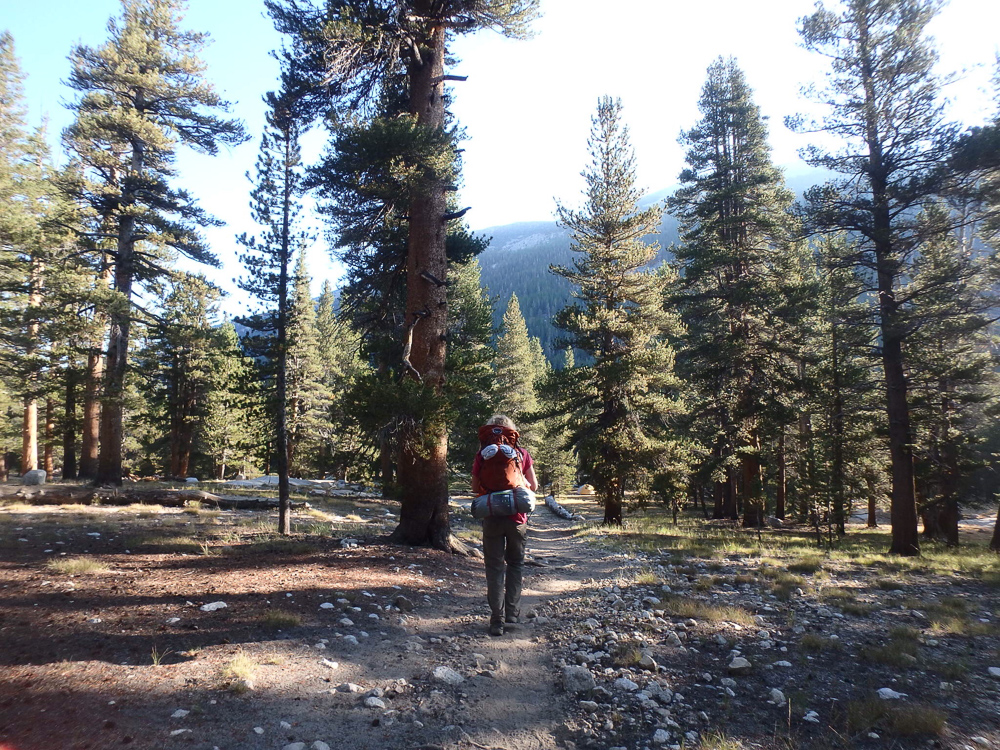
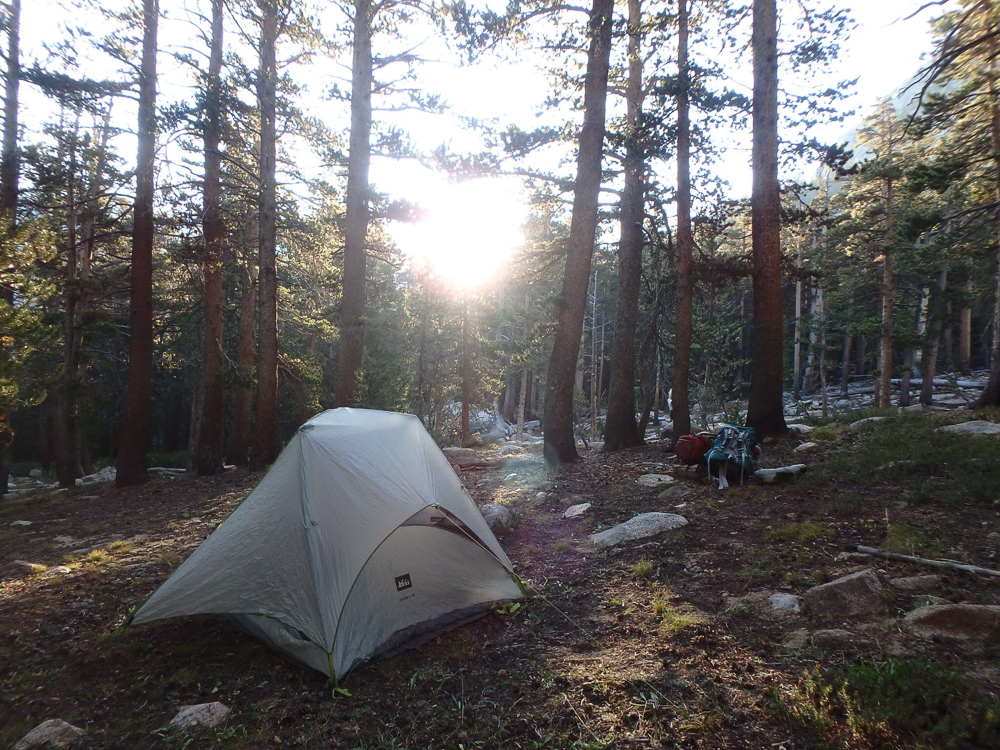
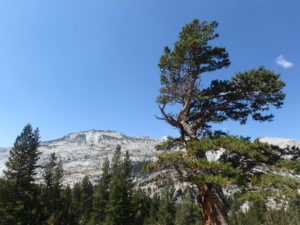
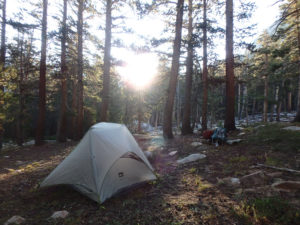
Camping in the trees.

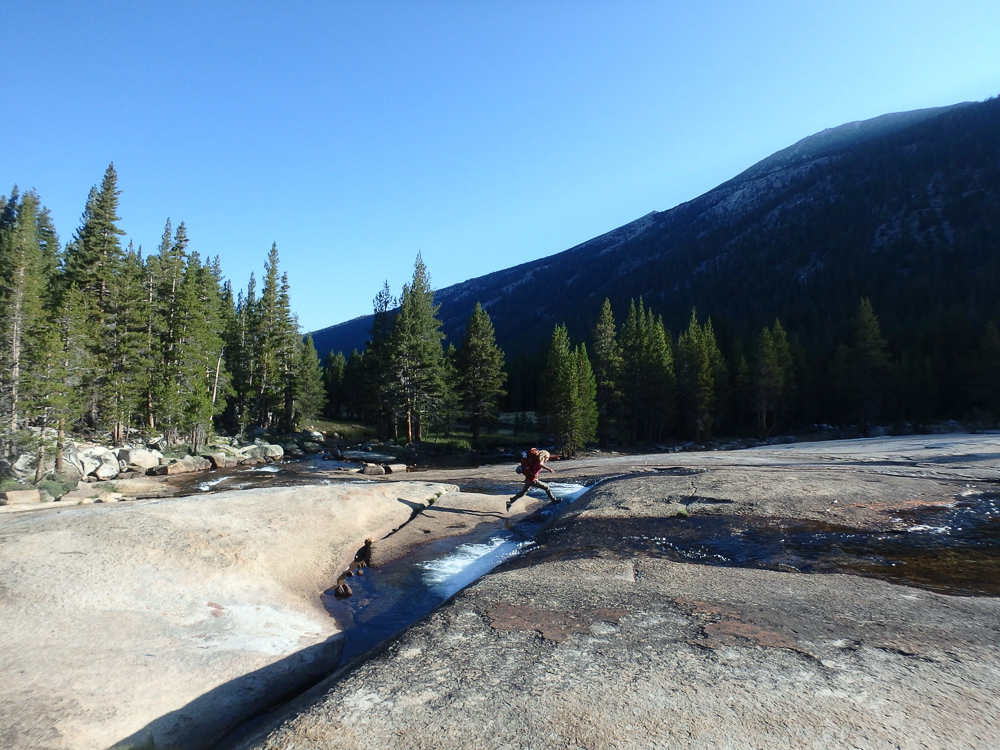
A very exhausted Dylan.
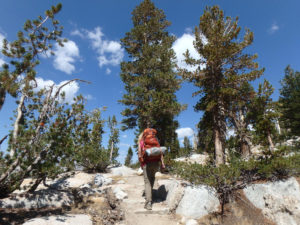
On the Trail
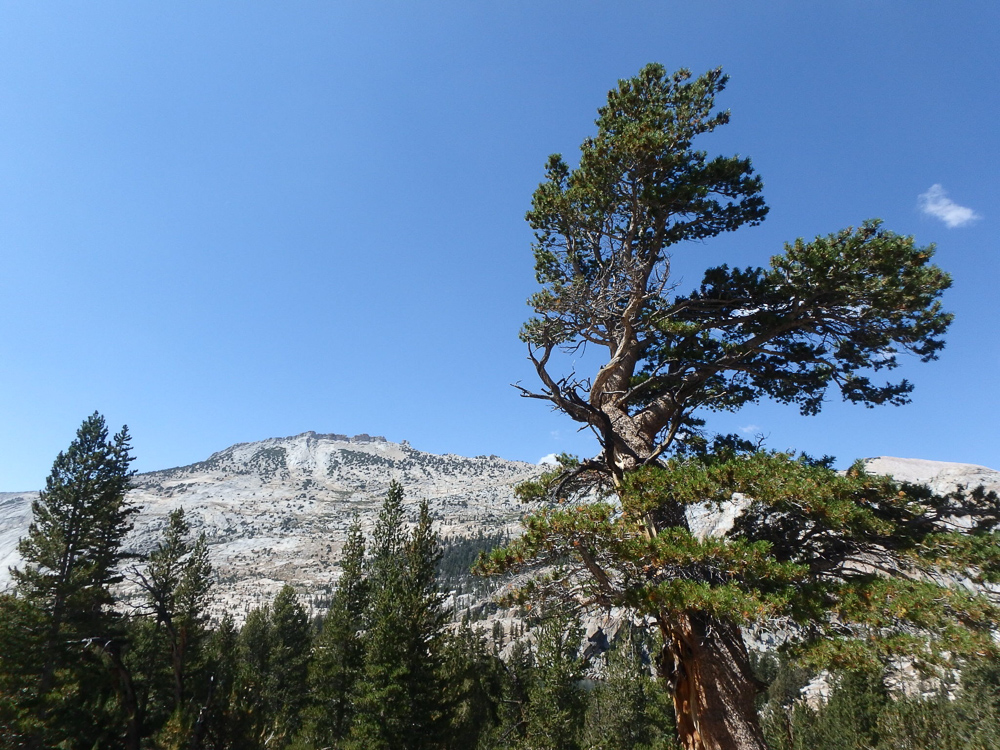
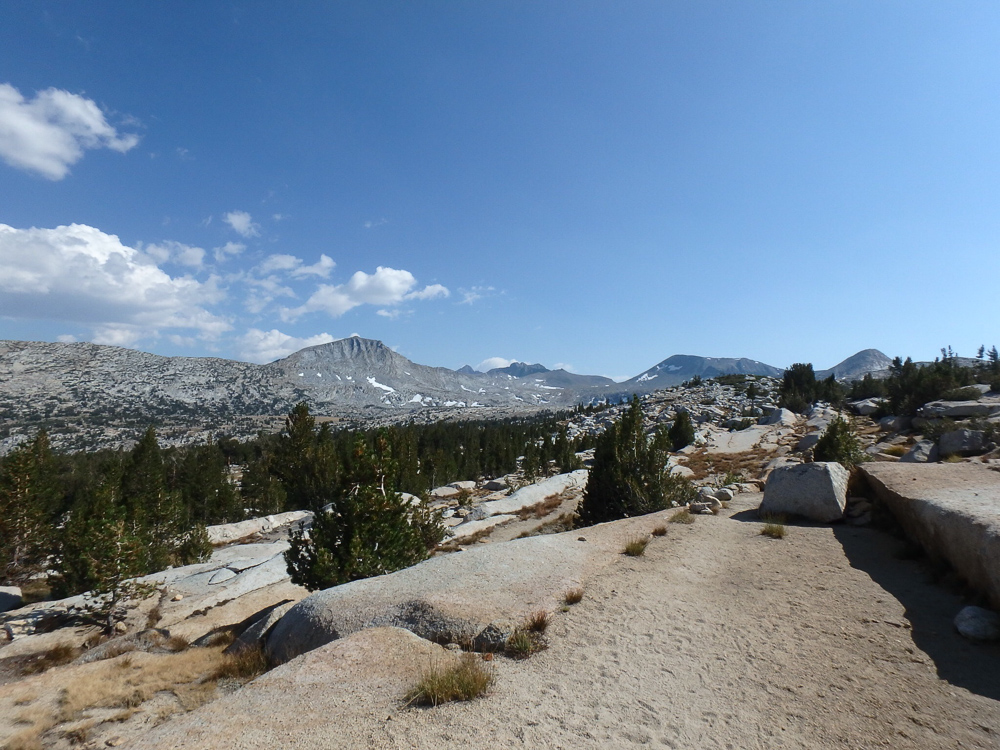
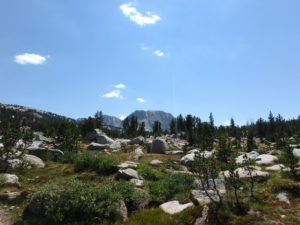
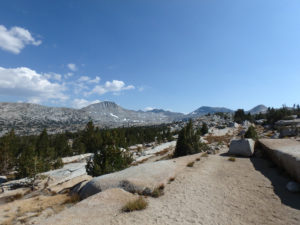
Taken counter-clockwise, the hike starts out in the forest with a lot of tree cover. After 2.5 miles, the forest opens up to sweeping views of Vogelsang and the surrounding peaks. Next, the trail takes you upward through a series of gradual switchbacks which bring you to the Vogelsang High Sierra Camp. The Vogelsang Camp is a small tent village with 12 cabin-like tents that you can rent. After a long day of hiking uphill and carrying all of our stuff on our backs, the tent-cabins at the Camp looked super cozy.
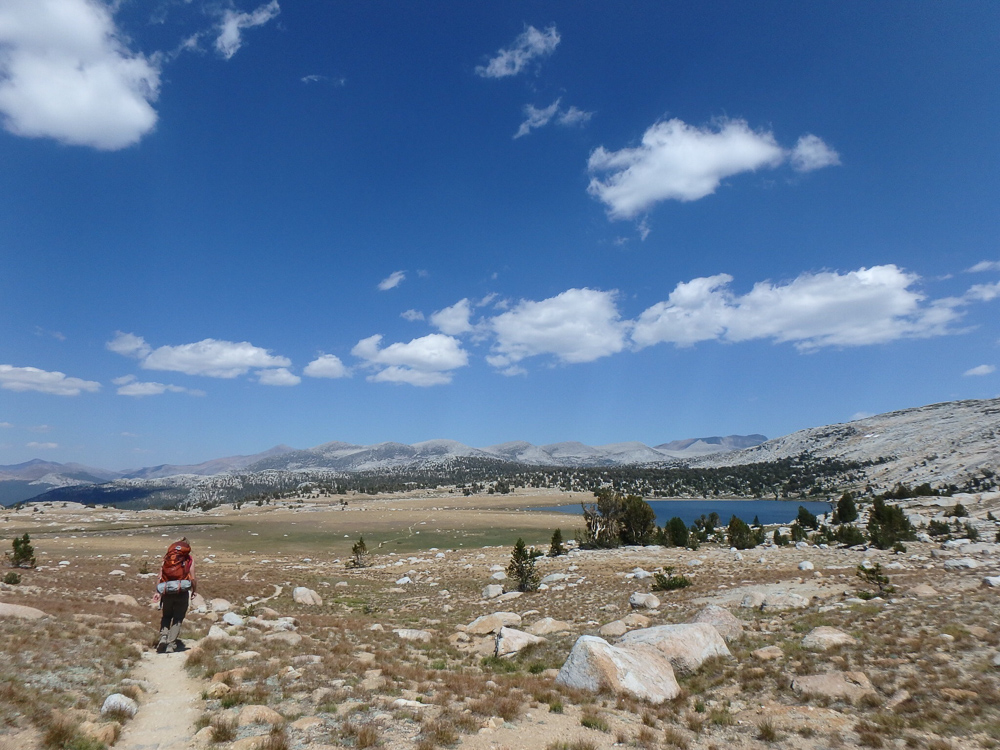
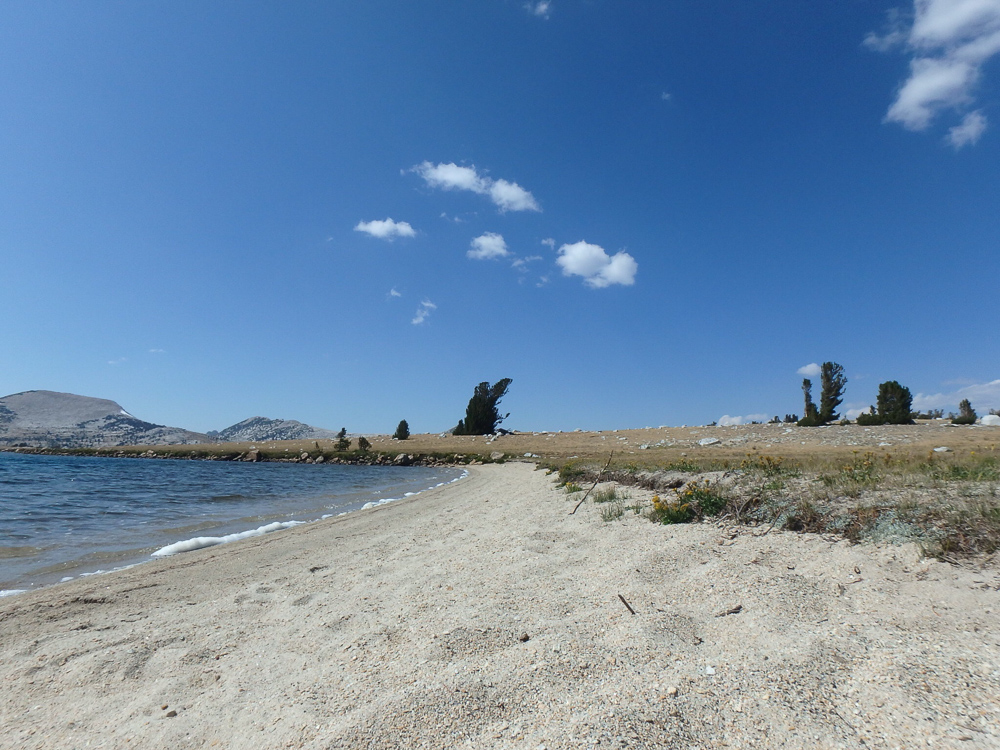
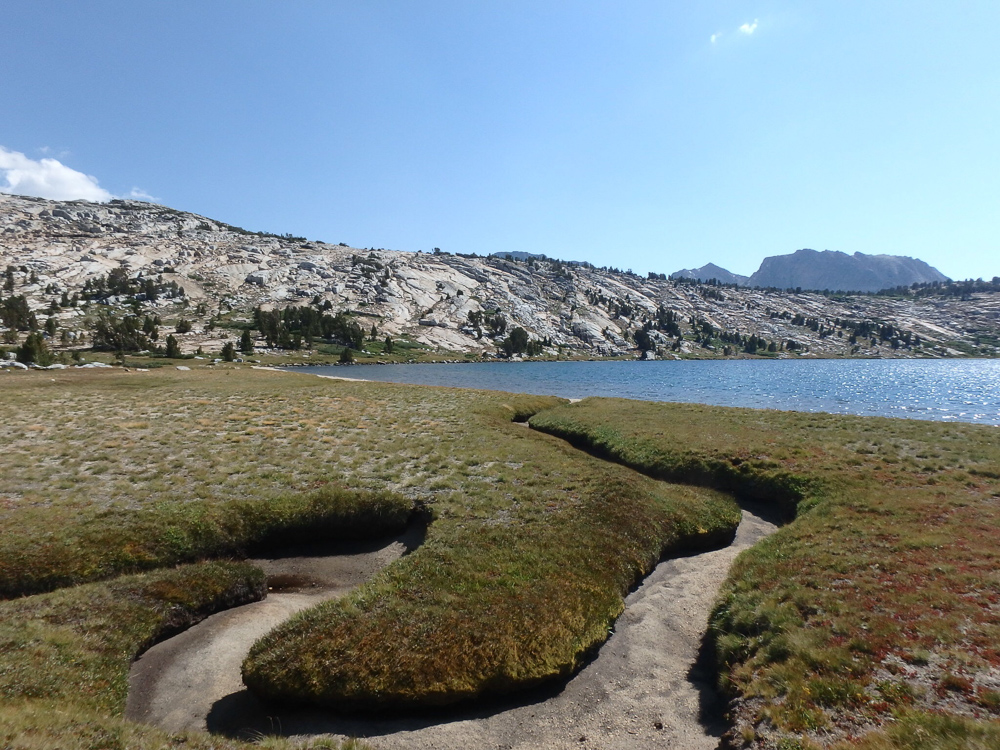
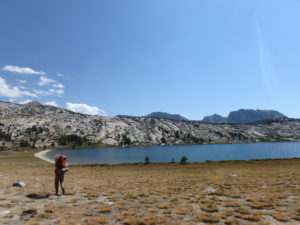
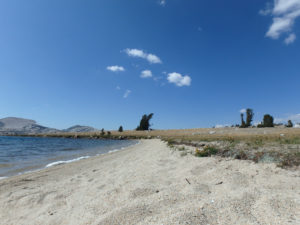
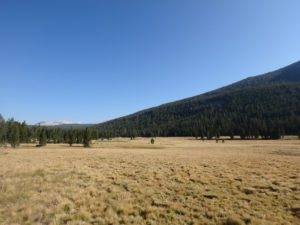
Past the camp, you’ll find sweeping, golden plains and the lake with the sand beach. This is a great place to take a break and play in the sand. It would also be a good place to camp; however, there’s not much tree cover so hikers walking by will probably be able to see you.
As you continue on the trail, you can visit Ireland Lake by following a spur trail off the right side of the main trail. This detour will add a total of 3 miles to the trip. We didn’t end up making the trip to Ireland Lake because it was getting late and the trail up to the lake is steeply uphill.
Beyond the spur trail to Ireland Lake, the trail dips back under the tree line. There’s plenty of spots to camp here with good access to water at the creek but there won’t be any big views to wake up to. The creek is beautiful though, and we ended up finding a pretty nice spot after very little searching.
Beyond this wooded area, the trail joins up with the John Muir Trail (aka JMT). The area after the junction gets heavy usage from hikers traveling along the JMT and has high bear activity, so park rangers prefer overnight campers to set up camp before the junction.
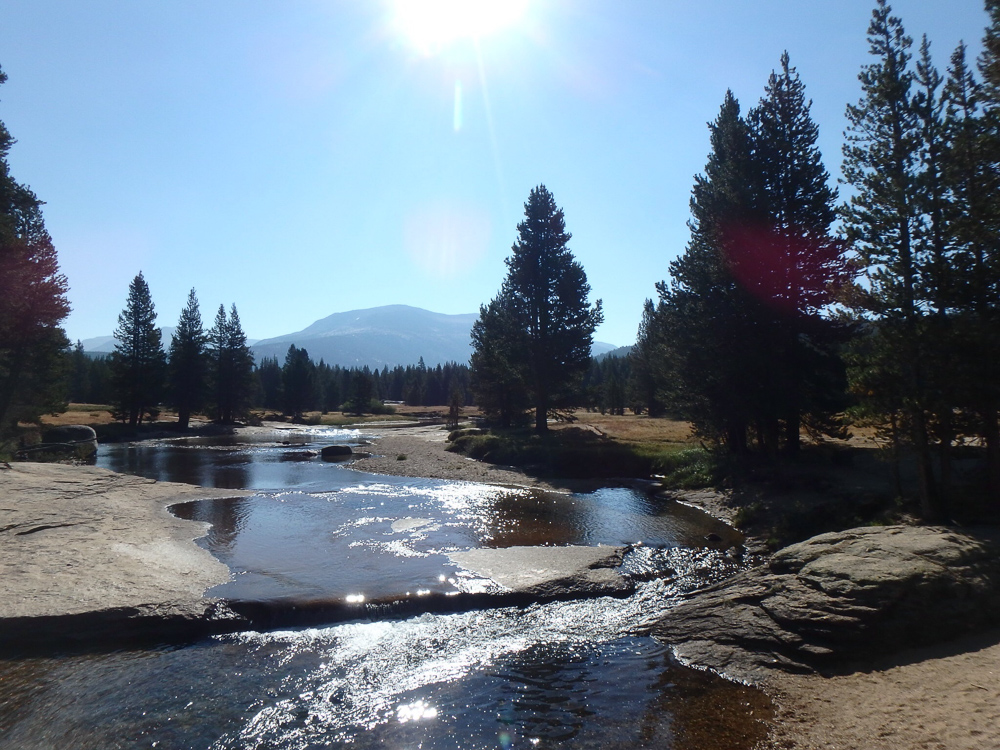
The rest of the hike is a gloriously pleasant downhill stroll all the way back to the ranger station.
After the Hike
The nearby Tuolumne Meadows market makes a pretty good basic burger, but if you’re looking for something more filling and are heading west towards the Bay Area, there’s a very good sandwich shop in Oakdale called The Cottonwood Café. We go here every single time we visit Yosemite. Their portions are big and somehow they’ve been able to source the freshest pineapple and cantaloupe in the state – and they give you a slice of fruit with every order.
Supply List
The Usual List
Backpack
Tent
Sleeping Bag
Sleeping Pad
Sleeping Bag Liner
Camp Stove
Lighter or Matches
Cooking Pot
Food
Water Vessel
Water Filter
Headlamp
Clothing
Trip Specific Things
Bear Canister
The park requires you carry one. It keeps bears and other forest friends from getting into your food and other smelly things. We use the BearVault BV450 Food Container and we love it. It’s durable, light and fits all of our food for two to three day trips. If you don’t own a bear canister, you can rent one for $5 at the Tuolumne Meadows Wilderness Center.
SMART Water Bottle with Small Sawyer Filter
This trail has fairly consistent access to creeks and streams along the way. On trails with consistent water access, we usually just fill up a SMART water bottle, screw in the Sawyer filter and drink straight from the filter spout. It saves us time, and makes it to where we don’t have to unpack our entire backpack to get to our water reservoir. Why specifically SMART water bottles? They’re durable and somehow one of the only bottles that the Sawyer filter is compatible with.
Rain Jacket
You’ll be very prepared for the daily 2pm Sierra Nevada thunderstorm.
Thinking about doing this trip? Have any questions? Comment down below!
More Happy Packers
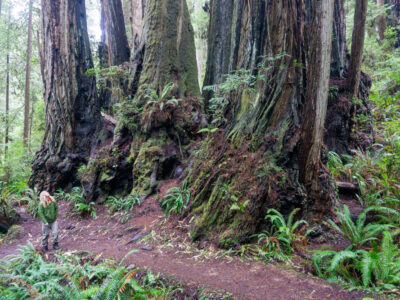
This loop is a tour through the many wonders of Redwood National including the famous big trees, a moody beach, and the mystical Fern Canyon.

This is the perfect any-season beginner trip for anyone wanting to dip their toes in backpacking.
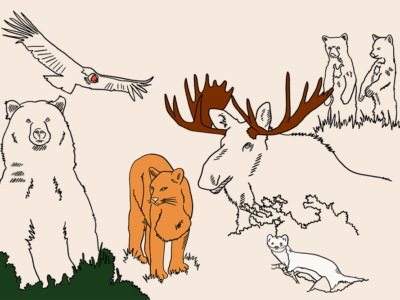
Animals in the wilderness can be scary, but they don’t have to be. Here’s how to feel perfectly at home with the bears and mountain lions.