10 Nov Boy Scout Trail, Joshua Tree National Park


guides // backpacking // southern california
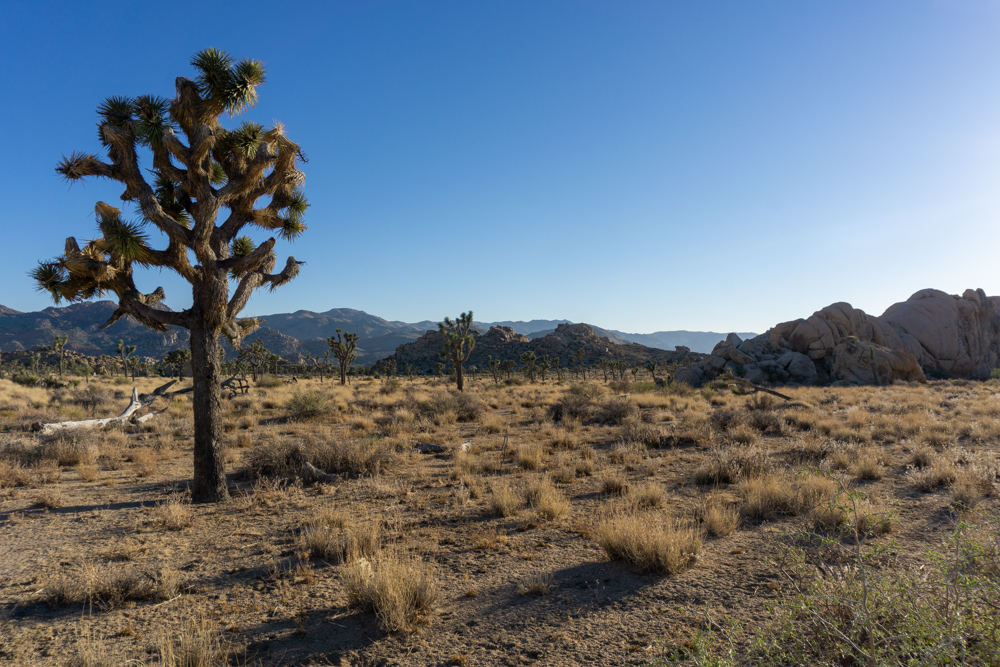
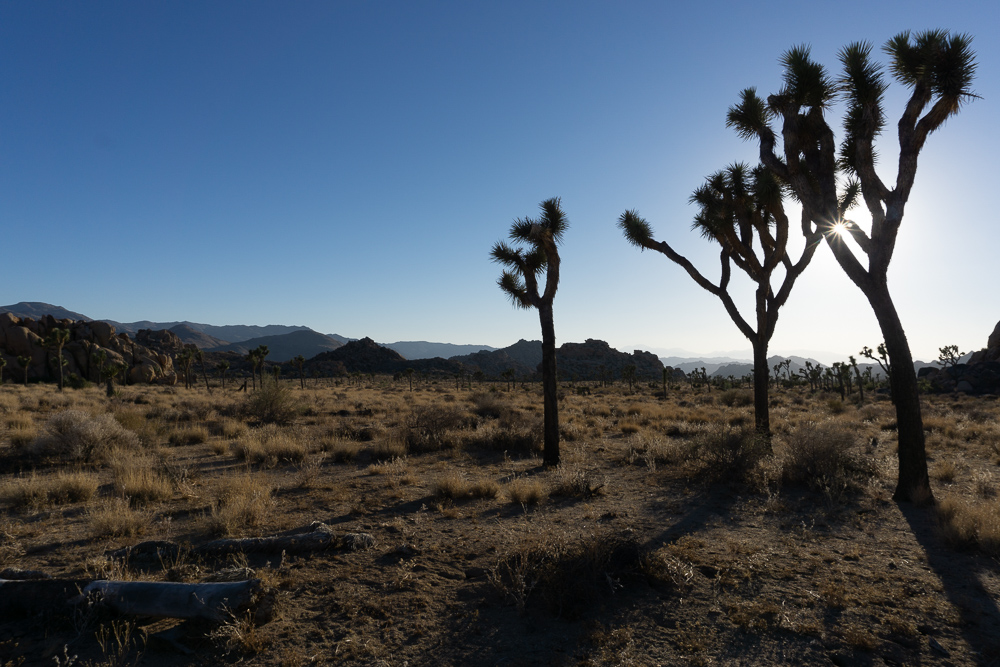
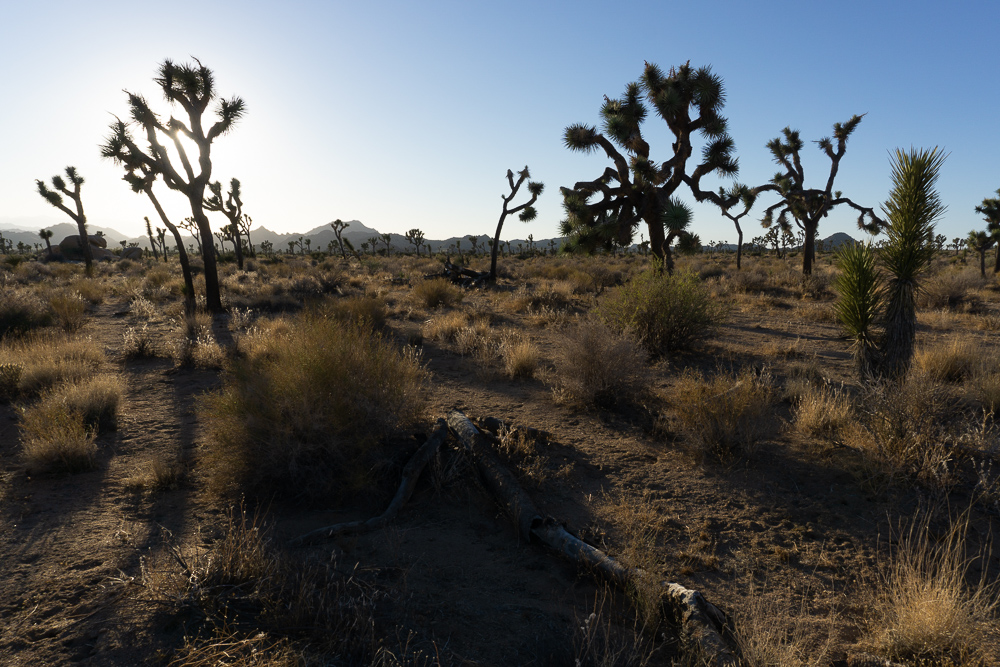
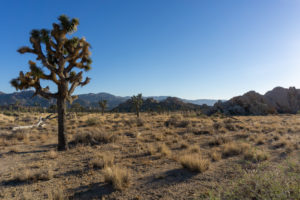
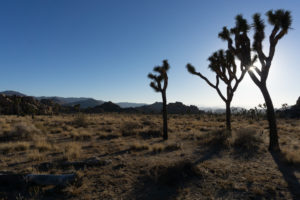
Boy Scout Trail, Joshua Tree National Park, California
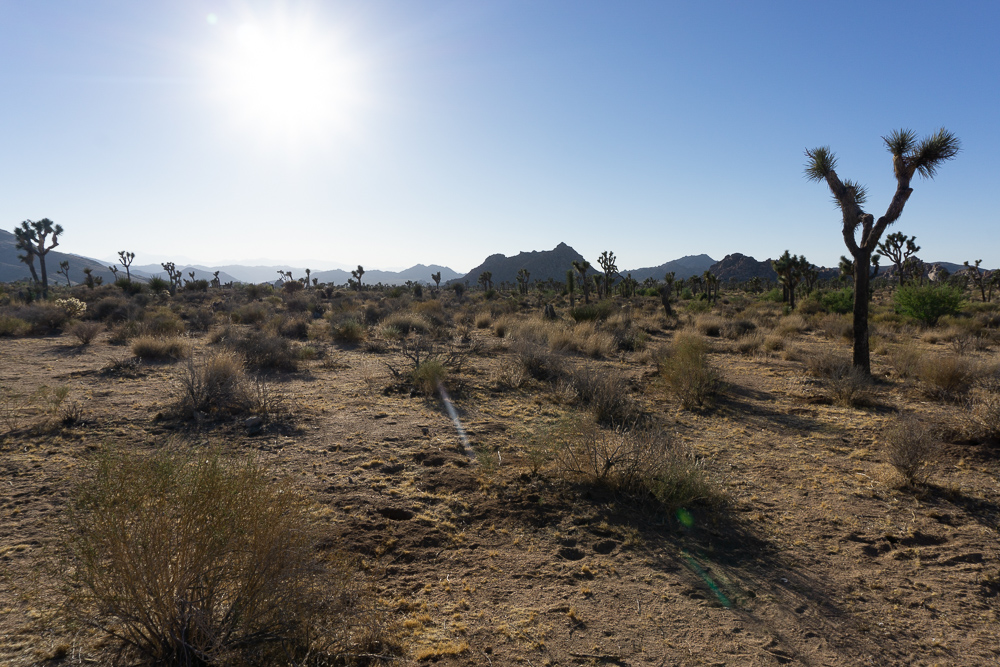
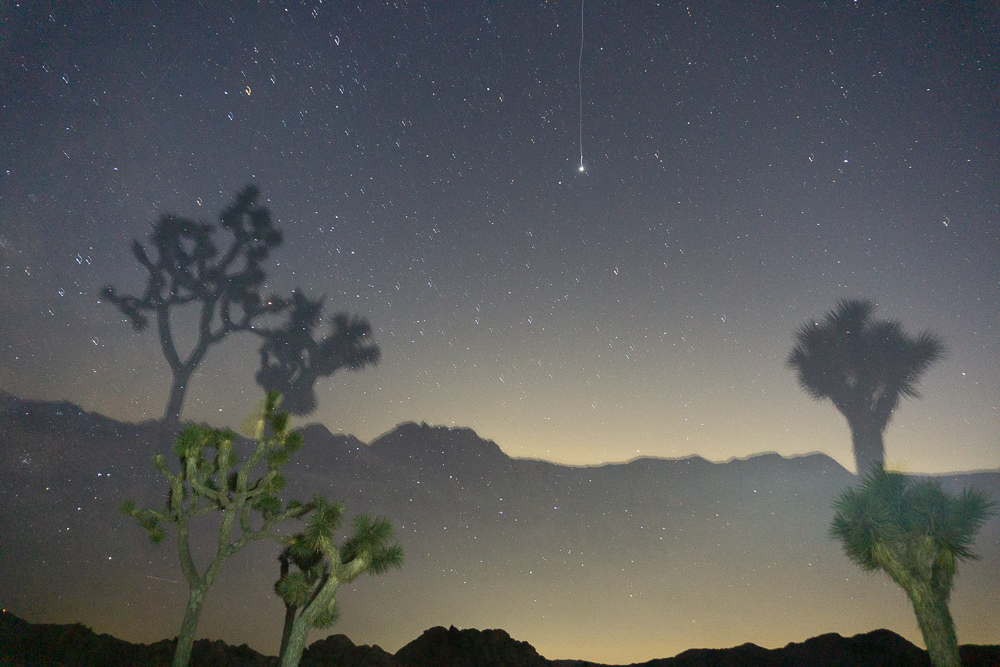
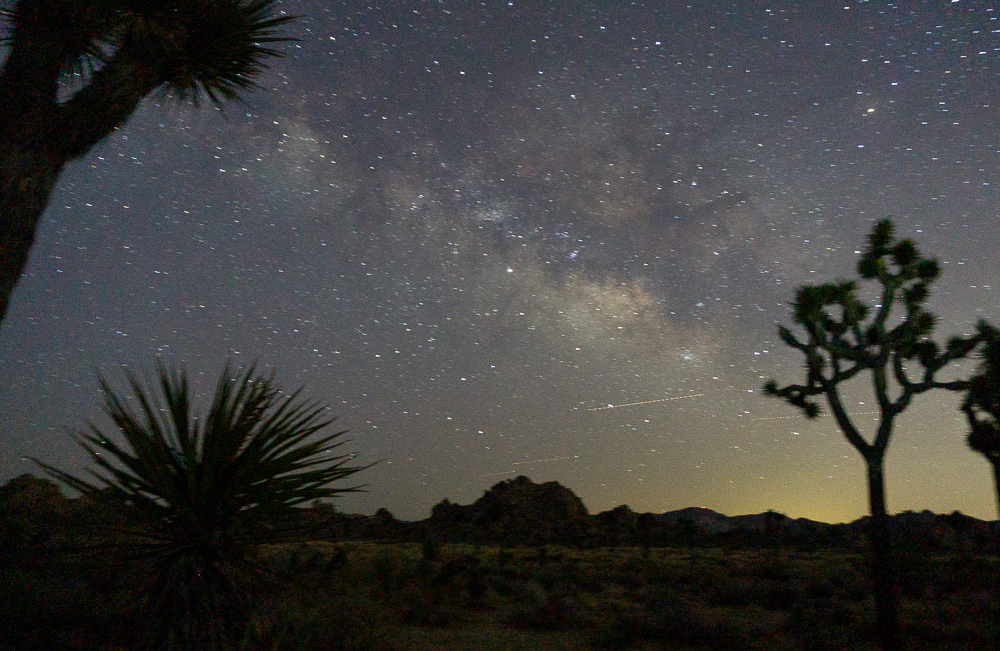
Joshua Tree National Park is perfect for beginner backpackers because all you have to do is grab a backcountry permit at the trailhead and walk a measly 1 mile to all the dispersed camping you can imagine. You can even camp right next to the park’s signature Joshua Trees and giant rock piles. This trail was great for backcountry bouldering because you can pitch your tent right next to some pretty elaborate and giant rock piles. The night sky is also beautiful out here and it’s usually warm enough to stay outside to watch the stars to come out.
Quick Notes
Pictures taken July 2019
Total Distance: 2+ miles
Elevation Gain: Negligible
Difficulty: Easy
Days: 1 Night
Hike Type: Out-and-Back
Trailhead: Boy Scout Trail
Seasons: All, Summer is HOT
Permit Requirement: Yes, Year-Round
Camping: Dispersed Camping
Map: National Geographic Joshua Tree National Park
Water: Pack in all water

When to Go
In typical desert fashion, Joshua Tree National Park is really hot in the summer and temperate the rest of the year. We’ve visited the park in February and July and it’s definitely easier to backpack and climb in February, because the sun’s not out to fry you. Summers are also a lot drier, so there’s absolutely no moisture in the ground to keep the dust at bay.
That said, the crowds in February are much larger than in July. Joshua Tree is only two hours from Los Angeles so you’ll see a lot of tourists coming up here to do some day hiking or car camping. In July, we were easily able to get a last-minute car camping spot in one of the most popular campgrounds, whereas in February, it was filled to the brim.
Current Conditions
Conditions can change pretty drastically in Joshua Tree. It can be super-hot all day and then drop 40 degrees at night. The most reliable way to check current conditions is through your typical, everyday weather app or website.
Trip Cost
Park Entrance Fee*
Wilderness Permit Fee
$30
Free
*If you know that you’re going to be going to a national park more than three times in a year, it’s worth it to buy a National Parks Pass. They’re $80 and sold online, at all REI locations, and National Park Visitor Centers.
Before You Go
Backcountry permits are required for all overnight travel within the park. You can get a permit at one of the thirteen backcountry boards spread throughout the park. All permits are first-come-first-serve and there’s no limit to how many people can be camped in a particular area. If you can find a parking spot at the trailhead (harder than you might think – more on that later), you can camp in the backcountry. The permit station for this trailhead is called the Keys Ranch Backcountry Registration Board.
Before heading out, it may be time to brush up on what kinds of features to walk and camp on in the desert. The biggest “no” is walking and camping on biological crusts where lichen, bacteria and mosses grow. Biological crusts look like darker patches on the ground and help nourish desert life and absorb rainwater. Try to camp only on durable surfaces like sand or large rocks. If there’s no rain in the forecast, you can camp in a sandy wash or dried up creek bed. However, if a surprise rainstorm rolls in at night, you might get soaked.
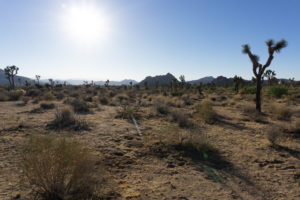
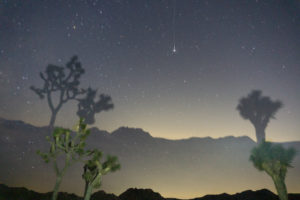
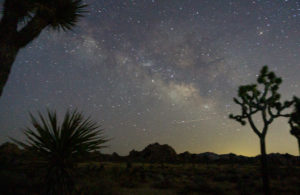
My attempt at night photography went wild.
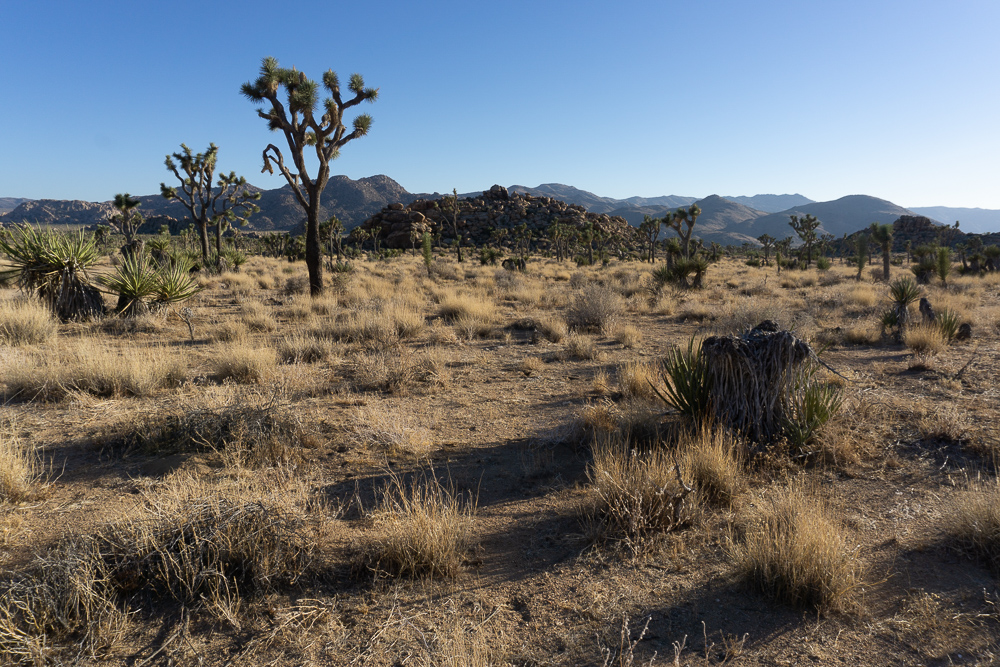
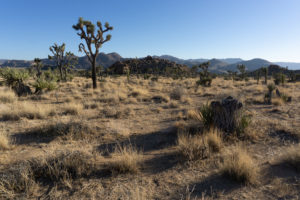
Joshua Trees around our campsite.
Getting There
During fall, winter or spring, you can start your hike anytime during the day because it doesn’t really get too hot to hike and it’s a fairly short amount of distance to cover before camping. During the summer, it’s best to start your hike in the late afternoon so you don’t have to be out there at the hottest time during the day.
You can get to the Boy Scout Trail from two different trailheads in the park: the Boy Scout trailhead (sometimes called the Keys Ranch Backcountry Registration Board) on the south side or the Indian Cove trailhead to the north. The naming of the south trailhead is confusing because there’s another area of the park near the southern trailhead called Keys Ranch – this is not the backcountry trailhead and there’s no registration board here. To convince Google Maps or other map apps to take you to the southern trailhead, you have to type in “Keys Ranch Backcountry Registration Board” or “Boy Scout Trailhead.” We hiked this trail from the southern trailhead because we were already in the park and didn’t want to drive all the way around to the northern trailhead.
The southern trailhead is one of the first stops you’ll see when you enter the park from the West Park Entrance. It’s on the left side of Park Boulevard, about twenty minutes from the entrance. The Indian Cove trailhead is just north of the Indian Cove Campground on the right side of Indian Cove Road.
There aren’t any camp stores in the park, so stock up on water and snacks in the town of Joshua Tree or at the Ranger Stations near the West and the Indian Cove entrances. If you’re coming into the park from the southern entrances, there are a couple towns down there but they’re a lot smaller than the towns north of the park.
If you go during peak season like we did, the trailheads are busy – like, no parking spots, busy. So even though getting a backpacking permit is easy, it’s still an ordeal at the trailheads because they don’t have designated overnight spots. We arrived at the Boy Scout trailhead parking lot around 3 pm and it was completely packed (mostly with day-hikers). On the other hand, parking is less of an issue at the Indian Cove trailhead because you can park on the side of the road.
You can do one of two things at the Boy Scout parking lot: you can wait until someone leaves and take their spot or you can try a little known trick – you can park overnight at one of the nearby turnouts on Park Boulevard and walk to the trailhead. As long as you are legally parked and you display your wilderness permit on the dashboard of your car, your car won’t get towed. The hike gets a little bit longer with the added travel to the trailhead, but ultimately, you only have to walk a mile past the trailhead to pitch your tent. I wish we had known this before we panic-waited in a line of six cars for a parking spot, all the while thinking that we’d never be able to start our hike.
During the summer, parking at the trailhead is a lot less of a fiasco because the parking lot is almost completely empty. It was so empty that I think we saw a tumbleweed roll by all cartoon-like.
After parking, you’ll fill out a permit at the backcountry registration board, leave the tear-off portion on your car, and you’re good to go.
On the Trail
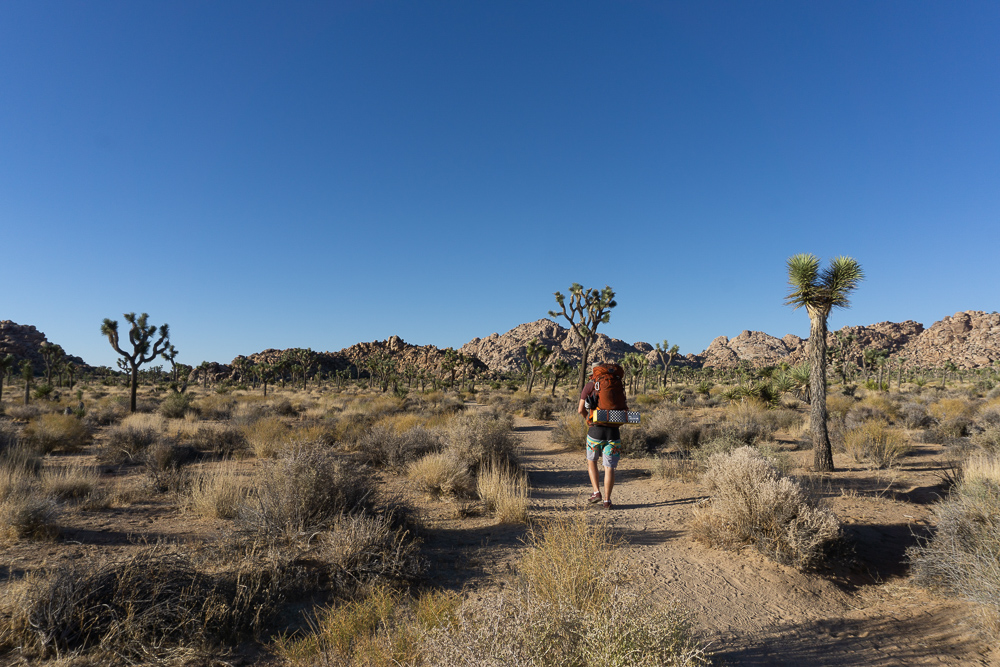
The trail is super well marked, especially for a desert. In places where the signage is farther apart, the trail is pretty obvious because it’s so well-traveled. You just have to hike in one mile and then you can set up camp anywhere you like (as long as you’re at least 500 ft from the trail and water sources).
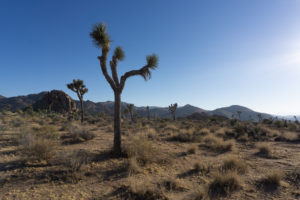
We wanted to camp near some of Joshua Tree’s signature bouldering rocks so we hiked in about 1.5 miles and then headed off trail towards one of the bigger rock piles. If you’re heading far off trail like we did, remember to look behind you and locate a landmark to guide your way back to the trail. Luckily, there are plenty of distinct rock formations that are easy to remember.
Backpacking into this area made bouldering all the more fun because we felt like we had the whole place to ourselves. We even made it to the top of our neighborhood rock pile. Night time out here is also amazing. It cools off a bit at night, but you can comfortably stay outside of your tent to watch the stars come out.
After the Hike
The town of Joshua Tree, just outside of the park’s west entrance, is full of places to eat and shop after a backpacking trip. We stopped at Crossroads Café for breakfast and it was very tasty. There portions are giant and their pancakes are fluffy and great. The whole place also has an old-western look that matches the desert scenery.
Supply List
The Usual List
Backpack
Tent
Sleeping Bag
Sleeping Pad
Sleeping Bag Liner
Camp Stove
Lighter or Matches
Cooking Pot
Food
Water Vessel
Water Filter
Headlamp
Clothing
Trip Specific Things
Wide Brimmed Hat
The sun is a cruel-cruel ball in the sky. To protect my head from the sun, I like to wear my wide-brimmed hat in the desert. Also, I like the way it makes me feel like a true explorer. Bonus points for preventing premature aging caused by the sun – you know you miss spots with that sunscreen.
Water
There’s absolutely zero water on this trail. You have to pack in all of your water, so make sure to parcel out the right amount for drinking and cooking (if you decide to cook out there). The park recommends carrying one gallon per person per day; however, we always end up bringing more for cooking.
Long-Sleeve Cotton Shirt
I call it my “desert shirt.” You’ll want the long sleeves to protect your arms from the searing sun and you’ll want the cotton because it’s actually the perfect material for desert roaming. The cotton absorbs your sweat and keeps it in the fabric to cool you off later. You won’t smell great, but you’ll be nice and cool.
*Sleeping Bag
This is an item you may be able to leave behind. In February, we definitely needed the sleeping bags, but in July, it was so hot that we just slept in sleeping bag liners.
Thinking about doing this trip? Have any questions? Comment down below!
More Happy Packers
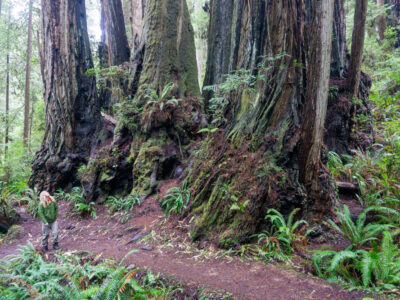
This loop is a tour through the many wonders of Redwood National including the famous big trees, a moody beach, and the mystical Fern Canyon.

This is the perfect any-season beginner trip for anyone wanting to dip their toes in backpacking.
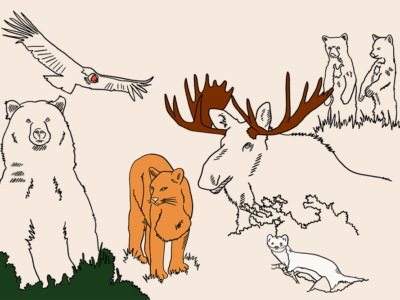
Animals in the wilderness can be scary, but they don’t have to be. Here’s how to feel perfectly at home with the bears and mountain lions.