20 Aug Warner Route, Black Canyon of the Gunnison National Park


guides // backpacking // colorado
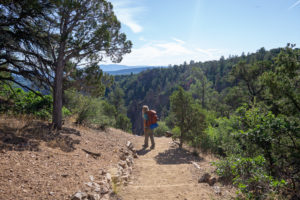
Warner Route, Black Canyon of the Gunnison National Park, Colorado
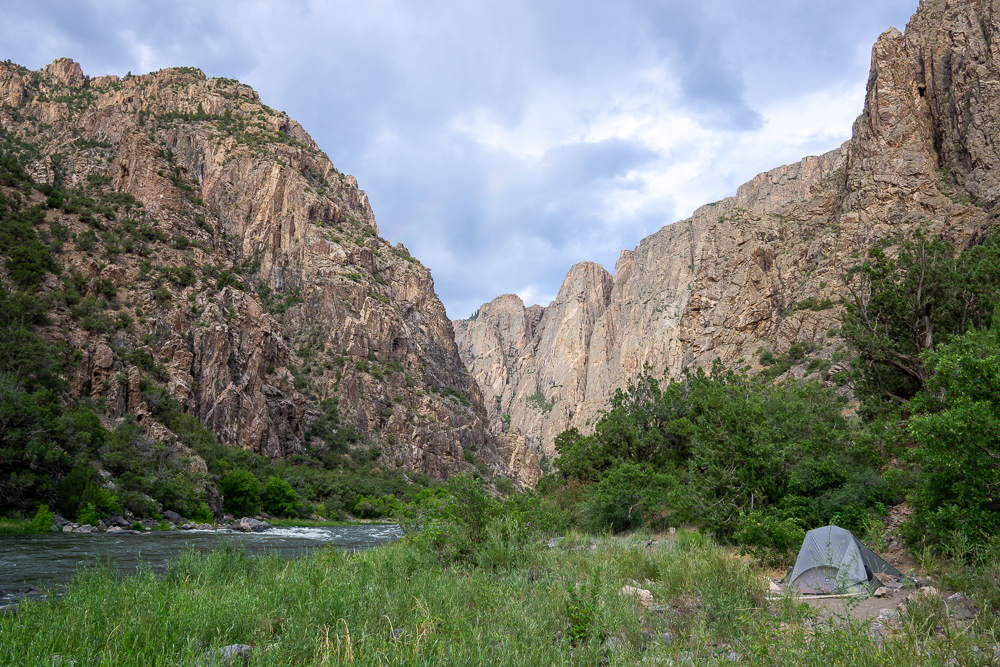
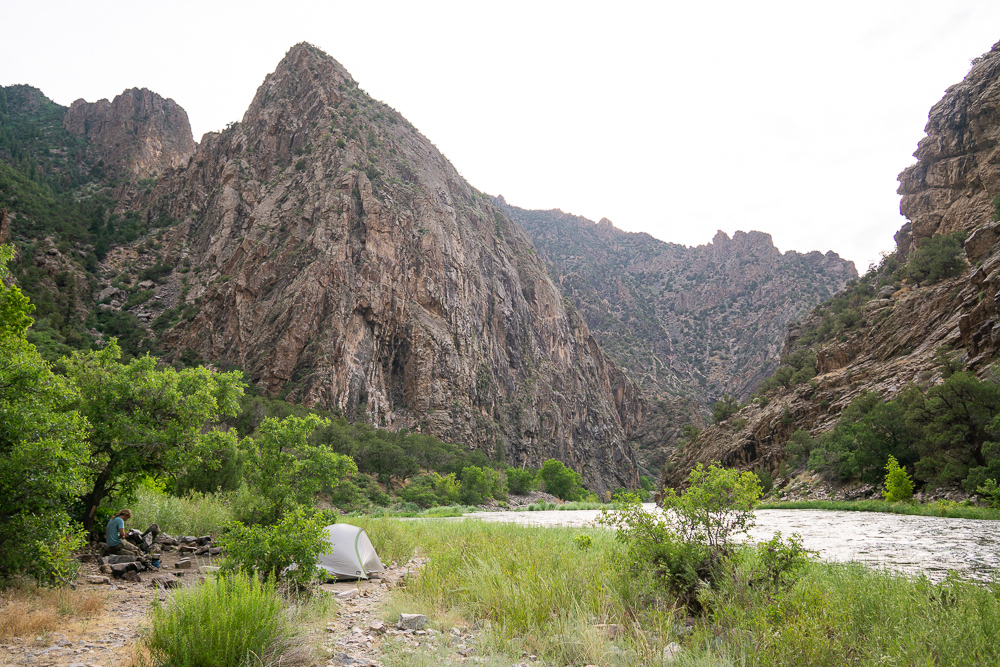
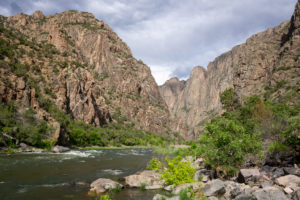
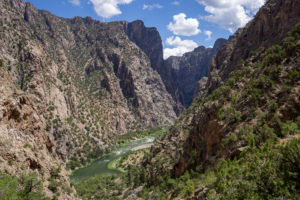
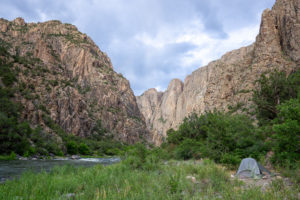
If you dream about hiking down to the bottom of this canyon, prepare for a physical and mental fight. Black Canyon of the Gunnison National Park has six routes that go from the rim to the canyon bottom and they are all pretty terrifying. Even the mildest route, the Warner route, descends 2722 feet in 1.6 miles, which easily disqualifies it from being anywhere near relaxing. On the bright side though, all that hard work is rewarded with a cozy, secluded campsite along the river, complete with impressive views down the canyon just as it starts to narrow.
Quick Notes
Pictures taken August 2019
Total Distance: 5.5 miles
Elevation Gain: 2722 feet
Difficulty: Very Hard
Days: 1 Night
Hike Type: Out-and-back
Trailhead: Warner Point Nature Trail
Seasons: Summer & Fall
Permit Requirement: Yes, Year-Round
Camping: Campsites
Map: Black Canyon of the Gunnison National Park
Water: Filter at camp

When to Go
We took this trip right in the middle of summer and it was hot, but not unbearable – plus, once we got further into the canyon it cooled off quite a bit. In winter and early spring (November through April), the road leading to the trailhead closes to regular traffic and turns into a ski/snowshoe trail. This closure adds about 6 miles of hiking to the approach, which makes winter travel into the canyon pretty much impossible. Not to mention how treacherous the steep terrain would become when it’s buried in a bunch of ice and snow. There is some good news for winter backpackers though: you’re allowed to backcountry camp all along the south rim after the Pulpit Rock Overlook. That’s definitely a trip we’d like to make in the future.
As far as checking current conditions, we found the trusty old weather app fine for predicting the weather, but we did have a little panic when storm clouds rolled in and threatened us with a flash flood (in a very narrow canyon!!). Just remember that even though you’re in a canyon, the rules of mountain weather still apply – it’ll probably rain a little in the afternoon
Trip Cost
Park Entrance Fee*
Wilderness Permit Fee
$20
Free
*If you know that you’re going to be going to a national park more than three times in a year, it’s worth it to buy a National Parks Pass. They’re $80 and sold online, at all REI locations, and National Park Visitor Centers.
Before You Go
The park requires that all hikers – day hikers and backpackers – have a permit to go inside the canyon. All permits for the main six trails into the canyon are first-come-first-serve at the visitor’s center (or the ranger station if you’re starting at the north rim), so there’s not much to do before your trip.
A note on permits though: If you’re starting your trip on a Saturday and really really want to do a particular route, try to arrive at the visitor’s center around 7AM. The park only allows 6 to 12 people per trail/per day — and that includes day hikers — so the trails actually do fill up. We originally wanted to do the Gunnison Route because it takes you to one of the narrowest parts of the canyon, but all the permits were taken before the visitor’s center had even opened! I didn’t know that the park has a self-register kiosk outside the visitor’s center. Luckily, we ended up picking up a permit for the Warner Route, but it was still kind of annoying. While I was waiting for our permit, the park rangers speculated that all the south rim trails were probably going to fill up that day.
Getting There
There’s one main road that tours through the south rim of the canyon, and the trailhead for the Warner Route is at the very end of this road. From Gunnison – which is your last opportunity to pick up supplies – drive west on Highway 50 until you get to the junction with 347. Take a right turn and follow the signs into the park. Take a left onto Rim Drive Road and then head all the way down the road to the trailhead. Remember to stop at the visitor’s center to pick up a permit before you head to the trailhead.
At the end of the road, there’s a fairly large parking area, however we noticed that on a sunny, beautiful Saturday, it was actually filling up. My estimate is that you should get there before 9AM to avoid parking issues.
On the Trail
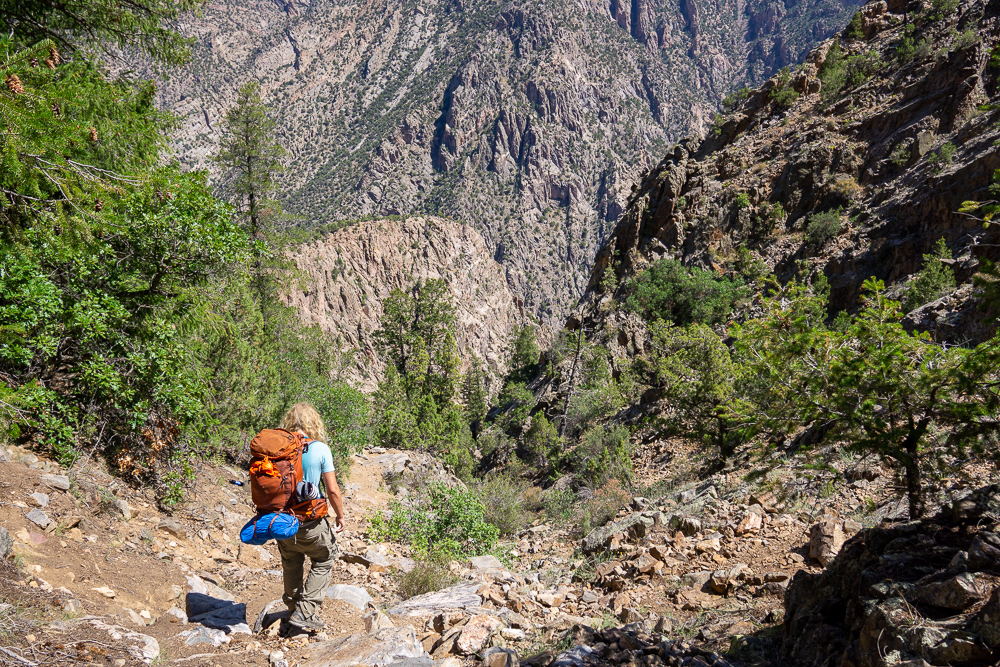
The trail starts off way too innocently with the Warner Nature Trail, which is a nicely groomed 0.8 mile stretch that guides you to the high point of the southern rim of the canyon and to the real beginning of the Warner Route. At the end of the nature trail, you’ll see a sign showing where the wilderness zone begins and the route truly starts.
Initially, the route starts off pretty tame. You’re going downhill, but it’s not too steep and the earth below you stays put when you step on it. After about 0.3 miles though, the trail gets a lot more serious. This is where you begin 1.3 miles of non-stop scrambling, sliding, butt-scooting and probably a lot of falling.
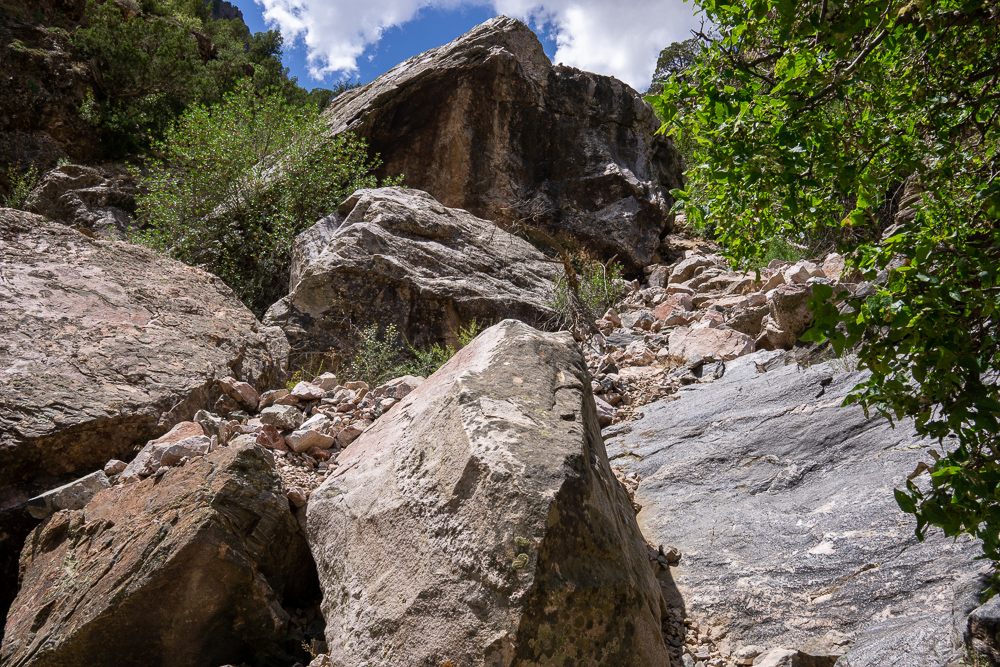
The route is a combination of loose dirt, loose scree, and larger 4-5 foot tall boulders. We came up with unique strategies for dealing with all three. When the trail got very steep on loose dirt, we kept loosing traction and sliding down the trail uncomfortably fast. To create a little speed control, we slid down the slope in a semi-butt-scoot, with one leg out front to control the pace and one leg folded under our butts, sliding directly on the bottom of our shoes. The whole thing looks kind of like the bottom of a pistol squat, but your front foot is on the ground controlling your pace. I think this strategy saved the back of our pants quite a bit.
For loose scree, we dug our heels into the rocks just like we would in snow. This took a lot of energy, but saved us from falling most times. For boulders, the strategy was pretty straightforward — climb down the boulders without falling. It definitely got a bit dicey in some areas though, especially with a heavy pack on my back. There were definitely a couple spots I considered taking my pack off to make the decent, but we both managed to make our way down without having to drop our packs.
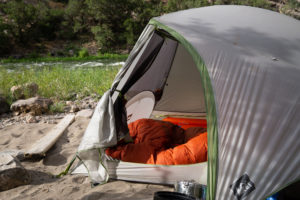
Once you get down to the river, you can start looking for campsites. The park claims there are five established campsites down here, but we only found one legitimate-looking campsite. The rest of the “campsites” looked like makeshift sites that people just settled on after getting frustrated that they couldn’t find the real campsites. That said, the campsite we found was amazing. It had rocks and tree trunks set up as camp furniture, plenty of shade, and amazing views of the canyon. To find where we stayed, start at the pit toilet and head directly towards the river. There’s a small trail that should take you straight to it.
After we found this one perfect campsite, we were so drained that we just laid down and read for most of the afternoon. However, if you’re not completely wrecked on the way down, this area has about 1 mile of river access before the canyon walls get too steep to explore.
The next day, we packed up and headed out early. Based on how steep the route was on the way down, we thought that it would take us forever to climb back out. Surprisingly though, the ascent took us a little over half the time it took us to descend. We were out of there in about 2.5 hours, versus the 4 hours it took to get into the canyon.
After the Hike
Black Canyon of the Gunnison really is in the middle of nowhere. If you’re heading east towards Denver, you’ll have to suffer the 1.5 hour drive to Gunnison for a proper meal. If you’re heading west, Montrose is a bit closer at 1 hour away. We were heading west so we made a very quick stop in Gunnison. There are a lot of tasty looking restaurants but we just wanted to get home so we stopped at good old Taco Bell. If we hadn’t been so impatient though, I would’ve wanted to try a sandwich at Firebrand Delicatessen.
Supply List
The Usual List
Backpack
Tent
Sleeping Bag
Sleeping Pad
Sleeping Bag Liner
Camp Stove
Lighter or Matches
Cooking Pot
Food
Water Vessel
Water Filter
Headlamp
Clothing
Trip Specific Things
Bear Canister
The park requires you carry one. It keeps bears and other forest friends from getting into your food and other smelly things. We use the BearVault BV450 Food Container and we love it. It’s durable, light and fits all of our food for two to three day trips. To learn how we fit three days of food (for 2 to 3 people) into a decently small bear canister, click here. If you don’t own a bear canister, you can borrow one at the Visitor’s Center.
Long Pants
The poison ivy here runs rampant, especially at the bottom of the canyon. I think the best way to avoid the puss-y grossness of poison ivy skin is to wear long pants and handle your pants very carefully.
Rain Jacket
You’ll be very prepared for the random thunderstorms that tend to plague this mountainous area.
Thinking about doing this trip? Have any questions? Comment down below!
More Happy Packers
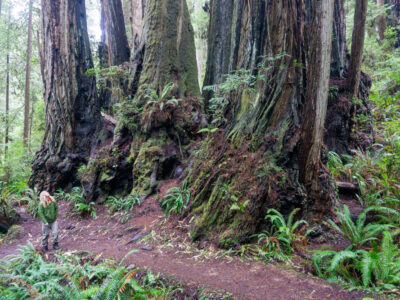
This loop is a tour through the many wonders of Redwood National including the famous big trees, a moody beach, and the mystical Fern Canyon.

This is the perfect any-season beginner trip for anyone wanting to dip their toes in backpacking.
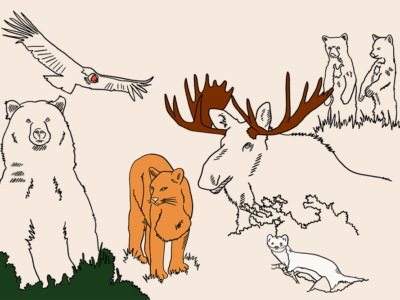
Animals in the wilderness can be scary, but they don’t have to be. Here’s how to feel perfectly at home with the bears and mountain lions.