30 Nov How to Backpack in the Winter: Tips and Tricks
How-To
How To Backpack in the Winter
Part 3: Tips and Tricks

This how-to series is for all the people who have ever wanted to go winter backpacking but think it’s too complicated, pricey, or just don’t want to freeze in the wilderness. In this three-part article series, I’ll show you how to plan a winter trip, dress yourself for the cold, and keep yourself comfortable while you’re out there.
Part 3 is full of all the little tricks we use to keep ourselves warm, dry, and fed on the trail and in camp. Part 1 goes over planning a winter trip, including how to choose a good route and how to upgrade your backpacking gear for winter weather. Part 2 is all about the clothing, footwear and accessories you need to make your trip comfortable.
The most important thing in snowy conditions is to keep yourself as dry as possible — treat water as enemy #1. When water gets into your clothes and shoes, it becomes a million times harder to keep them, and yourself, warm. There’s nothing worse than cramming your cold, damp feet into equally cold and frozen boots. Additionally, you’ll need to know how to pick a good campsite to avoid mega wind chills (this is something we’re still working on) and how to keep your food and water non-frozen.
Also, a little caveat: these are all the tips that have worked for us, but there’s a lot of room to play around with your set up and make it as comfy as possible. Everyone has different comfort levels when it comes to wet feet, cold heads, and frozen food, so for your first couple trips, you should change things around to see what works best.
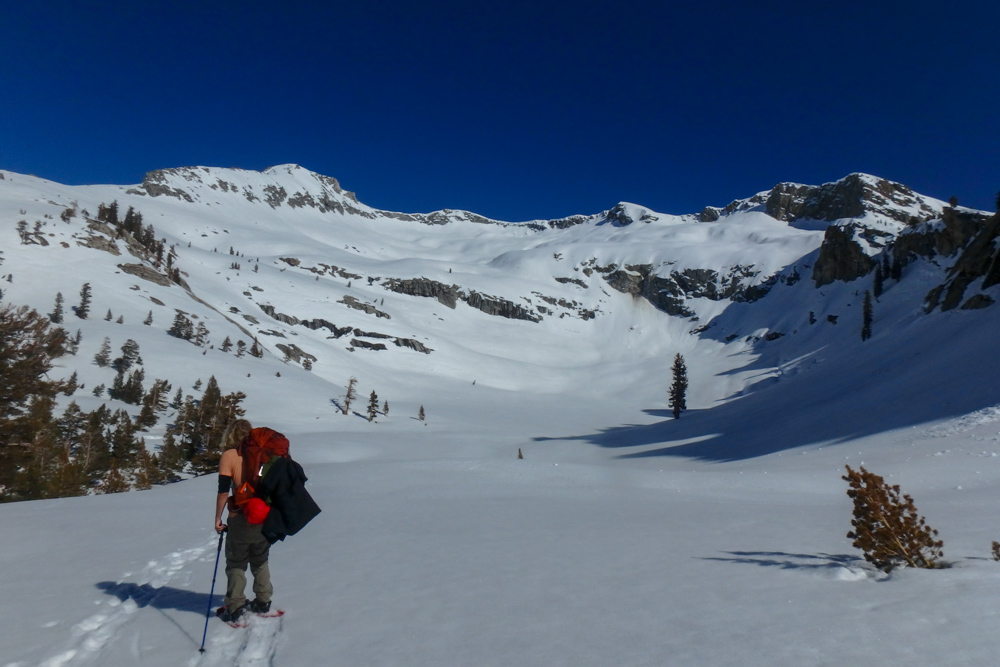
On our way to Pear Lake in Sequoia National Park
Staying Dry
Snowshoes always
In deep, soft snow, snowshoes are absolutely non-negotiable. Snowshoes will keep your boots above the snow so that you don’t get big chucks of snow in your shoes while you’re hiking. Otherwise, you might find yourself post-holing in 2 foot deep snow with a horrible attitude. If you still don’t believe me, I’ve got some stories about trips gone bad because we stupidly left the snowshoes in the car.
Avoid sweating
Don’t let yourself sweat while hiking. Take the extra time to stop and take a layer off before you start sweating. You can also wear layers with zip-off vents so that you can open and close them as you overheat.
Brush away snow
Brush the snow off your boots before it melts into the leather/fabric. Make sure to get into those crevices between your shoelaces. I’ve even considered bringing a bristle-y brush to help get snow off our shoes.
Snow gaiters
Wear snow gaiters around your boots to block snow from getting inside the neck of your boots and melting into the legs of your pants. Snow gaiters can be a bit fiddly, but they’re definitely worth it in fluffy snow. These knee-high gaiters were cheap and do the trick for us.
Waterproof your feet
There’s about a million things you can wrap your feet in to block out moisture. If you’re a fan of kitchen products, you can wrap your feet in Saran Wrap or oven bags. If you’d prefer dedicated footwear to kitchenware, there’s plenty of waterproof boot liners and socks on the market (1, 2, 3). Just remember that a lot of these waterproofing products have absolutely no breath-ability so prepare for smelly feet.
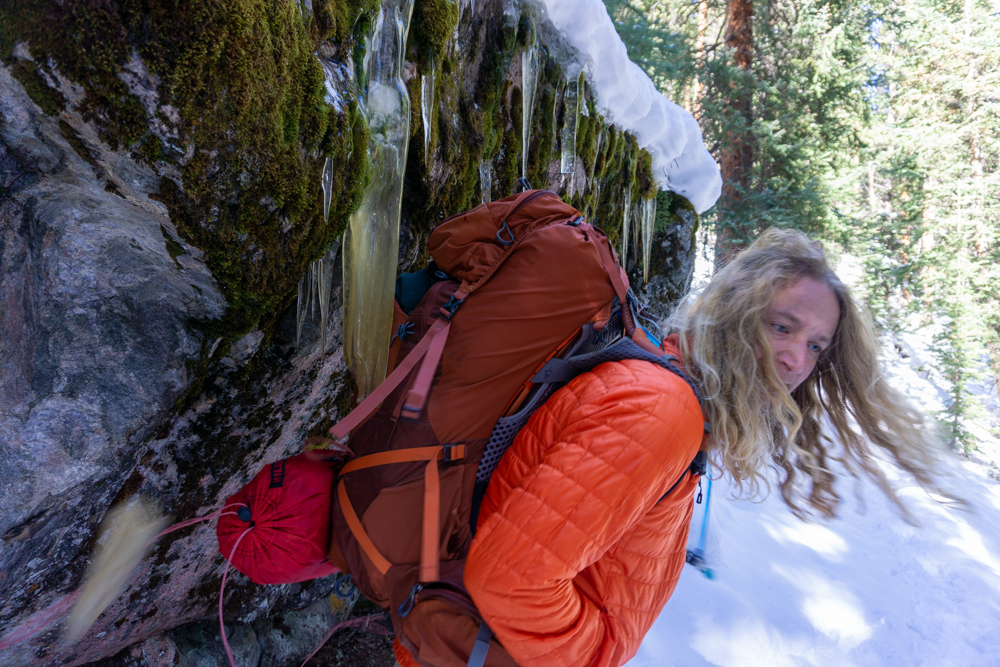
Dylan in a full-on argument with an icicle
Staying Warm
Layer up
Don’t let yourself get cold while taking breaks. Throw a layer on the second you stop for a break and keep it on until you think you’re about to overheat. Pay attention to keeping your head warm too – about 10% of body heat is lost through your head.
Hand warmers everywhere
We like to put hand-warmers everywhere: one in each glove, one in each boot, and sometimes I’ll even put one of those giant hand-warmers in a middle pocket of my jacket. For anyone who hasn’t had the pleasure of using hand-warmers, they’re little packets of warm chemicals that activate once you open the packet. The chemical reaction inside the packet gives off about 8 to 10 hours of heat.
Water bottle trick
Fill a water bottle with boiling hot water and hug if for warmth. This is one of those tricks that will occasionally pop up in a magazine article, I’ll think about doing it for a second, and then instantly forget about it… until it gets excruciatingly cold. Last year, we went on an extremely cold trip and this tip came in very handy. The water didn’t stay warm all night long, but it did keep me warm enough to comfortably fall asleep.
Warmth at Camp
Take off shoes and socks right away
Take your shoes and socks off right when you get to camp and set them up somewhere to dry. If you’re lucky, you’ll have plenty of sunlight left to fully dry your gear. I usually put on a secondary pair of socks, plant within stepping-distance of the tent and the backpacks, and try not to walk around too much.
Picking a good campsite
Look for somewhere with good sun exposure, minimal overhanging dead trees, and not in low-lying valleys. Depending on where the sun sets and rises, try to position your tent in a location where you’ll get as much sun time as possible. This is easy to do if you’re camping near a cliff, but a lot harder if you’re camping near a lake (which is almost always in a valley surrounded by taller mountains). If you’re dead-set on camping near a lake, look for a larger lake surrounded by smaller mountains. Also, try not to camp too far into deep valleys where cold air tends to collect at low spots.
I also just learned that the snow around your campsite can tell you a lot about how much wind you’ll likely face at night. If the top layer of snow is loose and powder-y, it means that there’s a good amount of consistent wind in the area. One step further, if the snow around you is brittle and molded into giant bumps, the wind is probably going to be incredibly strong at night.
Sit on your sleeping pad while cooking and hanging out
If there’s a bunch of snow at your campsite, it can be hard to find a good rock or log to sit on while you cook and hang out. Some people go nuts and craft “camp furniture” out of the snow – complete with a snow table and snow chairs. We’re never going to have the patience for that. Instead, we just plop down on our insulated sleeping pads. The sleeping pads get us off the snow and actually keep us pretty warm while we’re cooking.
Sleep with everything in your sleeping bag
To me, this is the most dreaded tip on the list. I despise sleeping with a bunch of stuff in my sleeping bag and I suspect a lot of other people do too. Firstly, the reason why you should do it: sleeping with your clothing and boots (in a dry bag) in your sleeping bag will help keep them from freezing overnight, which is great in the morning but horrible while you’re falling asleep. To make the situation a bit better, I try to arrange my clothing in places where I’d notice them least. For example, I wrap stray clothing around my pillow, making a sort of lumpy pillowcase. I don’t have any tips for the boots – it just sucks, but you’ll be happy in the morning.
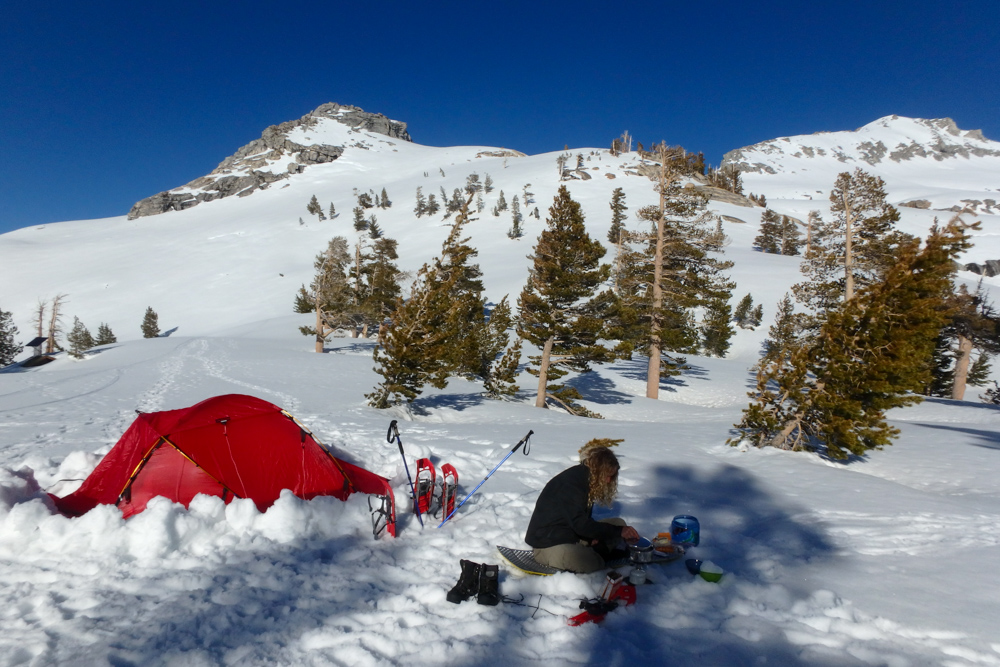
Camp at Pear Lake in Sequoia National Park
Food & Drink
Water reservoir
Store the hose of your water reservoir close to your body so that the water in the hose doesn’t freeze. For the parts of the hose that are exposed, try to break up any ice that forms before it takes over the entire hose.
Cook with white gas
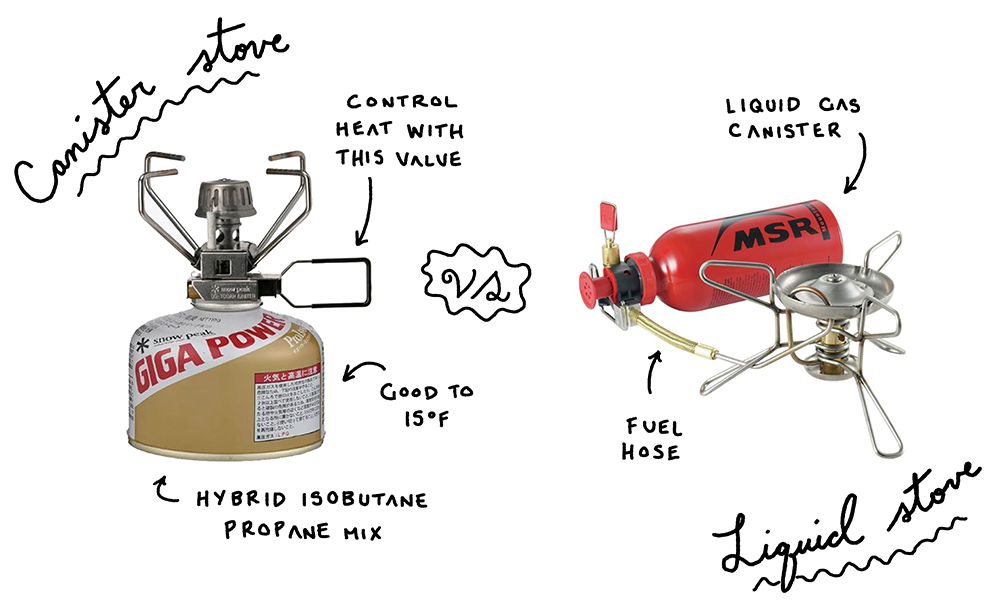
The best kind of cooking fuel for cold weather is white gas, because it burns so much hotter than your typical, everyday gas canister stove. White gas is a very pure version of car gasoline that can be volatile and ~ honestly ~ tends to be a bit too high maintenance for us. If you want to use white gas, you’ll need a special liquid fuel stove, like the MSR Whisperlite, and you’ll need to do a lot more maintenance than you would with a simple canister stove. You’ll need to “prime” the stove before igniting it, which means you’ll need to ignite a few drops of fuel in the cup below the burner to preheat the fuel line. You’ll also need to pump the fuel bottle to maintain pressure in the bottle and you’ll need to clean out any gunk in the fuel hose.
For a lower maintenance option, we go for a hybrid isobutane propane mix with *snow peak Gigapower Fuel 250 Gold – it’s good for temperatures as low as 15°F (-9°C), fits into our usual canister-based backpacking stove, and doesn’t need re-pressurizing. For what it’s worth, we’ve used it in temperatures as low as 0°F without any trouble.
Water bottles
Store water bottles upside down to avoid freezing the caps closed.
Warm your snacks
Store snacks in pockets close to your body so you don’t break your teeth when you bight into your favorite backcountry snack. Also, don’t bring anything with caramel in it – the caramel freezes and takes forever to unfreeze.
Melt snow for cooking water
This tip is pretty self-explanatory: snow makes excellent cooking water.

