08 Apr Rancheria Falls, Yosemite National Park


guides // backpacking // northern california
Rancheria Falls, Yosemite National Park, California
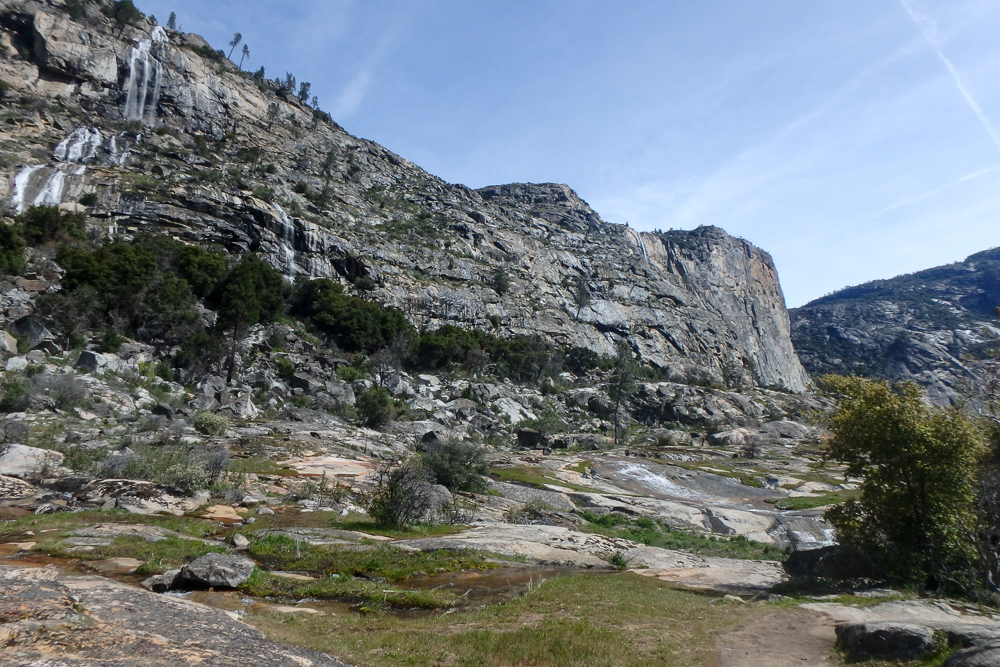
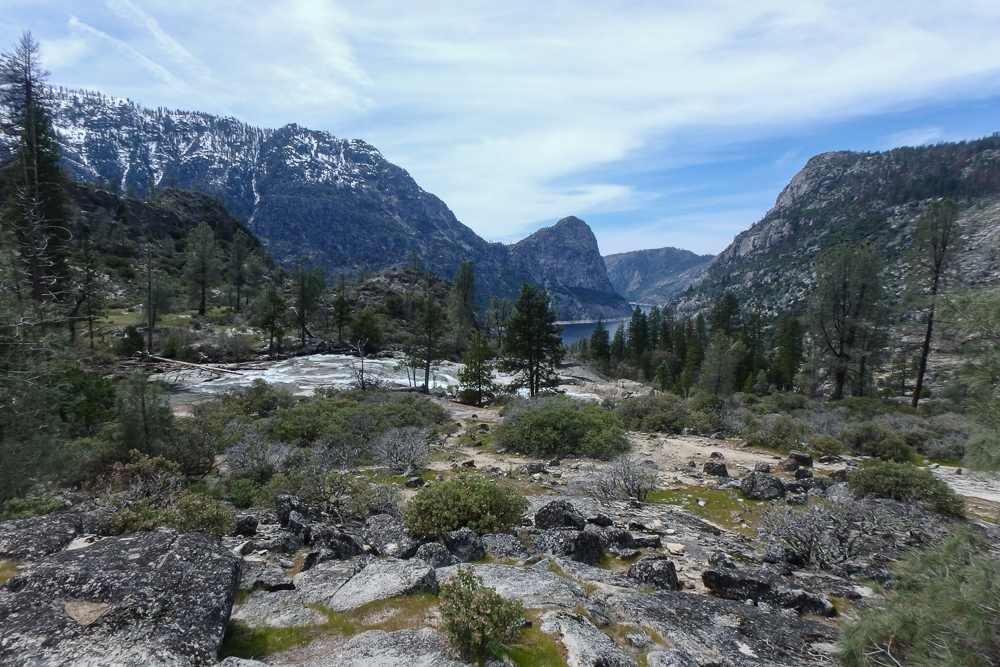
If you want to backpack in Yosemite in the spring but you don’t want to deal with slow-melting snow, Hetch Hetchy is the perfect place to go. The Hetch Hetchy Reservoir is a beautiful man-made lake and a bit of a California controversy. Back in the early 1900s, the O’Shaughnessy dam was built to flood the Hetch Hetchy Valley and then the reservoir created by the dam was used to provide water for the good people of San Francisco. Before the valley was flooded, Hetch Hetchy looked a lot like its very famous neighbor to the south, the Yosemite Valley – present day Hetch Hetchy looks sort of like a giant bathtub made of granite. Either way, it’s a perfect beginner backpacking trip with a beautiful waterfall and a great campground at the end.
Quick Notes
Pictures taken April 2017
Total Distance: 12 miles
Elevation Gain: 1,770 feet
Difficulty: Medium
Days: 1 Night
Hike Type: Out-and-Back
Trailhead: Rancheria Falls (29C)
Seasons: Spring, Summer & Fall
Permit Requirement: Yes, Year-Round
Camping: Dispersed Camping
Map: National Geographic Yosemite National Park
Water: Filter from streams and waterfalls

When to Go
The best thing about Hetch Hetchy is that it’s at a lower elevation than the rest of Yosemite, so the snow melts a lot earlier in the season. Depending on the snow pack, you can easily hike this trail in late April or early May, while the rest of the park is covered in snow. Surprisingly, the trail didn’t seem too crowded in May, which is rare in a park as popular as Yosemite
That said, summer in Hetch Hetchy is very hot and there’s very few swimming opportunities along the trail. The Hetch Hetchy Reservoir and the first upstream mile of all creeks that flow into it are off limits to swimmers, because the reservoir supplies San Francisco’s drinking water. Plus, the streams into Hetch Hetchy flow terrifyingly fast and look extremely inconvenient to swim in.
Checking on current conditions in this area can be a bit challenging, because it’s the first backcountry area of the park to wake up after the winter season. To make things a bit harder, the park doesn’t maintain a webcam in this area like it does in the rest of Yosemite so you can’t actually see how much snow is on the ground. With all that in mind, I’ve come up with an alright way to check current conditions. First, you’ll have to check the status of the questionable forest roads that lead to the trailhead (you can do that on the CalTrans website). Next you should call the rangers in Stanislaus National Forest near the Hetch Hetchy area. They’ll know what’s going on a bit better than the Yosemite Rangers because they’re a lot closer to the reservoir.
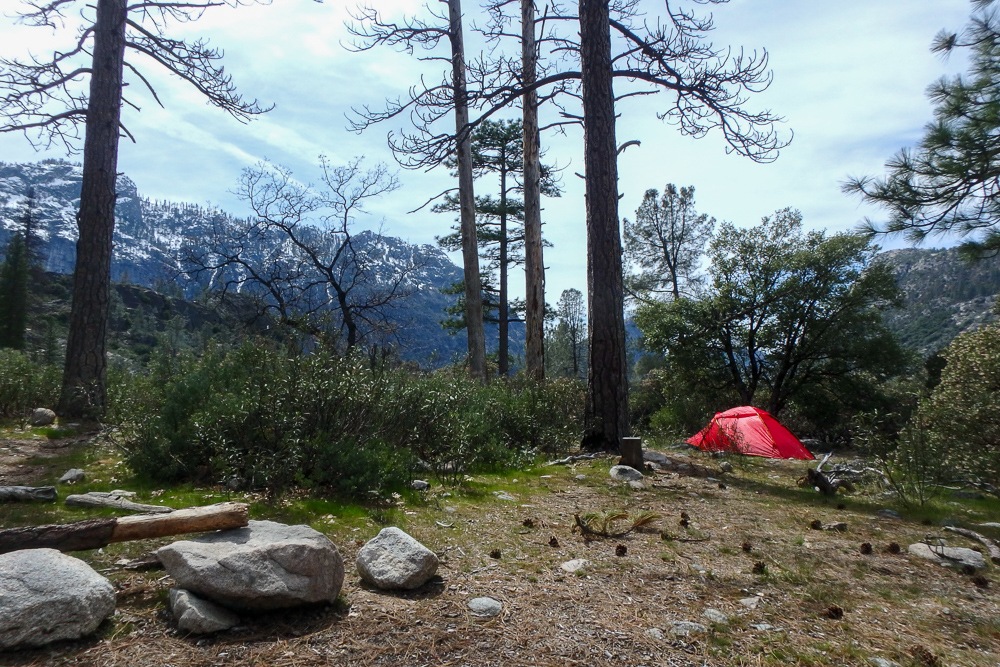
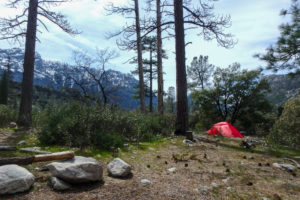
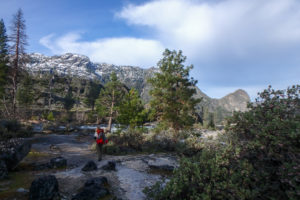
Finally, if all of that fails, you can check the Yosemite Current Conditions Report to see if they have an approximate elevation for the snow line, and then check it against the trail elevation. Funny story – everyone told me that there would be mountains of snow in the backcountry, so we brought our heavy four season tent on the trip. As you can see in the photos… not a speck on snow to be found. We looked ridiculous with our overkill snow-tent set up on the dirt.
Checking Current Conditions
Stanislaus National Forest Ranger (209) 962-7825
Yosemite Wilderness Ranger (209) 372-0826
Trip Cost
Park Entrance Fee*
Wilderness Permit Fee
Wilderness Permit Reservation
$35
Free
$5 per reservation + $5 per person
*If you know that you’re going to be going to a national park more than three times in a year, it’s worth it to buy a National Parks Pass. They’re $80 and sold online, at all REI locations, and National Park Visitor Centers.
Before You Go
Wilderness permits are required for all overnight trips in the Yosemite backcountry. You can get a first-come-first-serve permit at the Big Oak Flat Information Station, but the best way to make sure you’ll have a permit for your trip is to make an online reservation. Permits in Yosemite can be reserved up to 24 weeks in advance of your trip. Click here to learn how to make online backcountry permit reservations in Yosemite.
If you didn’t end up making a reservation, there’s still hope. The park saves 14 out of 21 first-come-first-serve permits at this trailhead for more spontaneous travelers. If you really really want to do this exact trip, try to arrive at the Wilderness Center early to snag one of these permits.
Getting There
The trail head is located at the end of a tangle of forest roads that are fairly narrow, but paved and easily drive-able. The least confusing way to get there is on Evergreen Road, but there are some shorter routes if you trust your GPS enough on backwoods-ish roads. For the most direct route, head east from Groveland on Highway 120 and turn left onto Evergreen Road. Eventually you’ll arrive in Mather and the Camp Mather General Store – this is the last place to stock up on last minute supplies. However, I wouldn’t rely on the store to be open, because it seems like a seasonal situation. The Hetch Hetchy trailhead is just 20 minutes past Mather on Evergreen Road (the road turns into Hetch Hetchy Road after Mather).
At the very end of the road, you’ll find the backpacker’s campground, where backpackers are allowed to spend the night before and after their backcountry journey. I’m not sure if this campground has a fee, but for what it’s worth, the backpacker’s campground in Yosemite Valley costs $20 a night.
Dispersed Camping
Yosemite National Park has some of my favorite rules for backcountry camping of the entire National Park System. They allow “dispersed camping,” which means that you can camp anywhere in the park as long as you hike at least four miles away from the trailhead and pitch your tent at least 100 feet away from the trail and from water. We try to pick campsites that are on durable surfaces like dirt or rock, near-ish water (for easy filtering), and in a location where it would be hard to see us from the trail. Try not to camp on any type of vegetation; the growing season for some plants in Yosemite is so short that it’s best not to squish them.
Yosemite allows campfires in the backcountry at elevations below 10,000 feet. The elevation of this entire trail is well below 10,000 feet so you can have a campfire if that’s your thing. You just need to make sure there’s no fire ban and you have to find an established fire ring. The rangers build these fire rings, and it’s against park rules to destroy them or build new one.
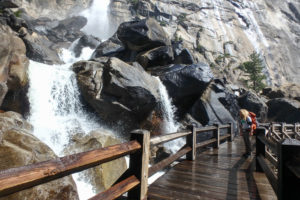
On the Trail
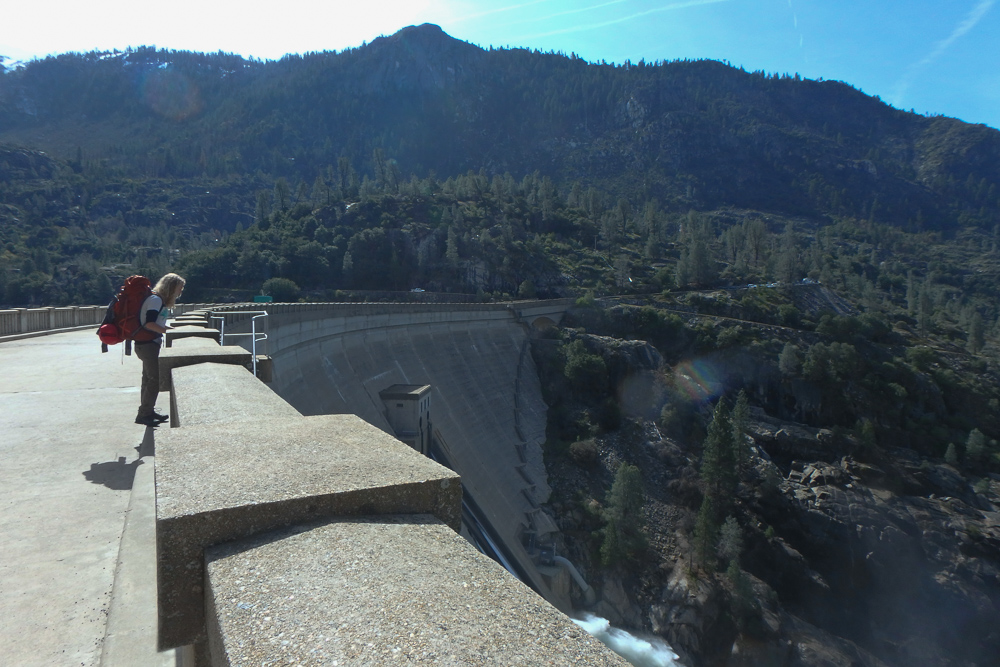
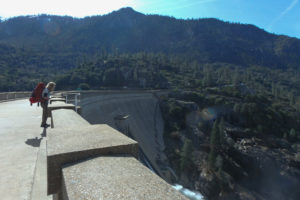
The trail starts out by crossing the ginormous O’Shaughnessy Dam which plugged up the river and created the reservoir. If you look over the dam at the downstream side, you can kind of see how the valley used to look before the reservoir.
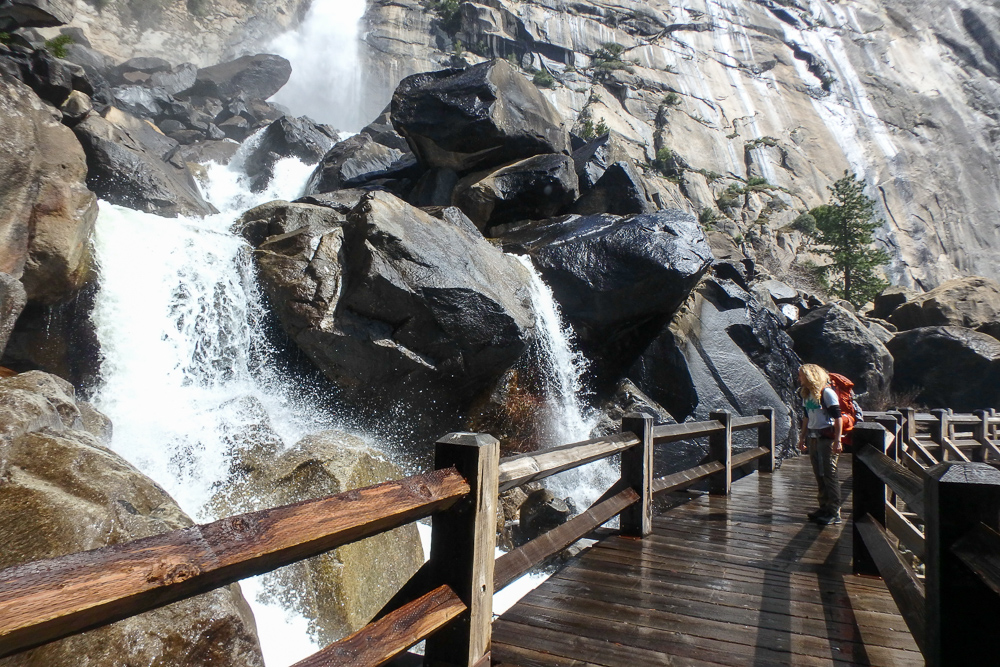
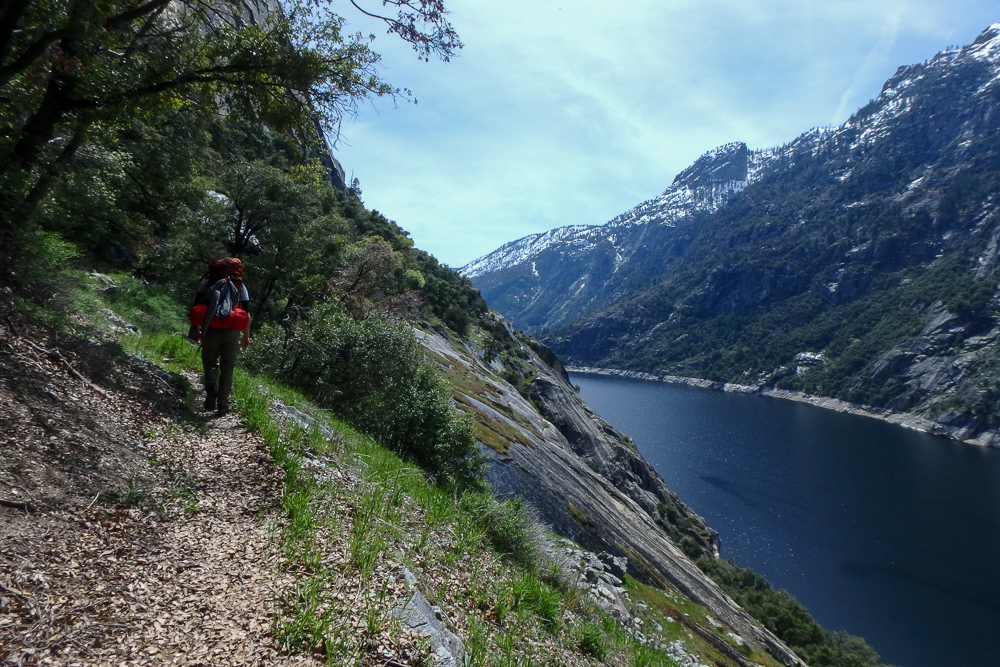
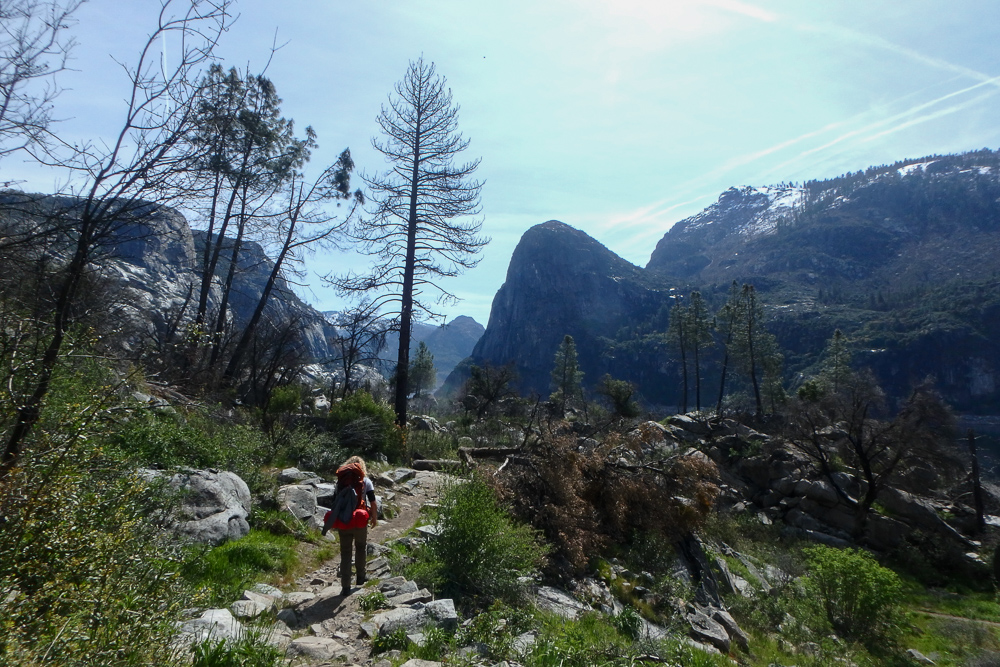
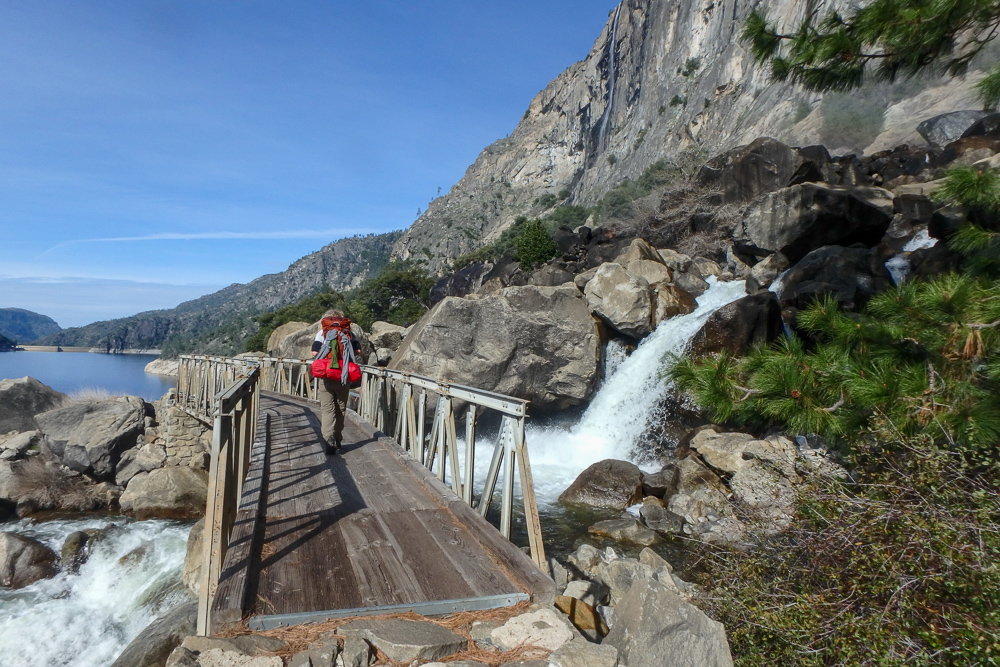
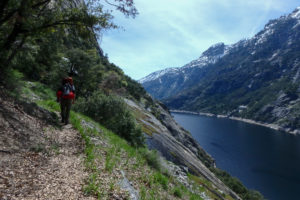
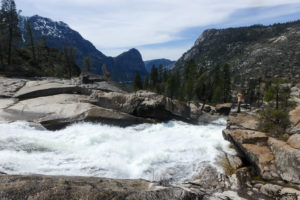
Past the dam, you’ll have five straight miles of easy hiking around the perimeter of the reservoir. There’s waterfalls and beautiful lookout points — it’s a very pleasant hike. There’s a couple switchbacks but nothing too crazy. That’s another reason why this is a great early-season trip — the mild distance and elevation gain is a perfect warm up for the rest of the year.
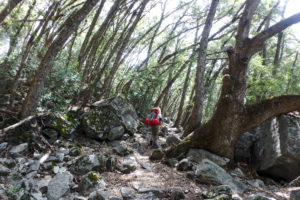
After about five miles of easy hiking, the trail veers north and starts getting steeper. Eventually, the shorter scrubby plants near the reservoir become more of a forest with taller trees. There’s a bunch of established campsites with fire rings in this forest area — this trail is very popular early in the season so you’ll probably see a couple groups camped here already. We saw around four groups spread out in the forest and decided to look for a more secluded spot closer to the waterfall.
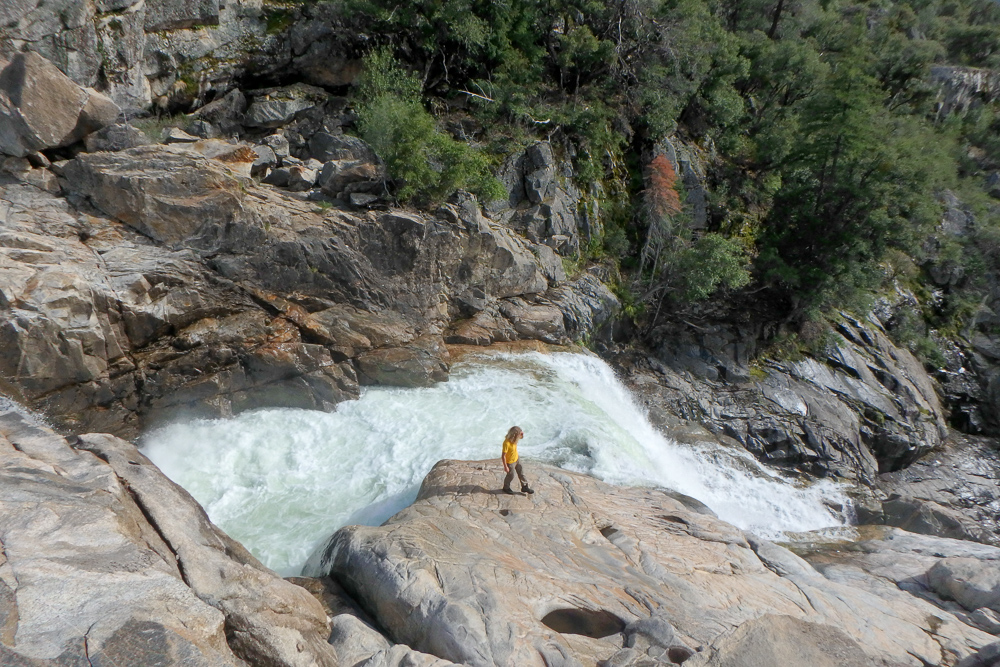
If you hike south-east towards Rancheria Falls, you may be able to find some established campsites closer to the waterfall and farther away from most of the people. We found a nice spot among a couple boulders and some shrubbery. There was no one to be found for at least 500 feet from us and the waterfall was a very short hike away.
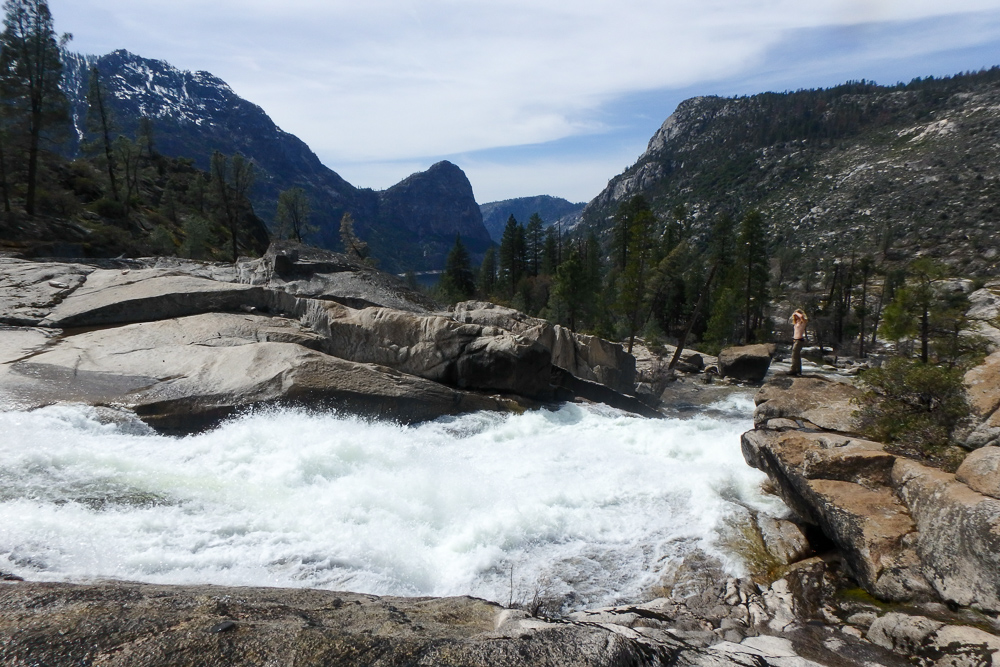
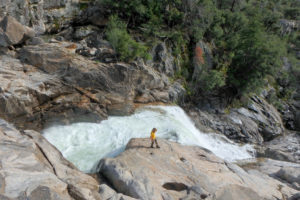
Because the hike was so short, we had a lot of time to climb around and explore. We ended up rock-jumping our way down to a really steep part of the waterfall where Dylan half-climbed, half-levitated his way down to an intense-looking viewpoint. After that, we had a nice dinner and slept soundly with the roar of the waterfall nearby.
The next morning we easily retraced our steps all the way back to the car.
After the Hike
The nearby Tuolumne Meadows market makes a pretty good basic burger, but if you’re looking for something more filling and are heading west towards the Bay Area, there’s a very good sandwich shop in Oakdale called The Cottonwood Café. We go here every single time we visit Yosemite. Their portions are big and somehow they’ve been able to source the freshest pineapple and cantaloupe in the state – and they give you a slice of fruit with every order.
Supply List
The Usual List
Backpack
Tent
Sleeping Bag
Sleeping Pad
Sleeping Bag Liner
Camp Stove
Lighter or Matches
Cooking Pot
Food
Water Vessel
Water Filter
Headlamp
Clothing
Trip Specific Things
Bear Canister
The park requires you carry one. It keeps bears and other forest friends from getting into your food and other smelly things. We use the BearVault BV450 Food Container and we love it. It’s durable, light and fits all of our food for two to three day trips. To learn how we fit three days of food (for 2 to 3 people) into a decently small bear canister, click here. If you don’t own a bear canister, you can rent one for $5 at the Big Oak Flat Information Center.
SMART Water Bottle with Small Sawyer Filter
This trail has fairly consistent access to creeks and streams along the way. On trails with consistent water access, we usually just fill up a SMART water bottle, screw in the Sawyer filter and drink straight from the filter spout. It saves us time, and makes it to where we don’t have to unpack our entire backpack to get to our water reservoir. Why specifically SMART water bottles? They’re durable and somehow one of the only bottles that the Sawyer filter is compatible with.
Thinking about doing this trip? Have any questions? Comment down below!
More Happy Packers
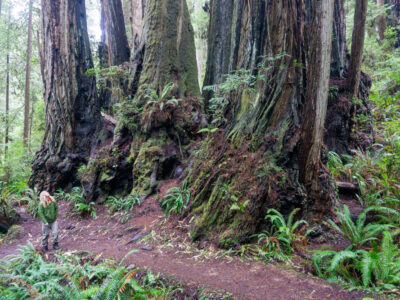
This loop is a tour through the many wonders of Redwood National including the famous big trees, a moody beach, and the mystical Fern Canyon.

This is the perfect any-season beginner trip for anyone wanting to dip their toes in backpacking.
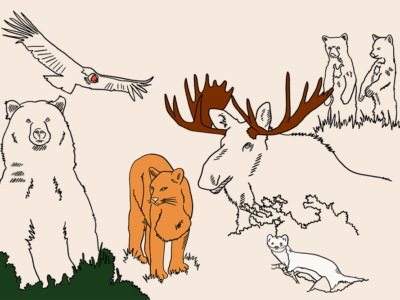
Animals in the wilderness can be scary, but they don’t have to be. Here’s how to feel perfectly at home with the bears and mountain lions.