28 Sep Hell Canyon Loop – Indian Peaks Wilderness
guides // backpacking // colorado
Hell Canyon Loop, Indian Peaks Wilderness, Colorado
There’s no nice way to say this: this is a very very hard trip. It may even be the hardest backpacking trip in the Indian Peaks Wilderness. It starts out deceptively normal, but by the time you make it past the first big lake — taking the loop in either direction — it becomes a real off-trail quest. The “real” trail disappears and it gets punishingly steep. Here’s a quote I lifted from the AllTrails comment section: “While this was a beautiful hike, I wish I never did it at all.”
All that being said, if you’re an experienced hiker, can navigate without a trail, and you complete this loop, you’ll feel like an outdoor superstar. Along the way, we ran across a ton of moose, crossed a slanted ice sheet on our hands and knees, slid down an insanely steep pass on our butts, and had the most peaceful sleep right next to a beautiful lake.
Quick Notes
Pictures taken August 2020
Total Distance: 27.4 miles
Elevation Gain: 6,300 feet
Difficulty: Very Hard
Days: 1 Night
Hike Type: Loop
Trailhead: Monarch Lake Trailhead
Seasons: Late Summer
Permit Requirement: Yes, June 1 – Sept 15
Camping: Dispersed Camping
Map: Indian Peaks – James Peak Wilderness – Topographic Hiking Map
Water: Filter along the way

When to Go
Completing the loop means crossing a very steep pass that is at about 12,000 feet in elevation. This means that the window for completing the loop is super short, because you want to make sure the southeastern face of the pass is mostly snow-free. The southeastern face is the “cold” face that gets most of the shadows, so the snow tends to stick around longer. You probably won’t be able to avoid all the snow — we had to crawl across a couple short ice sheets — but if you do this hike between late July and early September, you’ll be setting yourself up for success.
Somehow, we got lucky by going in late August — I had no idea the pass would be so shaded and so snowy. We were even luckier because a few weeks after our trip, it snowed in the mountains and effectively made this trip impossible. I think people who enjoy a bit of a thrill might be able to extend the time window if they use crampons or micro spikes for the icy parts. However, it is very steep, so anyone attempting to do it with a bunch of snow/ice should really know how to use their gear.
On the bright side, if you take the trip sometime in late summer when the pass is the most pass-able, you’re most likely to see the moose at their most active. We saw a whole moose family chilling in the forest.

Trip Cost
Wilderness Permit Fee
$5 per permit
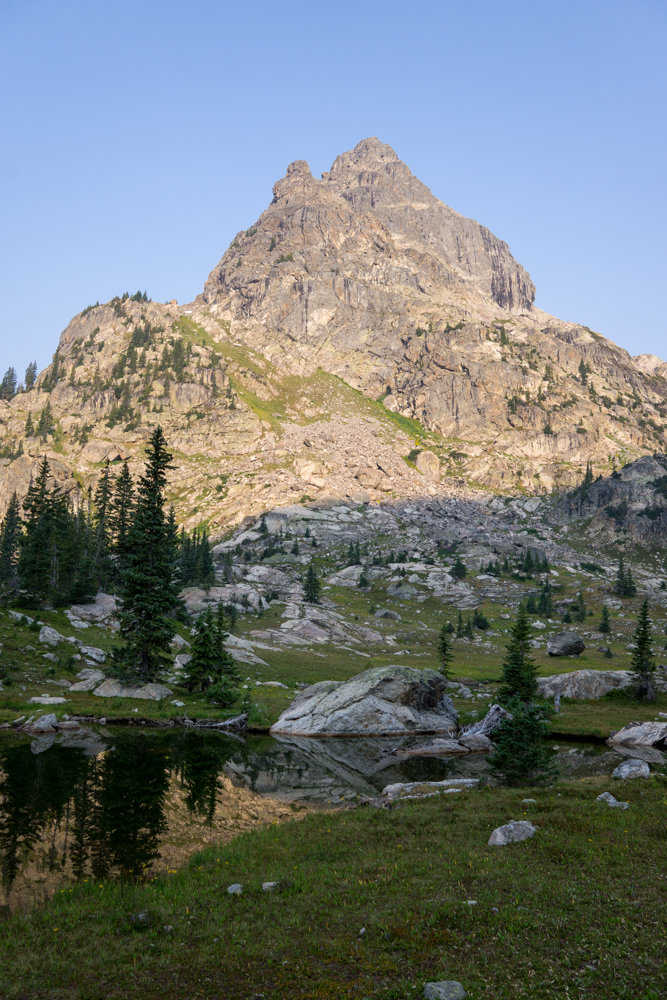
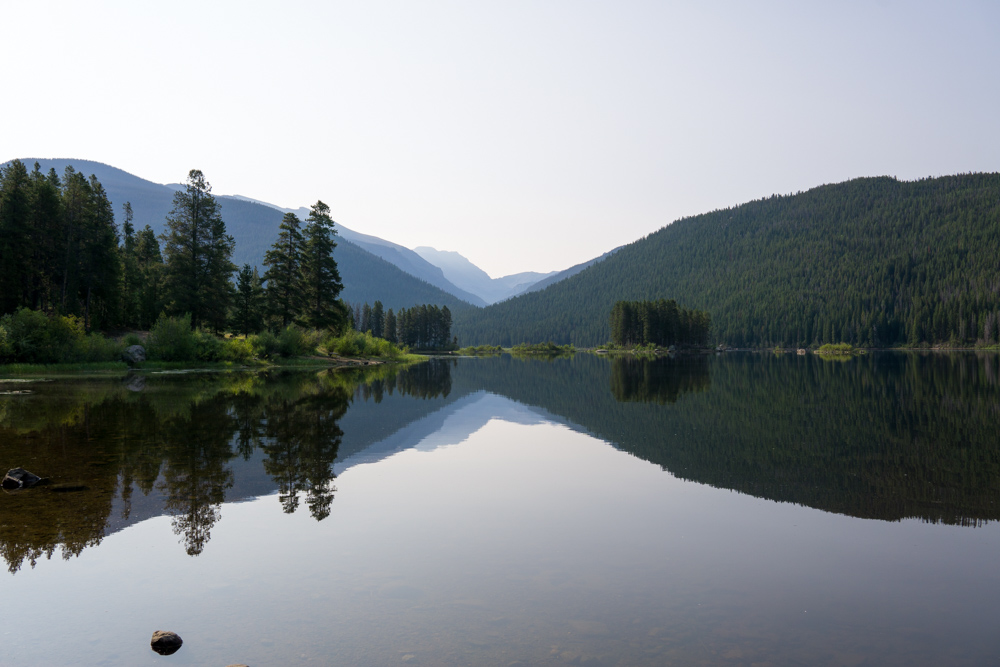
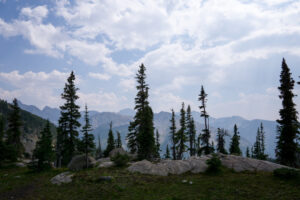
We woke up to this beautiful peak.
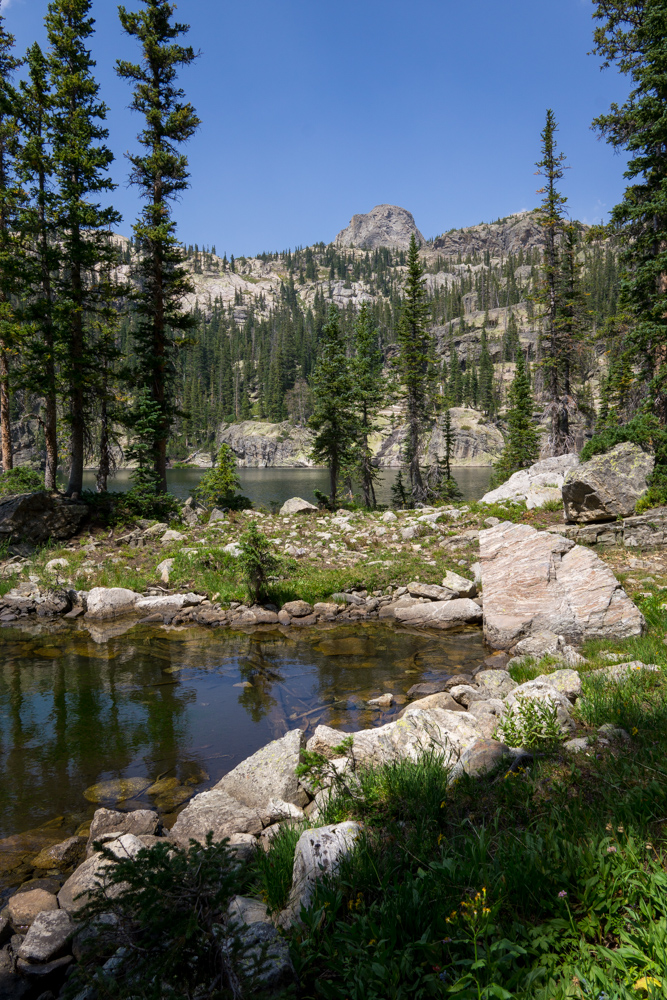
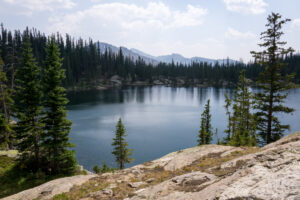
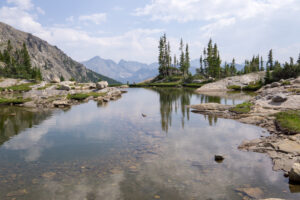
Gourd Lake really is shaped like a gourd – not that you can tell in this photo though.
Before You Go
The first thing you’ll need to do is decide which direction you want to hike the loop. If you go counter-clockwise, you’ll be going uphill on the iciest parts – which is much safer – but the downhill section will be steeper. It’s also slightly harder to find the trail in some locations if you go counter-clockwise. If you go clockwise, you’ll have to deal with going downhill on icy terrain, but the rest of the trip is slightly more comfortable. Either way, you’ll find prime camping at the two lakes that bookend the off-trail, difficult section. We chose to go counter-clockwise based on absolutely nothing and got very lucky — I probably would’ve have a meltdown if we had to go downhill on ice.
The next step is to apply for your wilderness permit. The Indian Peaks Wilderness requires that backpackers have permits for any backcountry camping between June 1st and September 15th. Permit applications and instructions can be found here. They open up the application for the whole year in January, so if you’re set on this trip, you should apply early. Once you send in your application, a park ranger will call you to collect payment for the permit and to give you instructions for how to pick up the permit. In our case, we had to swing by their office in Granby to collect our permit, which was waiting for us under a stump next to the building.
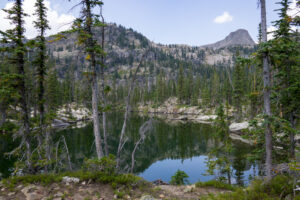
In the permit form, you’ll have to select the backcountry zone that you’ll be camping in and you’ll have to select the trailhead. For the backcountry zone, you can either select the Hell Canyon BZ if you plan to sleep at or around Upper Lake or the Buchanan BZ if you plan to sleep at Gourd Lake. Gourd Lake has a nice shoreline, with plenty of spots for cliff jumping, while Upper Lake is surrounded by dramatic peaks and cliffs. For the trailhead, you can either pick Roaring Fork (100) or Monarch Lake (200) depending on when you would like to do the 2 mile road walk between the trailheads. We chose to park at Monarch Lake and to save the road walk for the very end.
The good news about this specific trail and backcountry zone is that it’s a lot less popular than the rest of the park and permits are easier to come by. We only applied a week in advance and easily got our permit approved.
Other than the permit, if you’re planning on hiking during a time when there may be snow on the pass, you could review some self-rescue techniques on snow and inspect your gear.

Getting There
After picking up your permit, getting to the trailhead is easy — you just type “Monarch Lake Trailhead” or “Roaring Fork Trailhead” into your map app of choice and go from there. The trailhead is about 2.5 hours from downtown Denver. You’ll also get to drive along the full southern bank of Lake Ganby, which always delivers on views.
Before you head to the trailhead, you’ll need to stop by the Indian Peaks Wilderness ranger station in Granby to pick up your permit. During your before-trip call with a park ranger, they’ll describe how to get to the ranger station or you could find it by typing “Sulphur Ranger District” into your map app.
If you’re coming from the south, the last place to stock up on supplies is the small town of Granby. If you’re coming from the north, you would be stopping at Grand Lake, which is essentially a national park tourist town.
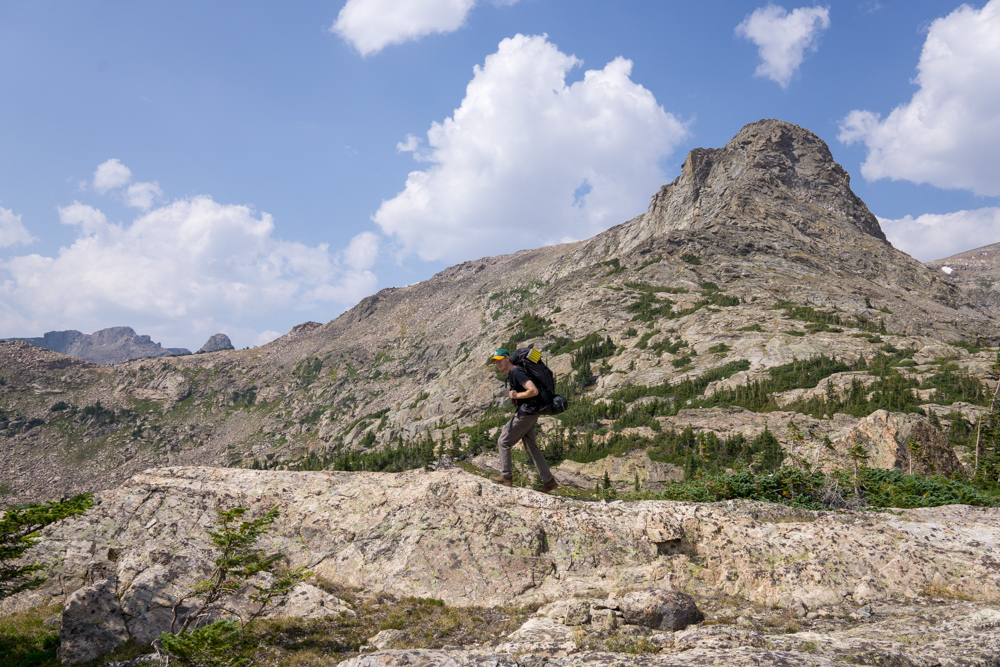
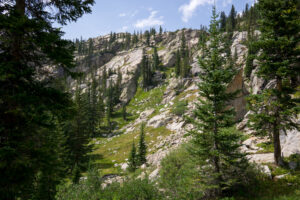
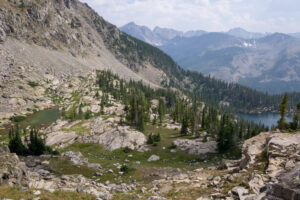
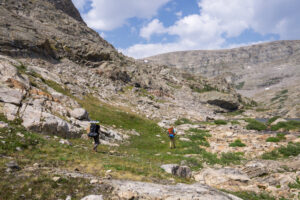
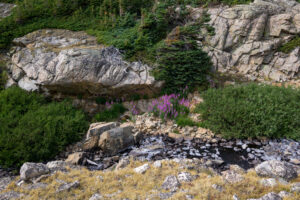
After Gourd Lake the trail gets quite rocky.
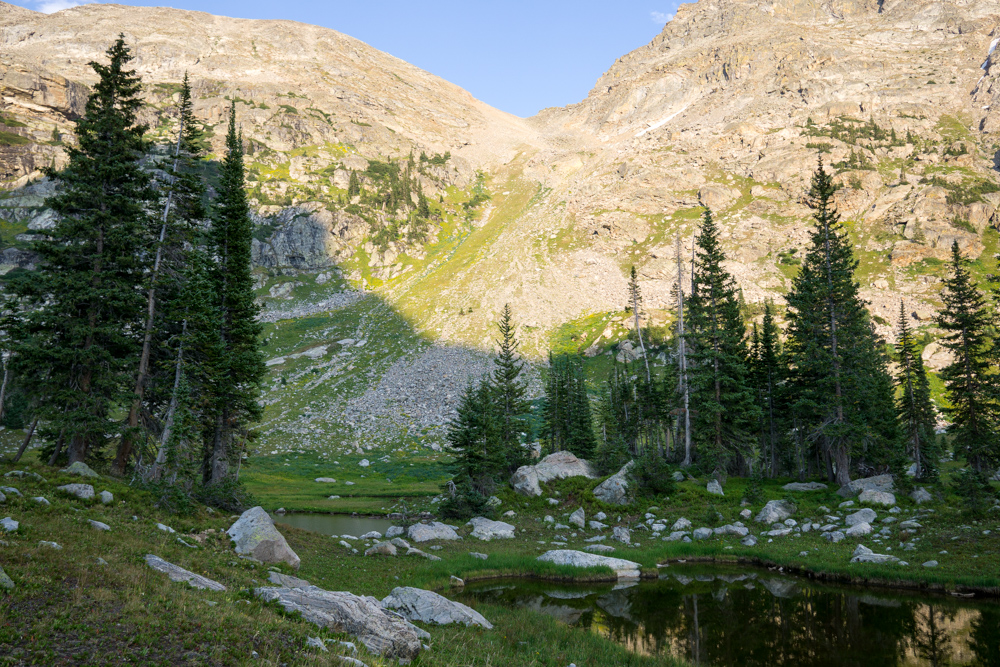
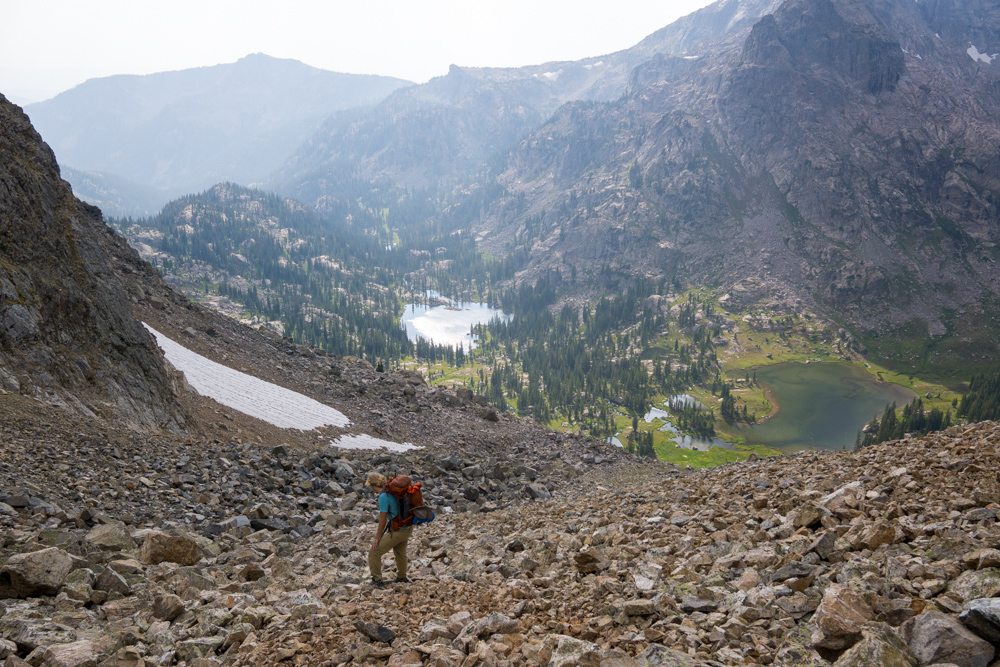
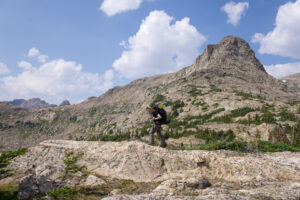
This is the back side of the pass if you go counter-clockwise. It may not look like a trail, but trust me, it is.
On the Trail
I’ll be describing the trail in the counter-clockwise direction, because that’s how we did it. The biggest differences between the two directions is that if you go clockwise, it’ll be a bit easier to find the trail but a bit more dangerous on the icy parts.
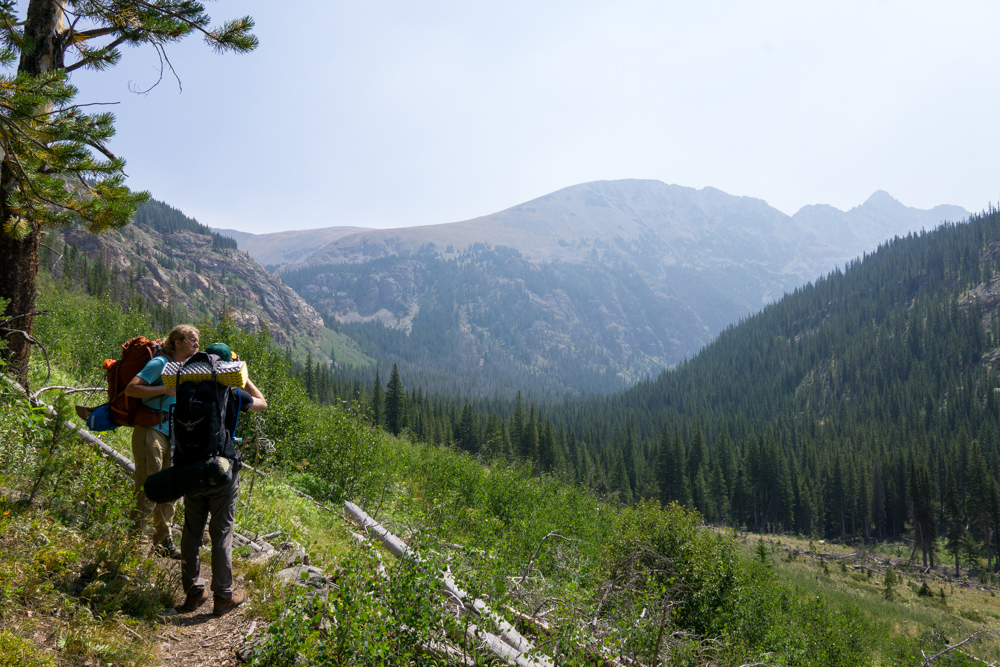
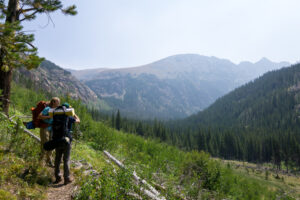
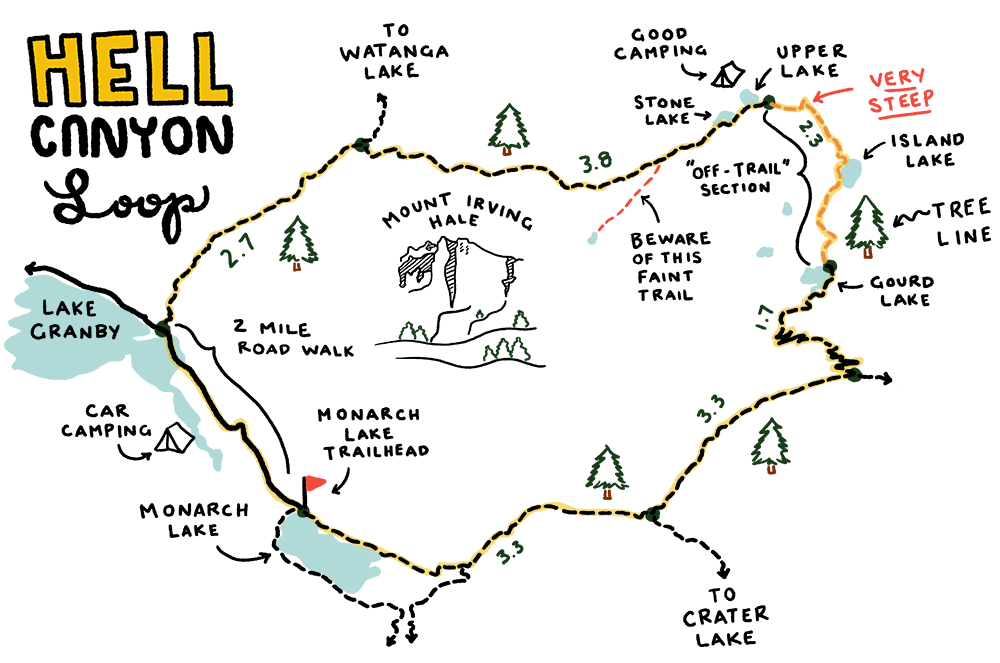
Starting from the Monarch Lake Trailhead, the trail hugs the north bank of Monarch Lake and then heads uphill towards Gourd Lake. For the next 7 miles, the trail is a predictable and steady uphill walk up to Gourd Lake. Occasionally, the trees open up and you’ll be able to see the mountains around you, but it’s mostly a green tunnel. In the first 3 miles of this trail, we saw the most moose we’ve ever seen on a hiking trail, so be careful not to accidentally surprise one and have your camera ready.
After a short series of switchbacks around mile 5.5 you’ll arrive at the large pond right before Gourd Lake. We were so hungry at this point, that we convinced ourselves that the pond was Gourd Lake and settled down for some food and rest. Turns out that Gourd Lake is a lot larger than we expected. The lake itself is nice, but the best part of it might be all the medium-height cliffs around the lake that would be perfect for cliff jumping. We didn’t go swimming, but it looked like the water was more than deep enough to jump in.
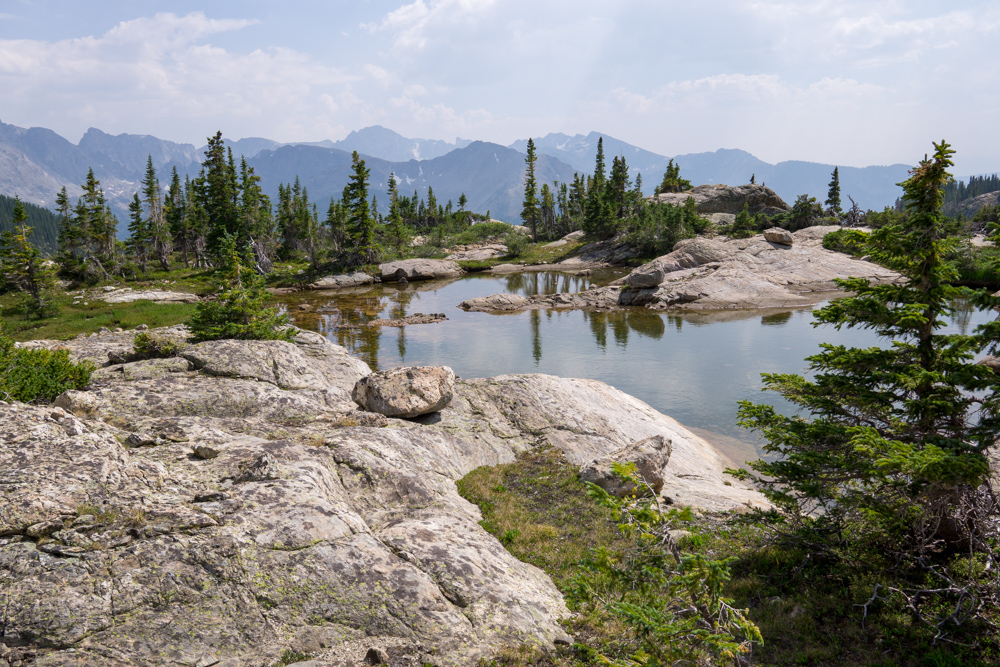
After Gourd Lake, the off trail experience begins. First, you skirt around the eastern bank of the lake and then head west for a couple 100 feet. Next, you’ll head north in as straight of a line as possible, by hopping from lake to lake. The easiest way to make your way through this part is to whip out your map (hopefully digital), and walk directly towards the next lake in the northern direction. Navigation in this area can be frustrating, so expect some backtracking. The final destination in the “lakes” section of this trip is the western bank of Island Lake, which is the largest of the lakes and marks the end of the difficult navigation.
After Island Lake, the trail heads slightly west, into the steepest and most physically challenging part of the loop. As soon as you leave Island Lake, you’ll get your first intimidating view of the pass below Cooper Peak, which you’ll be going up and over. It may look steep, but you can do it!
The terrain up to the pass quickly changes from scant grass, to big boulders, to slippery scree. The good news is that navigation becomes very easy, because all you have to do is fight your way to the pass, which is the lowest point along the ridge. There’s also one more bonus lake in this rocky region, which can be navigated in two different ways. You can navigate around the south bank for a more direct route up to the pass or navigate around the north bank to avoid most of the snow and ice. If you choose the south bank, you’ll be crossing a snow/ice field that will be at least 100 feet wide.
After the un-named bonus lake, the boulders turn into scree and the terrain gets very steep. The easiest way to make your way to the top of the pass is to test out different scree types along the route to figure out what feels most comfortable to you. Some people prefer the predictability of the smallest scree, even though it’s more slippery; while other people prefer the larger scree even though it’s a bit harder to judge how the rocks will move.
Once you reach the top of the pass, all of Hell Canyon will be in view. In the distance, you’ll be able to see Upper Lake waaay at the bottom of the steep, grassy slope ahead of you. To get to Upper Lake, you’ll have to scooch, slide, and bear crawl down the grassy slope or scramble down the boulder field on the left side of the slope. Dylan and I scooched down the grass, while our friend scrambled down the rocks and we made it to the bottom slightly faster than he did. At the bottom of the slope, you’ll have to navigate through a marshy area before finally reaching Upper Lake.
The “real” trail picks back up on the south bank of Upper Lake and continues west towards Stone Lake. After Stone Lake, the trail heads downhill for about half a mile before heading back uphill to get up and over the ridge north of Mount Irving Hale. The transition between the downhill and uphill portion is the last navigation challenge of the whole trip.
Along the downhill portion, you may be tempted to take a slight left turn along a faint trail that will eventually lead you down to Crawford Lake at the base of Mount Irving Hale. The problem with this trail is that it is way more distinct than the correct trail and it’s hard to make your way back out once you make the mistake. We ended up climbing two sets of cliff bands to make our way back to the real trail. I think the best way to handle this section is to check your navigation app often to make sure you’re on track.
After you successfully navigate onto the correct trail, you’ll be rewarded with some last minute views of Mount Irving Hale and the mountain range to the south. Then, the next 4 miles is an uneventful downhill stroll followed by 2 miles of walking on a dirt road all the way back to the Monarch Lake Trailhead.
After the Hike
On the way back to Denver, you have a chance to stop at many different towns along the way. You can grab burgers in Granby or you can grab burgers in Fraser (there’s a lot of burgers here!), but if you can hold out the 30 minutes’ drive to Winter Park, you’ll get to eat some of the tastiest seafood that I’ve had in Colorado so far. Just north of the Winter Park ski area, there’s a taco and margarita spot called Pepe Osaka’s Fishtaco that serves a very large margarita and some very fresh fish tacos. I got the grilled Mahi Mahi tacos – the fish was so fresh that for a second I actually though we were near an ocean instead of in land-locked Colorado.
Supply List
The Usual List
Backpack
Tent
Sleeping Bag
Sleeping Pad
Sleeping Bag Liner
Camp Stove
Lighter or Matches
Cooking Pot
Food
Water Vessel
Water Filter
Headlamp
Clothing
Trip Specific Things
Bear Canister
The park requires that you either hang your food or use a bear box. It keeps bears and other forest friends from getting into your food and other smelly things. We use the BearVault BV450 Food Container and we love it. It’s durable, light and fits all of our food for two to three day trips.
SMART Water Bottle with Small Sawyer Filter
This trail has fairly consistent access to creeks and streams along the way. On trails with consistent water access, we usually just fill up the SMART water bottle, attach the Sawyer filter and drink straight from the filter. It saves us time, and makes it to where we don’t have to unpack our entire backpacks to get to our water reservoirs. Why specifically SMART water bottles? They’re durable and one of the only bottles that the Sawyer filter is compatible with.
Ice Axe and/or Crampons
Just in case you decide to do this trip when there may be snow on the pass, these will be useful.
Thinking about doing this trip? Have any questions? Comment down below!

