14 Feb Deer Haven, Badlands National Park
guides // backpacking // south dakota
Deer Haven, Badlands National Park, South Dakota
Deer Haven in Badlands National Park is exactly what it sounds like. It’s a large patch of grass nestled in a never ending sea of badlands. Deer come here to graze and go about their day without having to climb over the mud mounds that form badlands. Deer Haven is also sort of a haven for backpackers, because it’s the perfect place to pitch your tent close to badlands, without the struggle of looking for a camping on the badlands. The earth around Deer Haven is so crumbly that I have no idea if camping is even possible on badlands.
Quick Notes
Pictures taken May 2019
Total Distance: 5 miles
Elevation Gain: 2,000 feet
Difficulty: Easy
Days: 1 Night
Hike Type: Out-and-back
Trailhead: Conata Picnic Area
Seasons: Summer, Fall
Permit Requirement: No
Camping: Dispersed Camping
Map: Badlands National Park National Geographic
Water: Carry in all water

When to Go
The biggest seasonal factors in this park are snow and mud. If you’re really unlucky, you might encounter a tornado, but that’s supposed to be very rare. It can snow 12 to 24 inches in the winter and I don’t think the badlands would look like much with an extra thick layer of snow draped over them. Plus, it’ll be challenging to get your footing on the steep terrain with a slippery layer of snow to deal with. For these reasons, we decided to avoid winter in the badlands.
Besides the snow, you’ll also be dealing with mud. A lot of mud. Badlands are made of giant, crumbly, silty mounds of dried mud, so it’s no surprise that mud is an issue here. Especially if you’re taking the trip in early spring before snow melt has had a chance to sink into the ground. Summer is also quite rainy here, so the mud might just be unavoidable. I think the best thing to do is to go in the summer, pack a rain jacket, wear good boots, and use trekking poles for stability.

Trip Cost
Park Entrance Fee*
$30 per vehicle
*If you know that you’re going to be going to a national park more than three times in a year, it’s worth it to buy a National Parks Pass. They’re $80 and sold online, at all REI locations, and National Park Visitor Centers.
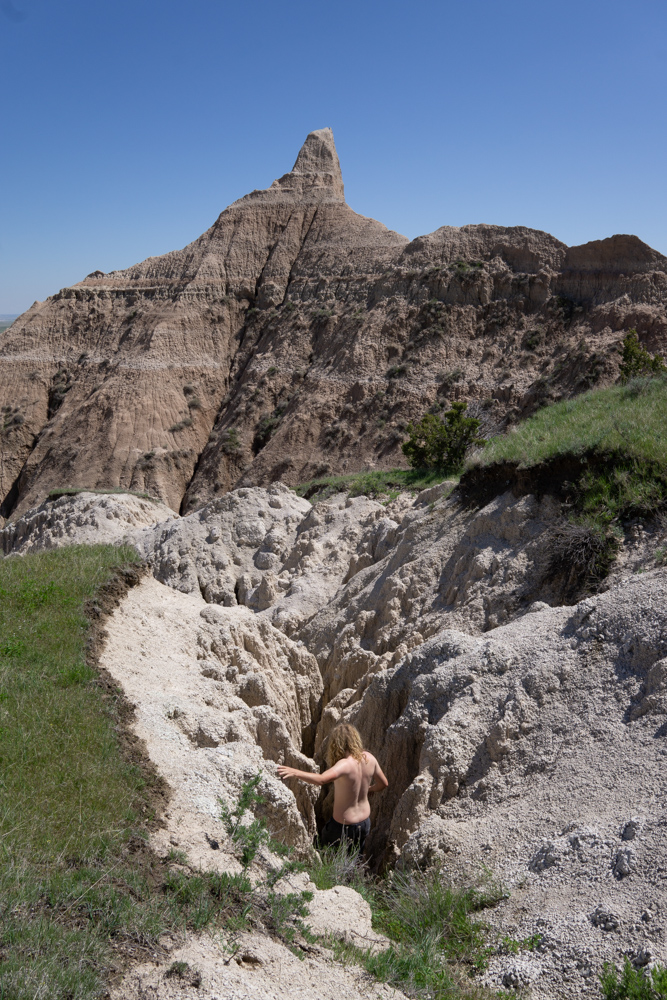
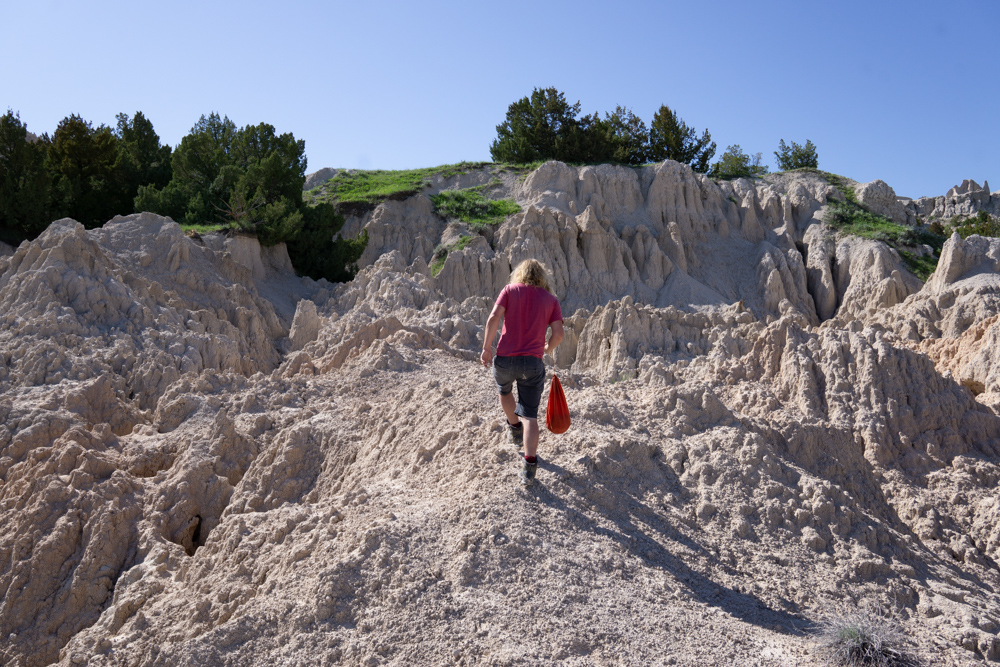
Dylan climbing into the badlands around our campsite.
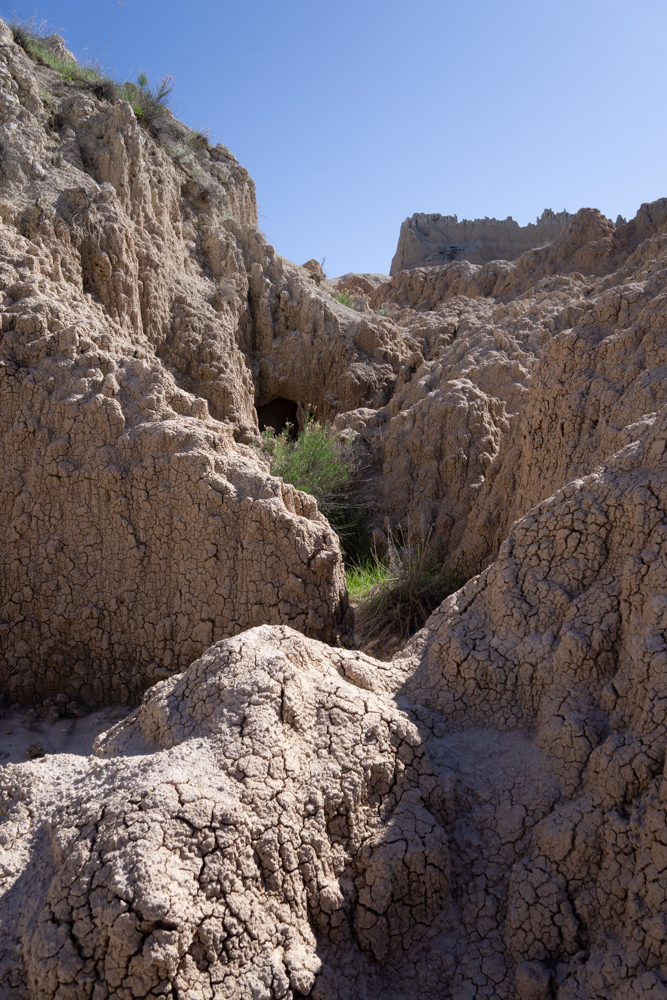
The texture of the badlands was fascinating.

Before You Go
You don’t need a permit to backpack within the park, so there’s not much to do before your trip. If you’re taking the whole unmarked 22.2-mile Sage Creek Loop, you might want to brush up on your backcountry navigation skills, because the badlands can be tough to navigate. Initially, we were going to take the whole loop, so we loaded the Sage Creek way points into our GPS (it ended up being way to muddy for us to finish the loop in the right amount of time). Hiking Project also has the whole loop mapped out so you can double check that you’ve taken the right turns when you’re out there.
Additionally, you could waterproof your boots against the mud so that it’s easier to chip off afterwards.

Getting There
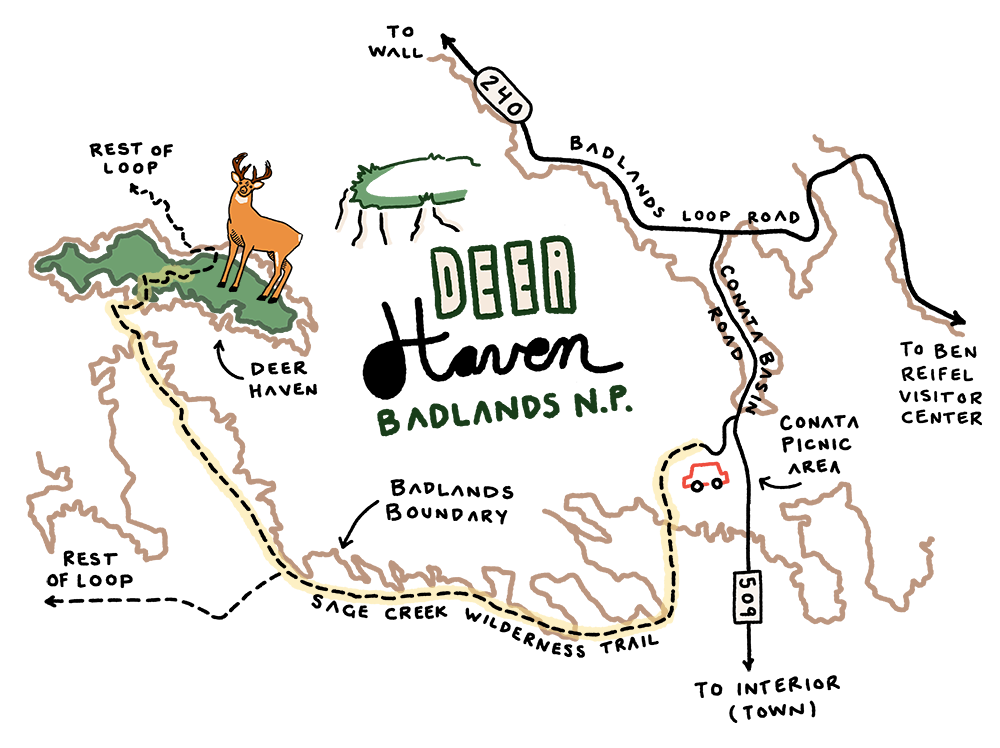
From the Ben Reifel Visitor’s Center at the east entrance of the park, head west on the Badlands Scenic Loop (aka 240). Navigate the twists and turns of the road all the way to Conata Basin Road. Turn left on Conata Basin Road and then turn right into the picnic area. There’s about ten parking spots in the area and you don’t need a permit to park overnight. We arrived around 10AM and were easily able to find a spot. It seems like Badlands is one of those parks people just drive through, so it was always easy finding parking.
There’s no camp store or any kind of food in the parks. The closest places to pick up last minute supplies are in Wall to the north and Interior to the south.
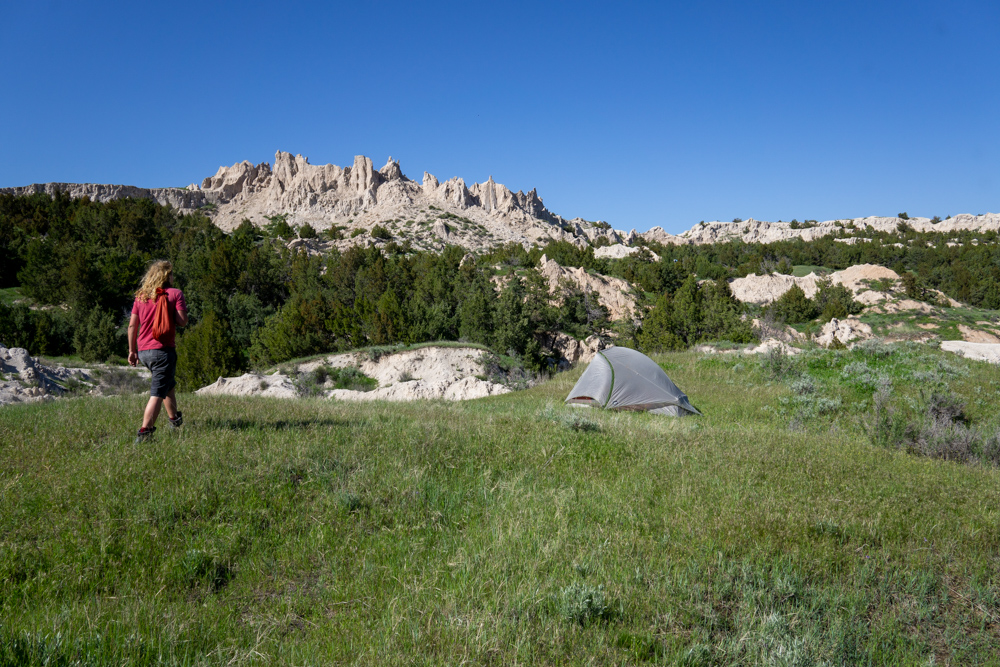
Coming back to camp after exploring the badlands.
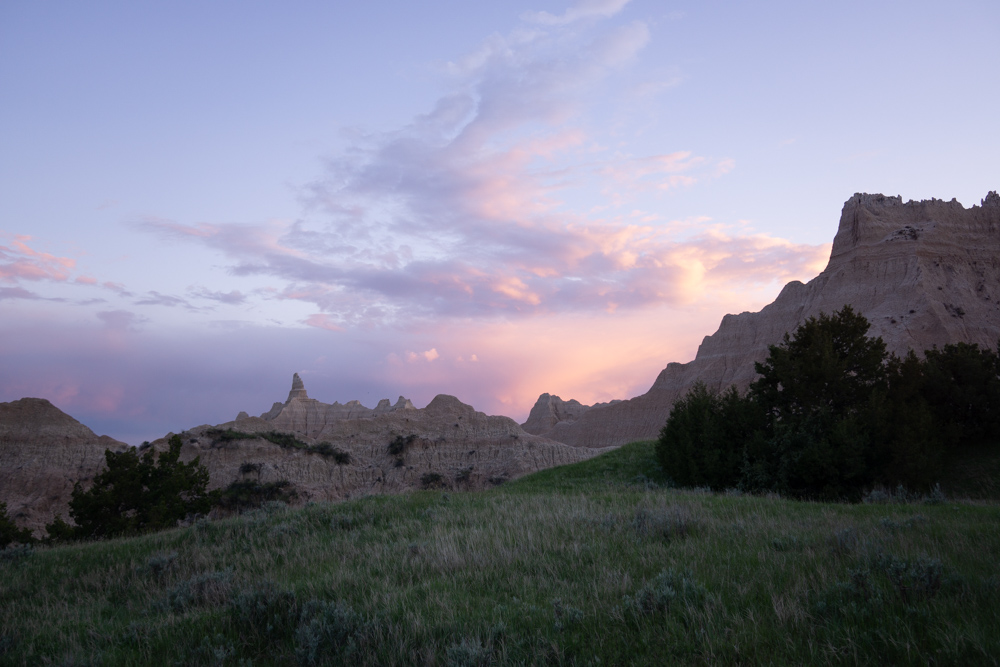
Beautiful sunset at camp.
On the Trail
The easiest way to get to Deer Haven is to go around all the badlands and then hike straight at Deer Haven once you spot it from a distance. You can also make your way there by plodding straight through the badlands, but that’s supposed to be extremely difficult and a great way to get lost.
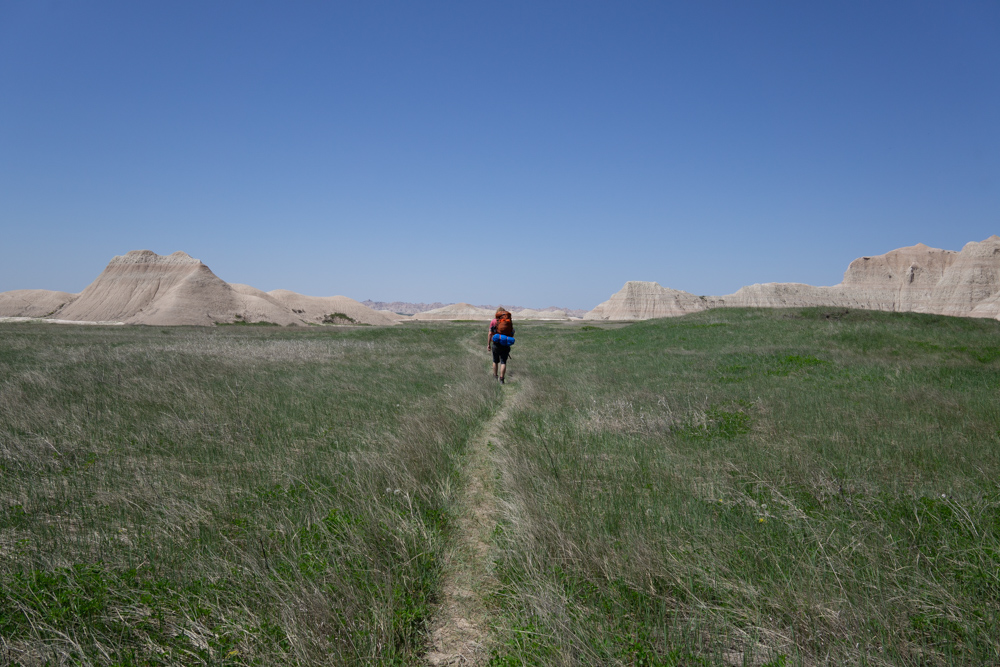
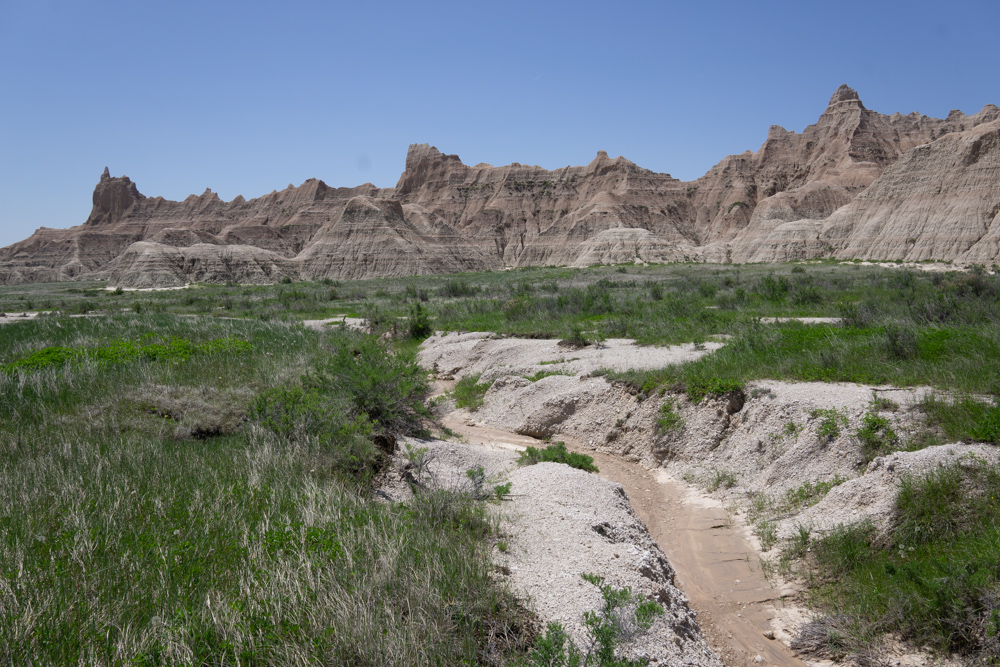
To go around the badlands, head directly south from the Conata Picnic Area all the way to the southern edge of the badlands. There’s a faint trail all the way to Deer Haven, but you may have to veer away from the trail to avoid large puddles of mud and water. Hug the outskirts of the badlands until the badlands thin out and you see a large expanse of elevated grass on your right. That’s Deer Haven!
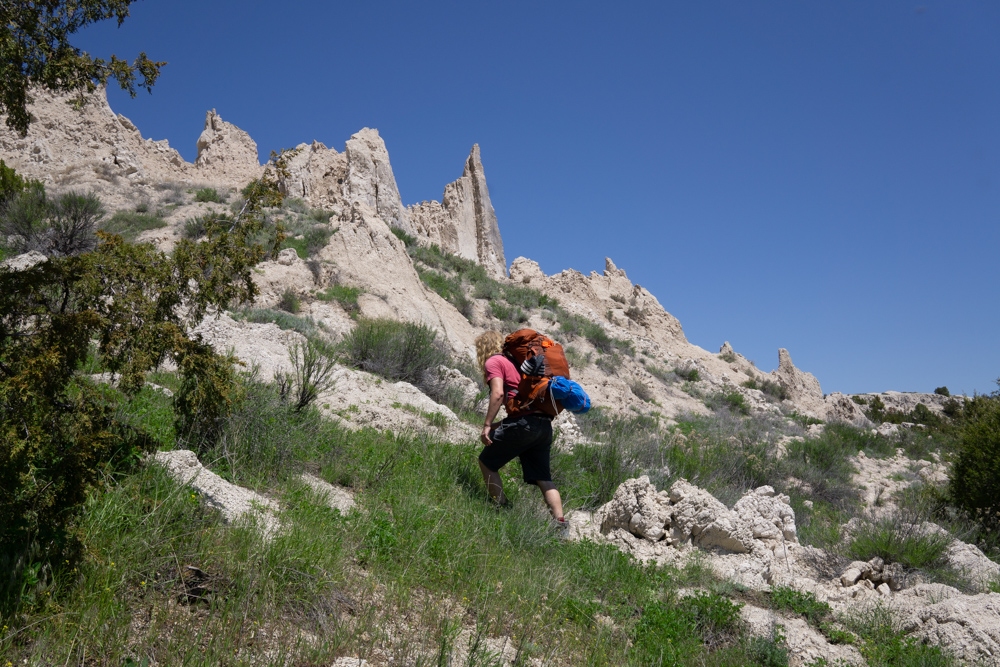
Once you see Deer Haven, you just walk straight at it. The faint trail stays with you almost all the way to the top. If you lose the trail, you can always spot a nice camping spot from a distance and then invent your own way to get there. It looked like there were a bunch of easy-to-get-to spots towards the center of Deer Haven, and harder-to-get-to spots along the outskirts. We decided that the left (west) side of Deer Haven looked ideal for camping so we stumbled through a series of badlands and shrubbery to get there. Getting to our campsite was by far the hardest part of the hike.
Once we got to our island of grass, the rest of the trip was perfect. We set up camp, explored the nearby badlands, and enjoyed a very pink sunset. Other backpackers started trickling in around the early afternoon, but we were in such a secluded spot that no one camped anywhere near us.
In the morning, we backtracked all the way to the parking lot on a very, very muddy trail.
After the Hike
Visiting Badlands was part of a short 3-day weekend road trip through the southwestern corner of South Dakota. Our next stop after Badlands happened to be Wind Cave National Park, so we took the fastest way and headed north through Wall and Rapid City. We ended up stopping in Wall for the obligatory stop at the famous(ish) Wall Drug, where you’ll find a giant Jurassic Park-style robotic T-rex, Wild West themed jewelry, and an antique apothecary.
In Rapid City, we stopped at Black Hills Bagels for a quick and surprisingly memorable (in a good way!) bagel stop. The bagel sandwiches were so good that I easily remember them almost a year later. Bagels in tow, we headed west into the Black Hills and then towards Wind Cave National Park. We also considered popping up to Mt. Rushmore, which is only thirty minutes from Rapid City, but it was threatening to rain and we really wanted to set up camp before the downpour.
Supply List
The Usual List
Backpack
Sleeping Bag
Tent
Sleeping Pad
Sleeping Bag Liner
Camp Stove
Lighter or Matches
Cooking Pot
Food
Water Vessel
Water Filter
Headlamp
Clothing
Trip Specific Things
Good Watertight Boots
Badlands are basically made of dried mud, so it can very muddy here. If there’s any moisture on the ground, you’ll probably be sliding around. That’s where good boots come in handy. At the end of the trip, our boots were so caked with mud that you couldn’t even see the sole.
Rain Jacket
The rainiest season for Badlands is summertime, but it’s also the nicest time to go. If you have a good rain jacket, you’ll probably be able to hike through everything.
Thinking about doing this trip? Have any questions? Comment down below!


