08 Oct Payne Creek Trail, Lost Creek Wilderness
guides // backpacking // colorado
Payne Creek Trail, Lost Creek Wilderness, Colorado
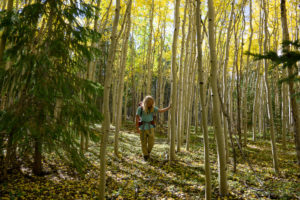
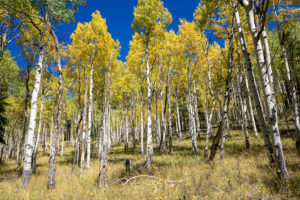
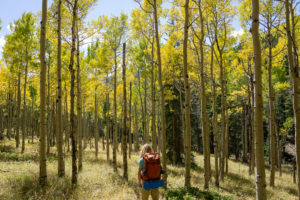
It may not look like a lot at first, especially compared to the insane amount of epic-beautiful backpacking in Colorado, but the Lost Creek Wilderness is an absolute paradise for fall hiking. It’s packed with the same color changing Aspen trees that take over Colorado and travel magazines during the fall season, but unlike the rest of the state, the crowds are nowhere to be found. We spent miles on the trail without seeing a single person and had all the premium campsites (with Aspens and views!) all to ourselves.
Quick Notes
Pictures taken late September 2019
Total Distance: 9 miles
Elevation Gain: 1,760 feet
Difficulty: Easy
Days: 1 Night
Hike Type: Out-and-Back
Trailhead: Brookside McCurdy
Seasons: Fall
Permit Requirement: Yes, Self-Issue
Camping: Dispersed Camping
Map: Tarryall Mountains, Kenosha Pass
Water: Filter at creek
When to Go
As you can probably guess, I think the best time to hike this trail is in the fall, when the Aspen trees are changing colors. I like to use the Smoky Mountains Fall Foliage Prediction Map to figure out when peak foliage is going to happen and then plan a trip around that weekend. From the short amount of time we’ve been in Colorado, peak foliage happens around late September or early October (depending on how much rain we’ve gotten that year).
If you hate fall colors or you don’t have the luxury of choosing your weekend, I think this trail is pretty average. The Aspens still look pretty in the summer but it’s not as magical as in the fall. The main destination for the trail is a giant Aspen grove about 5 miles in, but without that as a real destination point, this trail kind of meanders on. Plus, there’s so many other options nearby for summer backpacking that I would probably pass on this one.
That said, if it’s purely solitude that you’re after, this trail is pretty perfect for that.
Before You Go
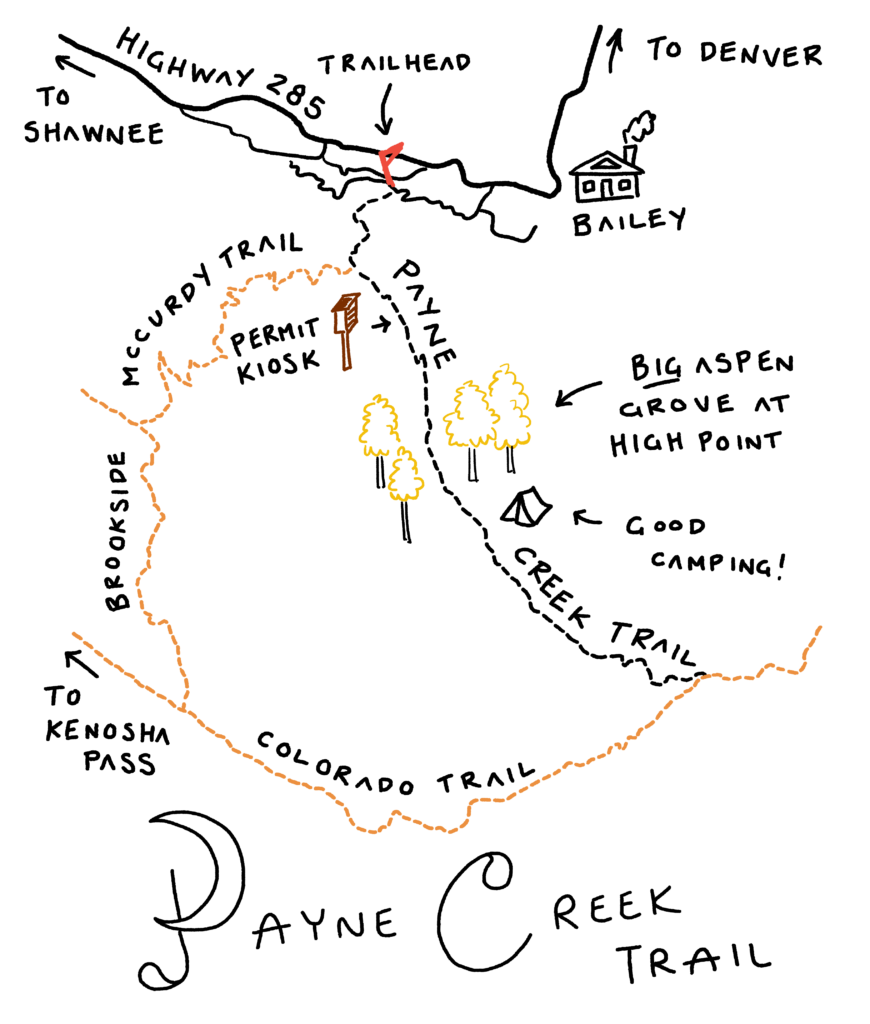
One of the best things about this trail is that you literally don’t have to do anything before you go. You just show up, park the car, and start hiking. However, Lost Creek Wilderness wants you to fill out a free backcountry permit about 1.5 miles into the trail at the official wilderness boundary. Also, don’t worry about bringing a pen — they have pencils at the permit kiosk.
Getting There
Getting to the trailhead is just as simple as getting your permit. The trailhead is well defined and if you type in “Brookside McCurdy Trailhead” into you map app of choice it’ll take you straight to the right place. There’s not a lot of parking at the trailhead, but it doesn’t seem to fill up too early on the weekends. We arrived around 8AM on a beautiful Saturday morning and found just two other cars at the trailhead.
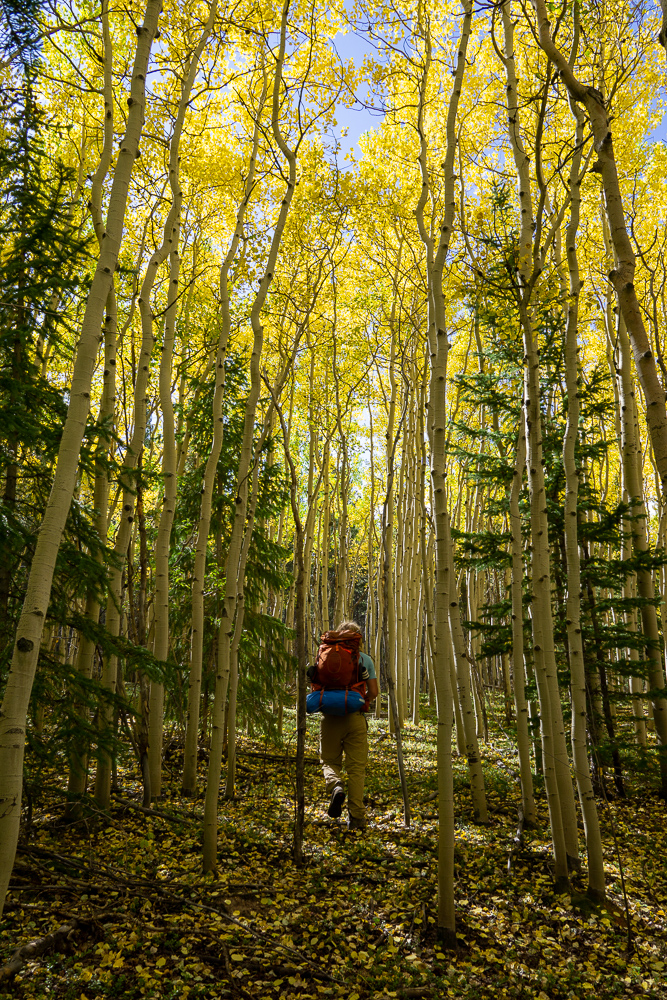
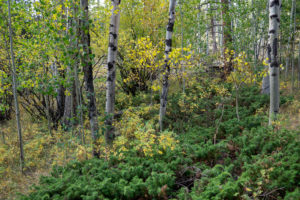
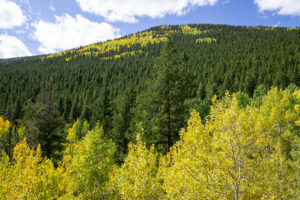
The Aspen grove right before the push to the top.
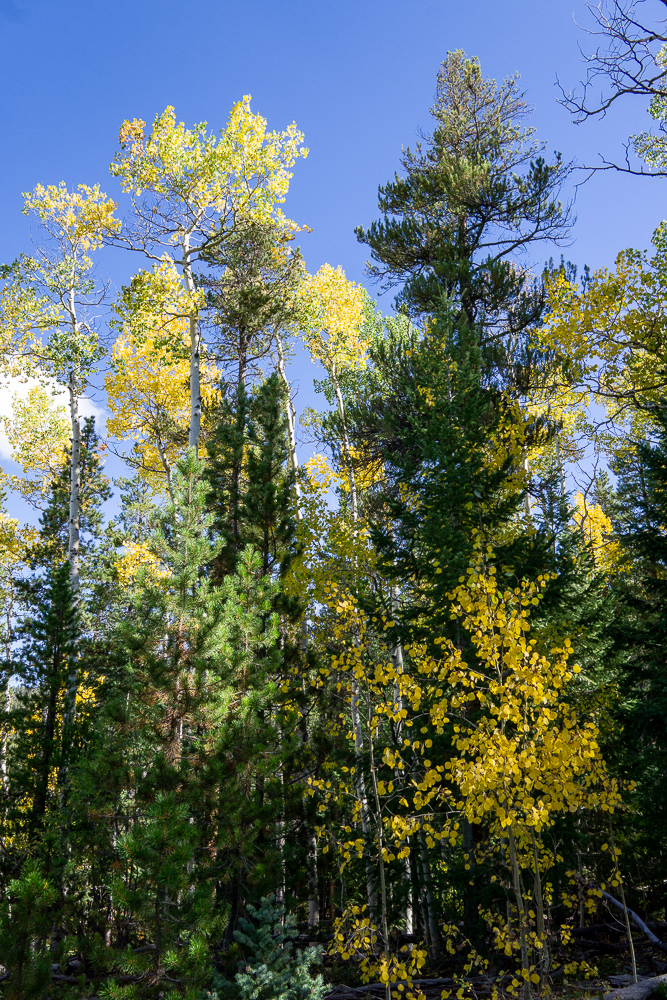
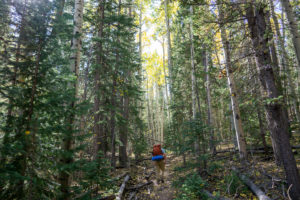
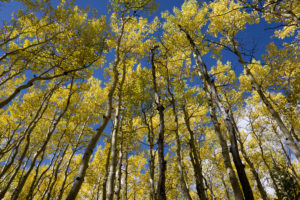
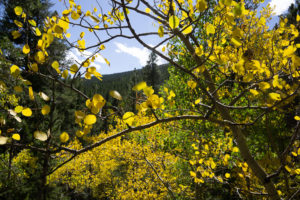
We couldn’t stop looking up at the trees.
On the Trail
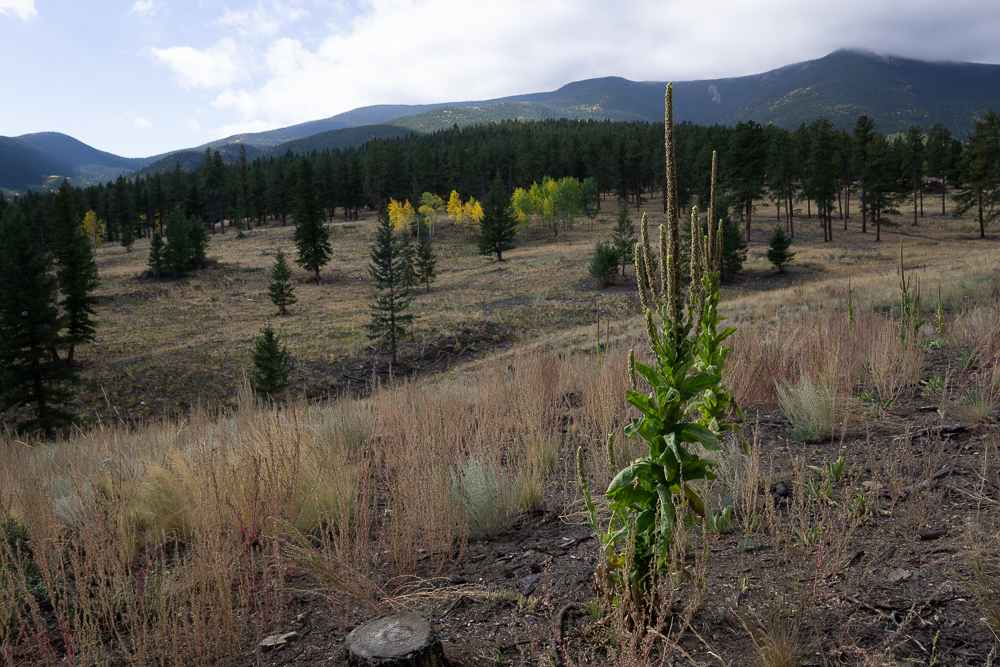
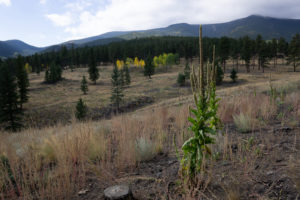
The trail starts out super mild, with a gradual uphill portion that takes you through a grassy area scattered with small groves of trees. Because the trees in this area are so sparse, you get really nice views of the surrounding mountains. In about 1.3 miles, you’ll see the junction with the Brookside McCurdy Trail. At this point, you can take the Brookside McCurdy Trail and make your trip into a 29-mile loop, or stick to the plan and turn left onto the Payne Creek Trail.
Soon after the junction, you’ll see a sign for the official wilderness boundary and a backcountry registration kiosk. Make sure to fill out a permit to let the park know you’re there — the rangers use the data from these kiosks to track land usage.
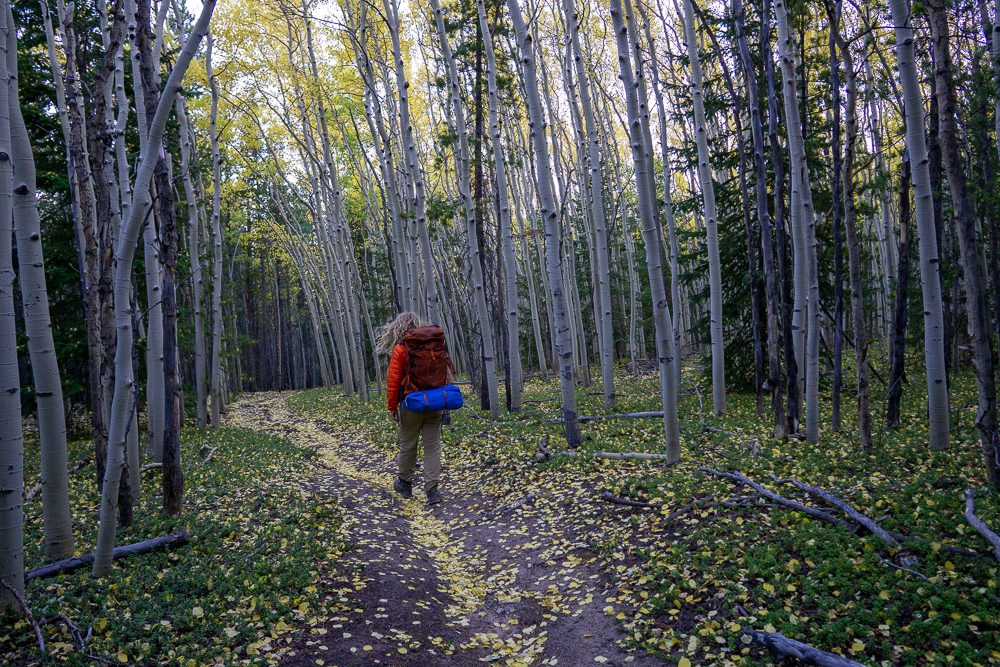
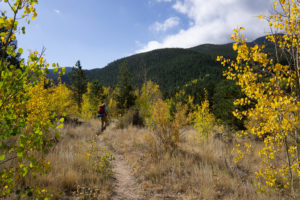
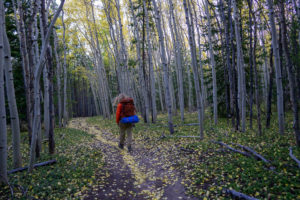
The trail gets a bit steeper around mile 3, but you’ll quickly forget about the steepness when you see the large Aspen groves near the high point of the trail. There’s even a large grove slightly before the final push up the hill, where you can take a break and frolic among the dense Aspens. At the top of the hill, you’ll be entirely surrounded by one of the best fall scenes you can imagine — Aspens everywhere!
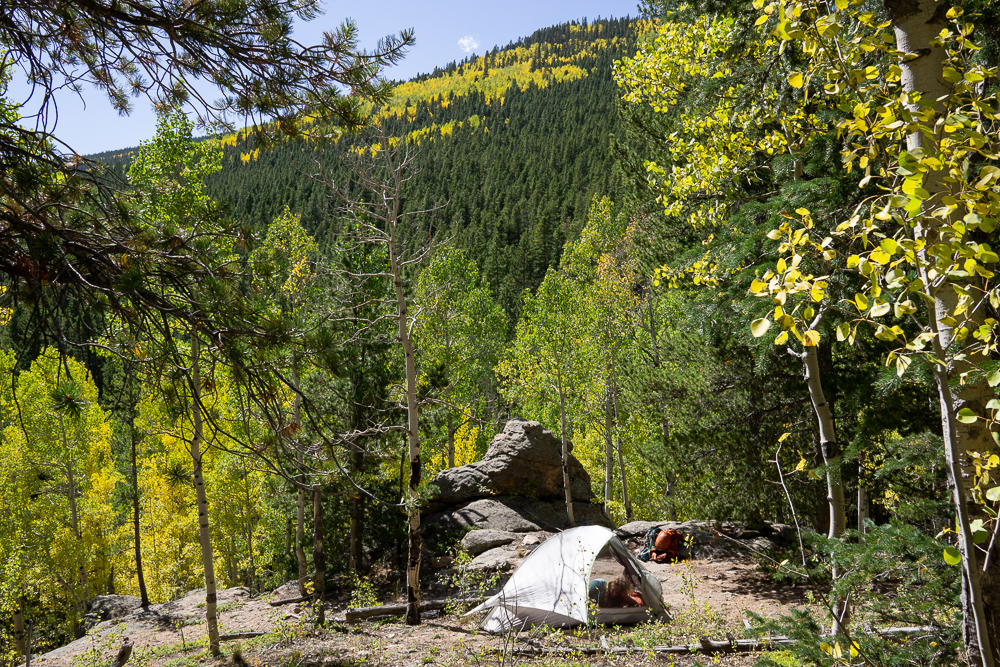
At first, we tried to find camping near the peak, but couldn’t find a spot where we wouldn’t be sleeping on fallen Aspen trees or tree roots. We continued on the trail for about 200 feet and found the perfect rocky outcrop to camp on top of. It had views and Aspens and perfect stone camp furniture. I even laid my sleeping pad on top of a comfy couch-shaped rock and watched the trees shake around in the wind.
We also explored our camping area and found three other camping spots nearby, but none of them had the view that ours had.
After the Hike
Denver is just an hour away from this trailhead, so you pretty much have a world of food waiting for you when you finish hiking – and no, I’m not going to attempt to list all the best restaurants in Denver. The trailhead is just 45 minutes away from home for us, so we just went back home for a late breakfast. If you’re super hungry and really can’t wait, there’s also a bunch of tasty restaurants in nearby Conifer, Aspen Park, and Morrison. Beware of Morrison though, it’s very popular place during the weekends.
Supply List
The Usual List
Backpack
Tent
Sleeping Bag
Sleeping Pad
Sleeping Bag Liner
Camp Stove
Lighter or Matches
Cooking Pot
Food
Water Vessel
Water Filter
Headlamp
Clothing
Trip Specific Things
Bear Canister
The park doesn’t force you to carry one, but it’s always nice to have a bear canister if you’re hiking in a place with lots of forest friends. The canisters keeps bears and other forest friends from getting into your food and other smelly things. We use the BearVault BV450 Food Container and we love it. It’s durable, light and fits all of our food for two to three day trips.
Thinking about doing this trip? Have any questions? Comment down below!

